Knowing how to clean car upholstery properly helps remove dirt, stains, body oils, food spills, and unpleasant odors without damaging the interior. The right method depends on whether your car seats are made from cloth, genuine leather, vinyl, or a suede-like material such as Alcantara. Using the wrong cleaner or too much moisture can damage certain finishes, leave water marks, or make upholstery harder to dry.
The safest approach is to identify your upholstery material first, remove loose dirt with a vacuum, test a suitable cleaning product, and clean one section at a time. Fabric upholstery usually requires careful stain treatment and moisture control, while leather and vinyl need material-compatible cleaners and gentle wiping.
In this guide, you will learn how to clean car upholstery step by step, choose the right tools, remove common stains, prevent lingering odors, and maintain your car’s interior between deep-cleaning sessions.
What Is Car Upholstery?
Car upholstery refers to the materials covering vehicle seats and other interior surfaces, including certain door panels and armrests. Depending on the vehicle, these surfaces may use woven fabric, leather, vinyl, synthetic leather, or specialized microfiber materials.
Understanding the upholstery type is essential because each material responds differently to moisture, cleaning products, and mechanical agitation. A cleaner suitable for cloth seats may not be appropriate for genuine leather, delicate suede-like fabric, or a coated vinyl surface.
Fabric Upholstery
Fabric upholstery includes woven textiles and other cloth materials used on seats and interior panels. These surfaces can trap dust, crumbs, body oils, and spilled liquids within their fibers.
Fabric seats generally benefit from thorough vacuuming, targeted stain treatment, and controlled cleaning with a compatible automotive upholstery cleaner. Avoid soaking the fabric because liquid can penetrate the foam beneath the seat cover.
Leather Upholstery
Leather upholstery requires products and techniques appropriate for its specific finish. Many automotive leather seats have a protective surface coating that can be affected by unsuitable cleaners, solvents, or abrasive scrubbing.
Use a compatible automotive leather cleaner and a soft microfiber cloth. Check the vehicle manufacturer’s instructions before applying conditioner, particularly when the surface is coated, perforated, or combined with synthetic materials.
Vinyl and Synthetic Leather Upholstery
Vinyl and synthetic leather are common alternatives to genuine leather. Although they may look similar, their care requirements depend on the material and surface coating.
Many vinyl surfaces can be cleaned with a soft, lightly dampened cloth and a manufacturer-approved mild cleaning solution. Synthetic leather may require a specific product, so identify the material before selecting a cleaner.
Suede-Like and Specialized Upholstery
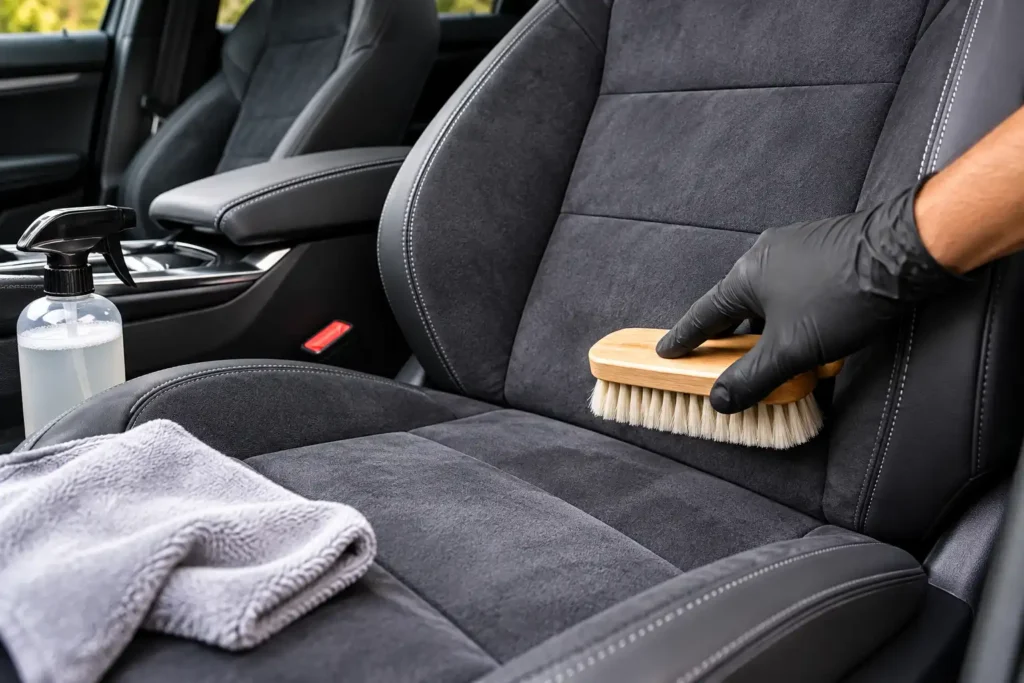
Some vehicles use Alcantara or other microfiber materials with a suede-like texture. These surfaces may react differently to ordinary fabric cleaners, leather products, and vigorous brushing.
Follow the care instructions for the specific material rather than assuming that a general upholstery cleaner is suitable. If the material is unidentified or especially delicate, consult the vehicle manufacturer or an upholstery specialist.
What Do You Need to Clean Car Upholstery?
Having the right cleaning supplies ready helps you work efficiently while reducing the risk of stains, scratches, and excess moisture. Most routine upholstery cleaning can be completed with a few appropriate tools rather than a large collection of detailing chemicals.
Prepare the following items:
- A vacuum cleaner with a soft brush and crevice attachments.
- Clean microfiber cloths or other soft, lint-free towels.
- An automotive upholstery cleaner compatible with the seat material.
- A soft upholstery brush for suitable fabric surfaces.
- A separate clean towel for drying.
- Clean water, when permitted by the material’s care instructions.
- A wet-dry vacuum or upholstery extractor for suitable fabric surfaces requiring deeper cleaning.
- A compatible leather cleaner or vinyl cleaner if your vehicle has those materials.
You may not need every item for a lightly soiled interior. For routine maintenance, a vacuum, suitable cleaner, and several clean cloths may be enough.
Avoid using bleach, strong solvents, abrasive scouring pads, or unapproved household chemicals on vehicle upholstery. Your owner’s manual should guide the choice of cleaning products, particularly around seats fitted with airbags, electrical components, or specialized materials.
How to Clean Car Upholstery Step by Step
The safest way to clean car upholstery is to prepare the interior, remove dry debris, test the cleaning product, and treat each material according to its needs. Work in a shaded, well-ventilated area and allow enough time for the upholstery to dry before using the vehicle normally.
Step 1: Identify the Upholstery Material
Before applying any cleaner, determine whether the surface is fabric, genuine leather, vinyl, synthetic leather, or a specialized microfiber material.
Check your vehicle owner’s manual or upholstery specifications if you are unsure. Some seats combine multiple materials, so the center panel, side bolsters, and headrests may not all require identical products.
Once you identify the material, choose a compatible cleaner and review its instructions. This prevents you from applying a product simply because it works on another part of the interior.
Step 2: Remove Personal Items and Loose Debris
Remove belongings, rubbish, floor mats, and anything else that obstructs access to the seats. Check the spaces between the cushions and around the seat bases for crumbs, paper, hair, and other debris.
Use a soft brush attachment to vacuum the seat surfaces. Follow with a narrow crevice attachment around seams, stitching, gaps, and areas where dirt collects.
Vacuuming first is important because loose grit can be dragged across the upholstery during wet cleaning. Removing it before applying liquid reduces unnecessary rubbing and makes the cleaning process more effective.
Step 3: Inspect the Upholstery for Stains and Damage
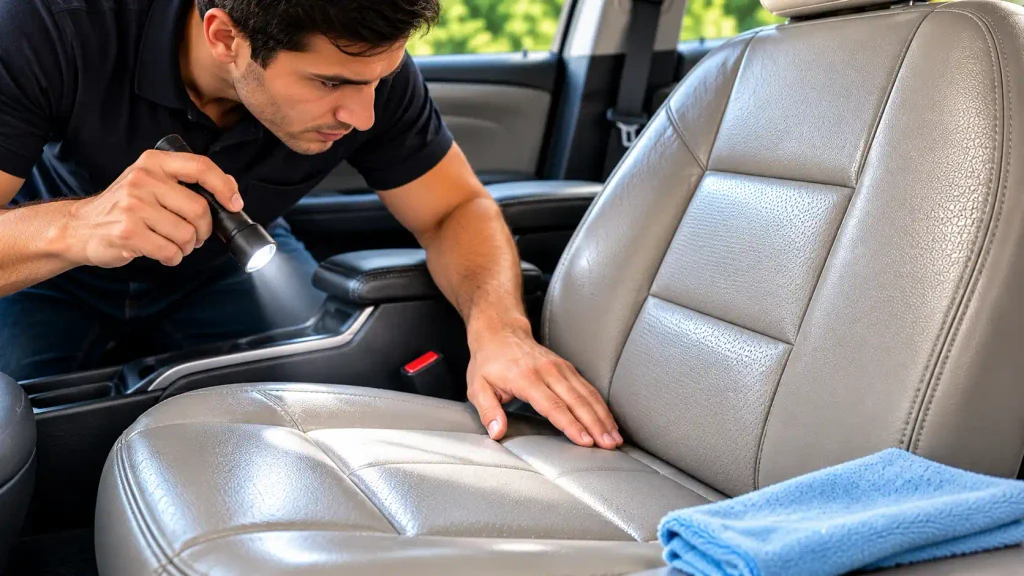
Examine the seats and fabric-covered panels under good lighting. Look for coffee stains, greasy marks, ink, food residue, discoloration, loose stitching, peeling surfaces, and existing damage.
Identify the likely cause of each stain before choosing a treatment. A water-based spill, an oily mark, and dye transfer may require different approaches.
Pay attention to damaged seams, perforations, electrical controls, and seat-mounted safety components. Avoid allowing cleaning liquid to enter these areas.
Step 4: Test the Cleaner on a Hidden Area
Always test a new cleaning product on a small, inconspicuous area before using it across a visible surface.
Apply the cleaner according to its label, using a small amount and a suitable cloth. Allow the test area to dry sufficiently to evaluate the result.
Check for discoloration, changes in texture, unexpected gloss, sticky residue, or other unwanted effects. If the material reacts badly, stop using the product and seek an alternative recommended for that upholstery.
A successful test does not guarantee that every stain will respond safely, but it helps identify potential compatibility problems before you clean the entire seat.
Step 5: Pre-Treat Visible Stains
Treat noticeable stains before cleaning the wider upholstery area. This gives the appropriate cleaner a chance to address the contamination without requiring excessive scrubbing.
Blot fresh liquid spills using a clean, absorbent cloth. For dried stains, use a treatment designed for the specific material and stain type.
Follow the cleaner’s instructions for application and contact time. Do not combine cleaning products or apply strong chemicals simply because a stain is difficult to remove.
If a stain remains after a careful treatment, repeat the approved method only as directed. Some discoloration results from permanent material damage rather than removable dirt.
Step 6: Clean One Small Section at a Time
Divide the upholstery into manageable sections. Apply the compatible cleaner in the amount recommended on the label, then gently wipe or brush the surface as appropriate.
For fabric upholstery, use a soft brush only when suitable for the textile. Work gently to loosen dirt without pulling fibers or forcing moisture into the padding.
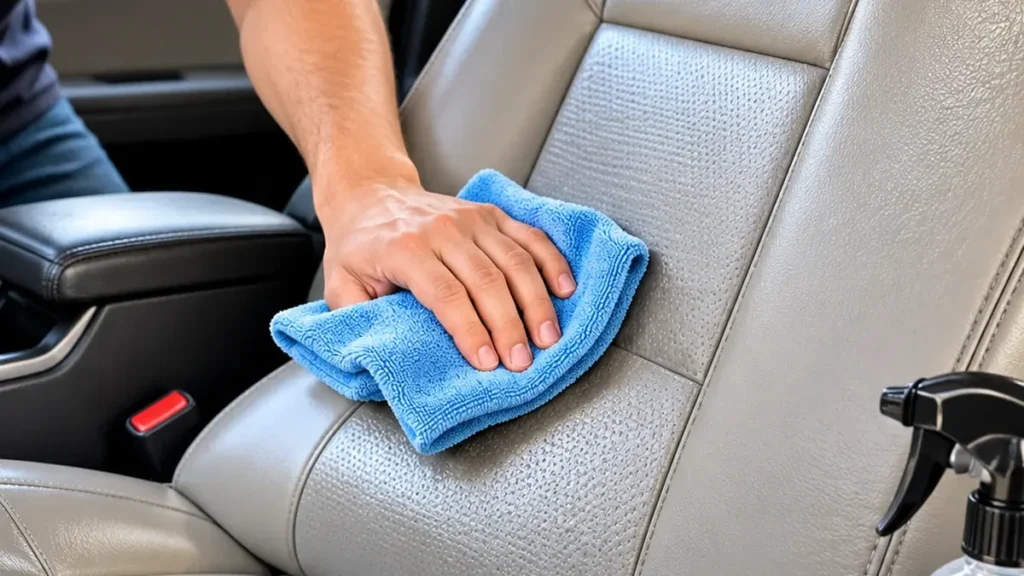
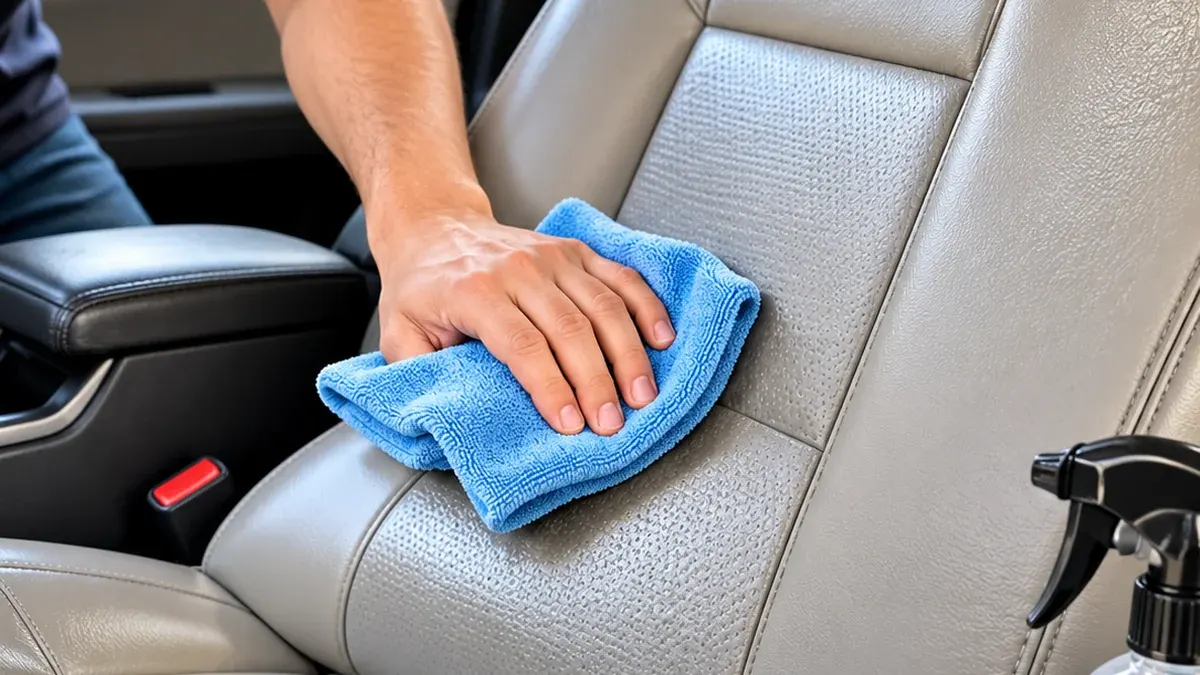
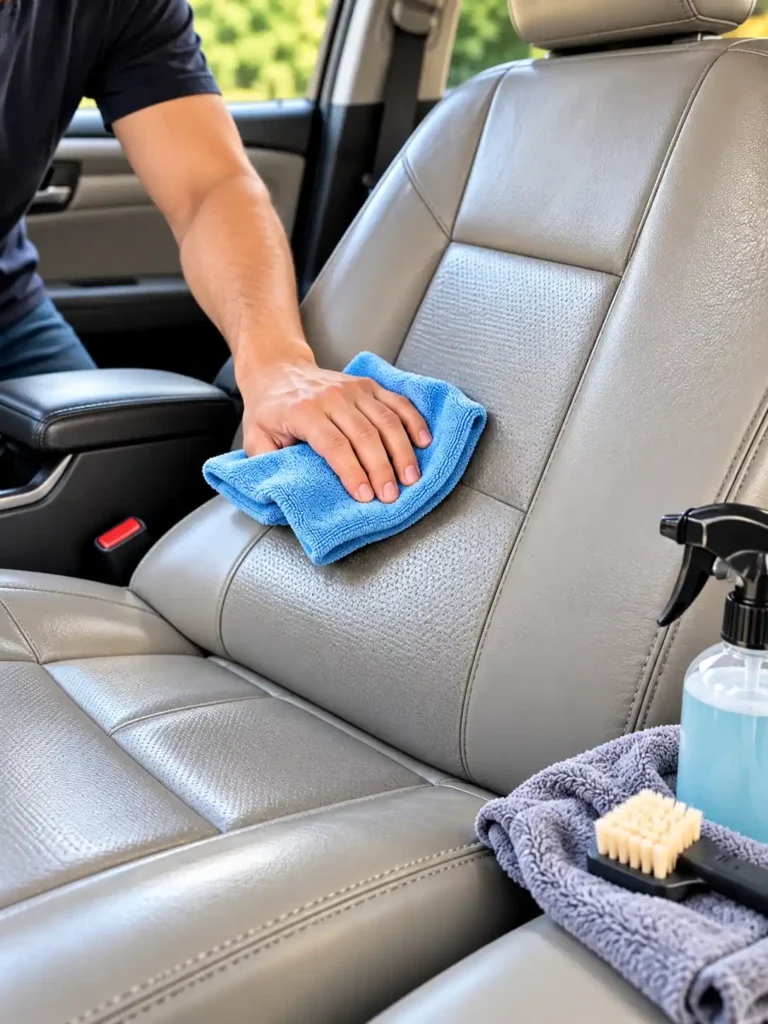
For leather and vinyl, a soft microfiber cloth is often the better choice. Use light pressure and avoid vigorous rubbing.
Cleaning smaller areas makes it easier to control moisture, monitor the results, and remove residue before moving to the next section.
Step 7: Remove Dirt and Cleaning Residue
Once the dirt has loosened, remove it using a clean microfiber cloth or the removal method specified by the cleaner’s manufacturer.
For compatible fabric upholstery, blot or extract the dirty moisture instead of allowing it to remain in the material. If the cleaning product requires a rinse or wipe-down, follow those directions without saturating the upholstery.
For leather and vinyl, wipe away remaining residue using the method recommended for the particular surface.
Use a separate clean cloth as needed so that loosened dirt is not spread back over the area.
Step 8: Dry the Upholstery Thoroughly
Drying is an essential part of cleaning car upholstery, especially when dealing with fabric seats and other absorbent materials.
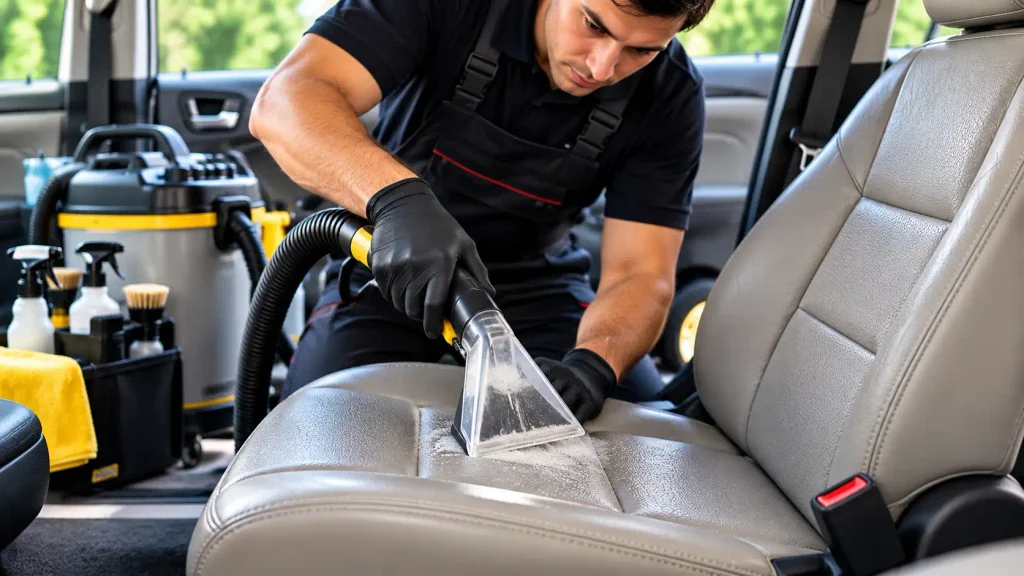
Blot excess moisture with a clean, dry towel. For fabric that has been appropriately wet-cleaned, an upholstery extractor may help remove moisture if the equipment and method are suitable for the material.
Improve airflow by opening the doors or windows when it is safe and practical, or use fans directed toward the cleaned surfaces. Allow the interior to dry completely before normal use.
Avoid using concentrated heat to accelerate drying. If upholstery remains damp, develops a musty odor, or shows signs of recurring moisture, investigate the cause rather than repeatedly cleaning the surface.
Step 9: Inspect the Finished Surface
After the upholstery has dried, inspect the cleaned area under good lighting.
Look for remaining stains, residue, water marks, changes in texture, or areas that are still damp. A clean, dry microfiber cloth can help remove minor surface residue when appropriate for the material.
If the result is uneven, determine whether another compatible cleaning pass is suitable. Avoid repeatedly scrubbing a stubborn mark because excessive friction can damage certain fabrics and finishes.
For persistent staining, permanent discoloration, or damaged upholstery, professional assessment may be more appropriate than increasingly aggressive cleaning.
How to Clean Fabric Car Upholstery
Fabric car upholstery needs a different approach from leather or vinyl because its fibers can hold dirt and absorb liquid. The goal is to loosen contamination while keeping the padding underneath from becoming unnecessarily wet.
For more detailed instructions, see our guide on how to clean cloth car seats and carpets.
Use a Fabric-Safe Automotive Cleaner
Choose an upholstery cleaner specifically designed for automotive fabric and follow its application instructions. Test it first, particularly on colored or patterned material.
Apply only enough cleaner to treat the area. Work it gently into the fibers with a suitable soft brush or cloth, avoiding aggressive scrubbing.
Do not assume that a household multipurpose cleaner is suitable for automotive fabric. The wrong product may discolor the upholstery or leave residue that is difficult to remove.
Avoid Oversaturating the Seat
Too much liquid can penetrate the foam beneath the fabric, making the seat difficult to dry. Moisture trapped inside the cushion may contribute to persistent odors and create conditions that allow unwanted growth.
Use controlled applications, work in small sections, and remove dirty moisture with blotting or suitable extraction equipment.
If the seat becomes heavily saturated, stop adding cleaning solution and focus on appropriate moisture removal and drying.
Extract Dirt From Deeply Soiled Fabric
When permitted for the material, an upholstery extractor can help remove loosened dirt and dirty moisture from fabric seats and carpeted surfaces.
Follow the equipment manufacturer’s instructions and use a compatible cleaning solution. Avoid excessive wet passes or repeated application of cleaning chemicals.
Extraction is not necessary for every minor stain, but it can be useful when surface wiping does not adequately address heavier contamination.
How to Clean Leather Car Upholstery
Leather upholstery requires careful product selection because its finish may be affected by harsh chemicals, abrasive tools, or excessive moisture. Clean it with a product intended for automotive leather or specifically approved by the vehicle manufacturer.
For a dedicated walkthrough, read our guide on how to clean leather car seats without damaging them.
Use a Compatible Leather Cleaner
Vacuum loose dirt first, then use an appropriate leather cleaner with a soft microfiber cloth. Follow the label directions and test the product on a hidden area.
Clean a small section at a time, paying attention to high-contact areas such as seat bolsters and armrests. Avoid vigorous rubbing that could affect the protective finish.
Do not assume that a product labeled for household leather, footwear, or furniture is appropriate for automotive seating.
Minimize Moisture Around Perforations and Seams
Some leather seats have perforations for ventilation or other specialized features. Excess liquid can enter these openings and may reach internal seat components.
Use a controlled amount of cleaner and avoid flooding seams, perforations, or nearby electrical controls. Follow any additional precautions in the owner’s manual.
Apply Conditioner Only When Appropriate
Leather conditioner is not automatically required after every cleaning. Whether conditioning is appropriate depends on the type of leather, its finish, and the vehicle manufacturer’s recommendations.
If permitted, use a compatible automotive leather conditioner according to its instructions. Apply it sparingly and remove excess product as directed.
Do not use a leather conditioner on vinyl or synthetic leather unless the product explicitly identifies that material as compatible.
How to Clean Vinyl and Synthetic Leather Upholstery
Vinyl and synthetic leather are often easier to wipe than absorbent fabric, but they still require compatible cleaners and gentle handling. The correct method depends on the material and protective finish.
Wipe With a Suitable Cleaner
Remove loose dirt with a vacuum or soft cloth, then wipe the surface using a compatible automotive cleaner. For vinyl, a lightly dampened cloth and mild soap-and-water solution may be suitable if permitted by the vehicle manufacturer.
Avoid harsh solvents, abrasive pads, and strong degreasers that may affect the surface finish.
Remove Residue and Dry the Surface
Use a separate clean cloth to remove residue according to the cleaner’s instructions. Dry the surface with a soft towel and inspect it for sticky patches, streaking, or discoloration.
Use a protectant only if it is specifically compatible with your upholstery and approved for that application. An overly glossy or greasy dressing may create a slippery surface and should not be applied indiscriminately to seating areas.
How to Remove Common Car Upholstery Stains
The best way to remove a car upholstery stain depends on what caused it, how long it has been present, and which material was affected. Begin with gentle treatment and avoid spreading the stain or damaging the surrounding surface.
Coffee and Tea Stains
Blot a fresh coffee or tea spill with a clean absorbent cloth to remove as much liquid as possible. Do not rub, because this can spread the spill across a larger area.
For fabric upholstery, use a compatible fabric cleaner and follow its instructions. For leather or vinyl, choose a cleaner appropriate for that surface.
Remove remaining residue as directed, then dry the area thoroughly. Older stains may need more than one controlled treatment, but repeated aggressive scrubbing should be avoided.
Grease and Oil Stains
Grease from food, cosmetics, or other oily substances may cling to upholstery and resist ordinary water-based cleaning.
For fabric, gently blot away excess oil without pushing it deeper into the fibers. Use a stain treatment specifically suitable for automotive upholstery and the type of contamination.
For leather and vinyl, select a compatible cleaner and follow the product directions. Avoid gasoline, paint thinner, and other strong solvents.
If the stain persists or begins to spread, stop and consult a professional upholstery cleaner.
Ink and Dye Transfer
Ink and color transfer from clothing can be difficult to remove, especially from light-colored upholstery.
First, check whether the mark can be lifted with a cleaner approved for the specific material. Test the product in an inconspicuous location and work carefully to avoid spreading the color.
Do not assume that rubbing alcohol, bleach, or nail polish remover is safe for your seats. Such products can affect some dyes, coatings, and synthetic materials.
If gentle treatment does not work, professional stain removal may be safer than experimenting with stronger chemicals.
Food Stains and Sticky Residue
Remove solid food gently with a suitable soft tool that will not scratch the upholstery. Blot excess liquid or sticky residue before applying an approved cleaner.
For fabric, use a compatible upholstery product and remove excess moisture as directed. For leather and vinyl, wipe gently with a suitable cloth.
Avoid scraping hardened food with a sharp object or pouring water into seat seams. Finish by removing residue and drying the area.
Pet Urine and Persistent Odors
Pet urine can leave both visible stains and unpleasant odors, particularly when liquid reaches the padding beneath fabric upholstery.
Blot fresh contamination promptly and use a product specifically suitable for the material and type of stain. An enzyme-based cleaner may be appropriate for certain organic stains when its label permits use on the upholstery.
Do not saturate the seat or mix cleaners. If the odor returns after the surface dries, contamination may remain deeper in the cushion or another part of the interior.
Professional cleaning may be necessary when the affected area cannot be adequately cleaned and dried at home.
Mold and Mildew
Visible mold or a persistent musty smell requires attention to both the upholstery and the source of moisture. The contamination may extend beyond the visible surface into the padding or nearby carpet.
Avoid dry brushing that could spread contamination and do not soak the seat with household chemicals. Check for leaks, damp floor coverings, wet belongings, or other sources of recurring moisture.
For more information, read our guide on how to get rid of mold in your car.
If mold is extensive, returns after cleaning, or appears to have penetrated absorbent padding, seek professional advice.
Common Mistakes to Avoid When Cleaning Car Upholstery
Cleaning car upholstery correctly requires more than choosing a good cleaner. The way you apply the product, work the material, and dry the surface also affects the result.
Using the Same Cleaner on Every Material
A fabric cleaner, leather cleaner, and vinyl cleaner are not automatically interchangeable. Products may react differently with dyes, protective coatings, and specialty fibers.
Identify the material and choose an approved product before starting.
Applying Too Much Water or Cleaning Solution
Excess moisture can penetrate fabric padding, collect around seams, and prolong drying. It may also cause water marks or contribute to lingering odors.
Use controlled amounts of product and remove dirty moisture rather than repeatedly wetting the same area.
Scrubbing Too Aggressively
Hard brushing and abrasive tools can damage fibers, alter a surface finish, or spread contamination.
Start with gentle wiping or blotting. Use a suitable soft brush on fabric only when needed and permitted by the material’s care instructions.
Ignoring the Product Label
Different cleaners have different dilution requirements, application methods, and removal instructions. Leaving a product on longer than recommended does not necessarily improve its performance.
Follow the label and the vehicle manufacturer’s guidance, especially when working around airbags and electrical components.
Leaving the Upholstery Damp
Surface appearance alone does not confirm that the padding underneath has dried.
Use appropriate moisture removal and airflow, then allow sufficient drying time before normal use. Investigate recurring dampness rather than masking it with fragrance sprays.
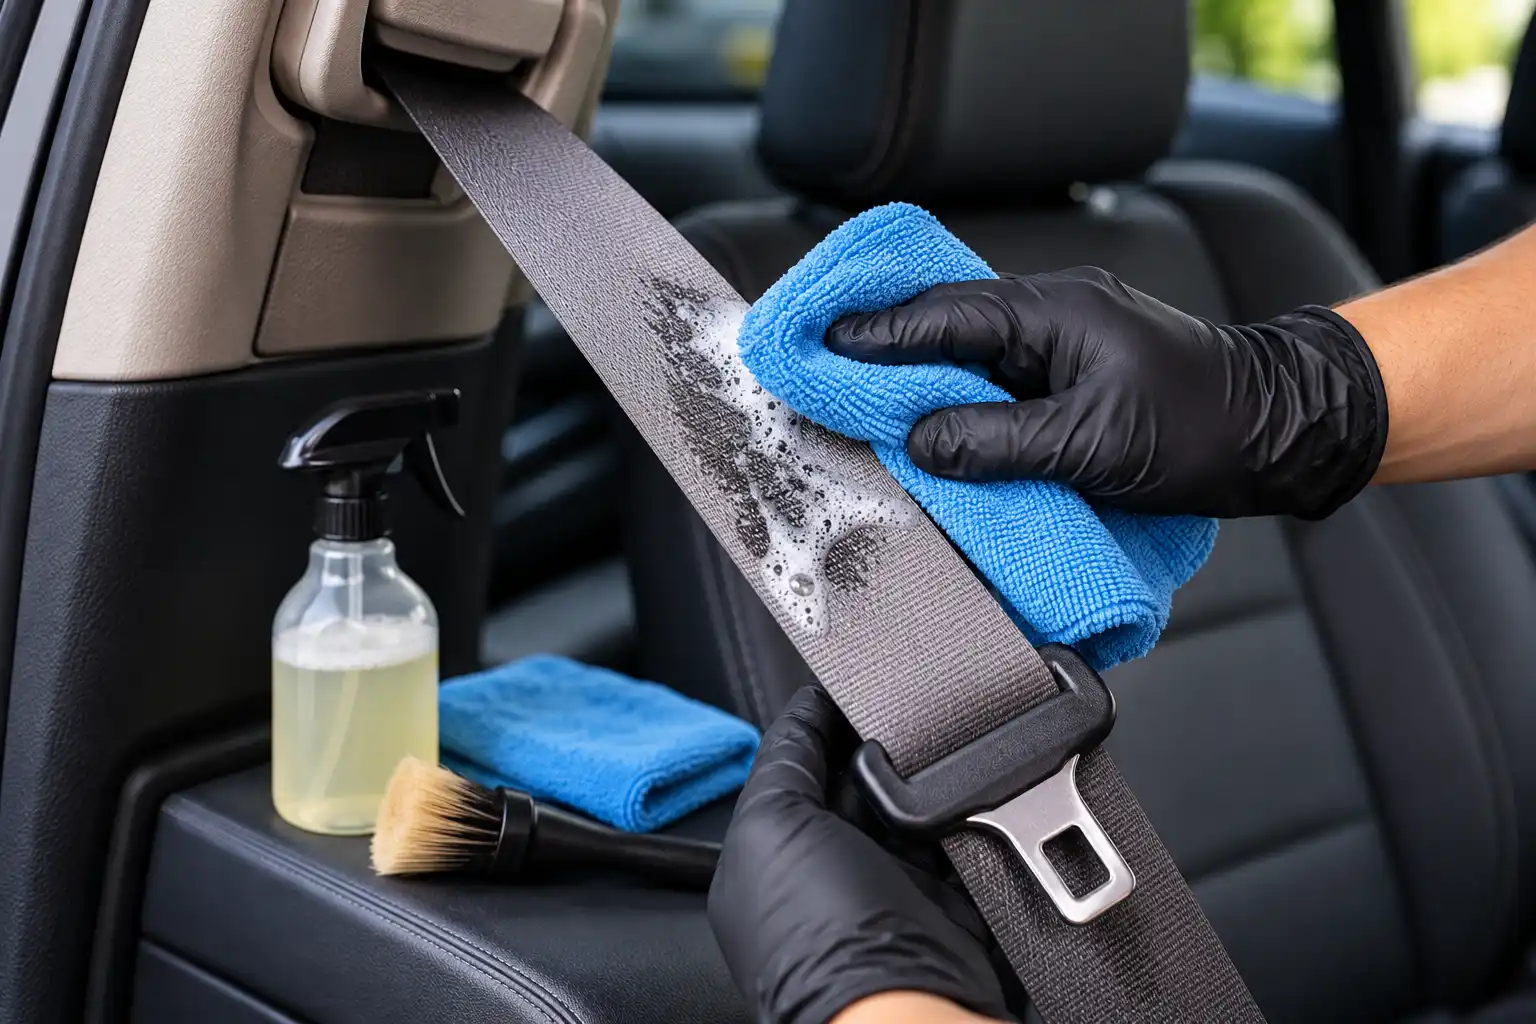
Using Unapproved Products on Headliners and Seat Belts
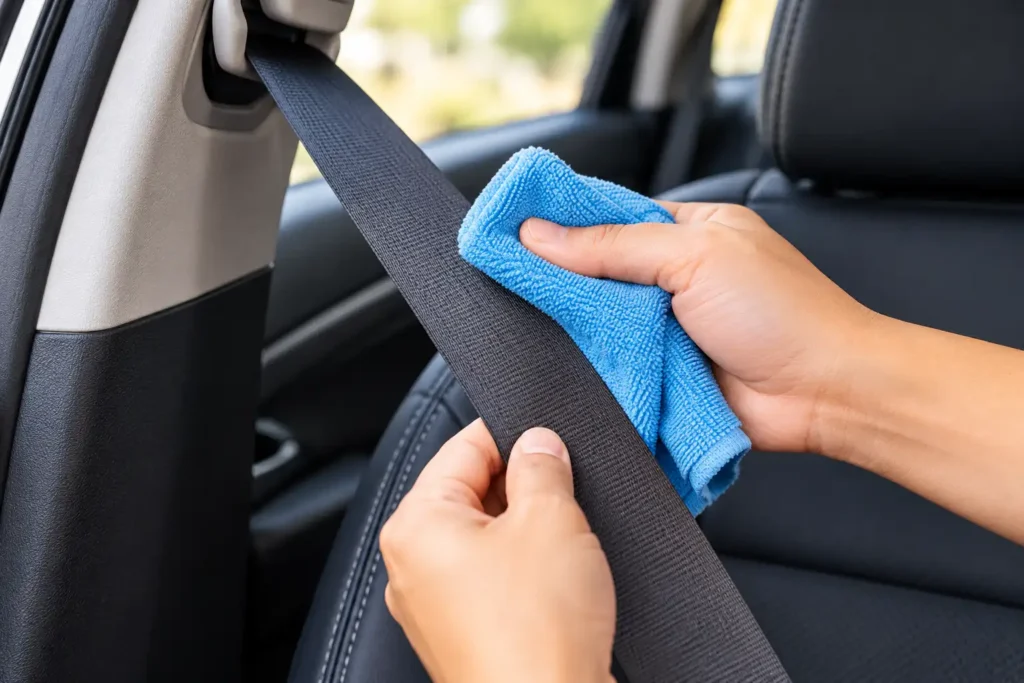
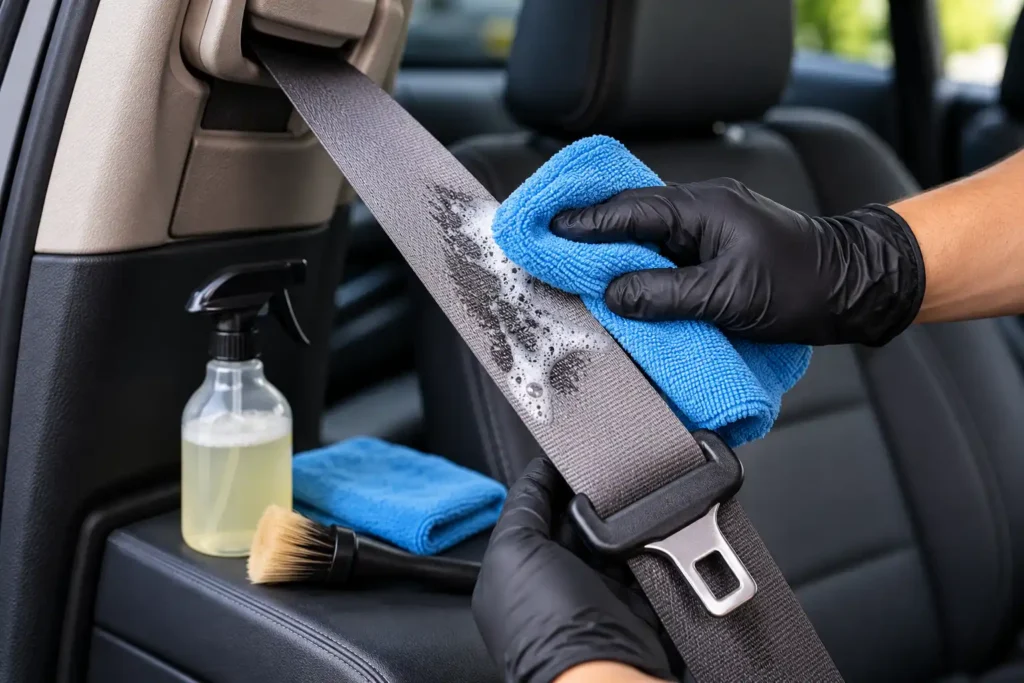
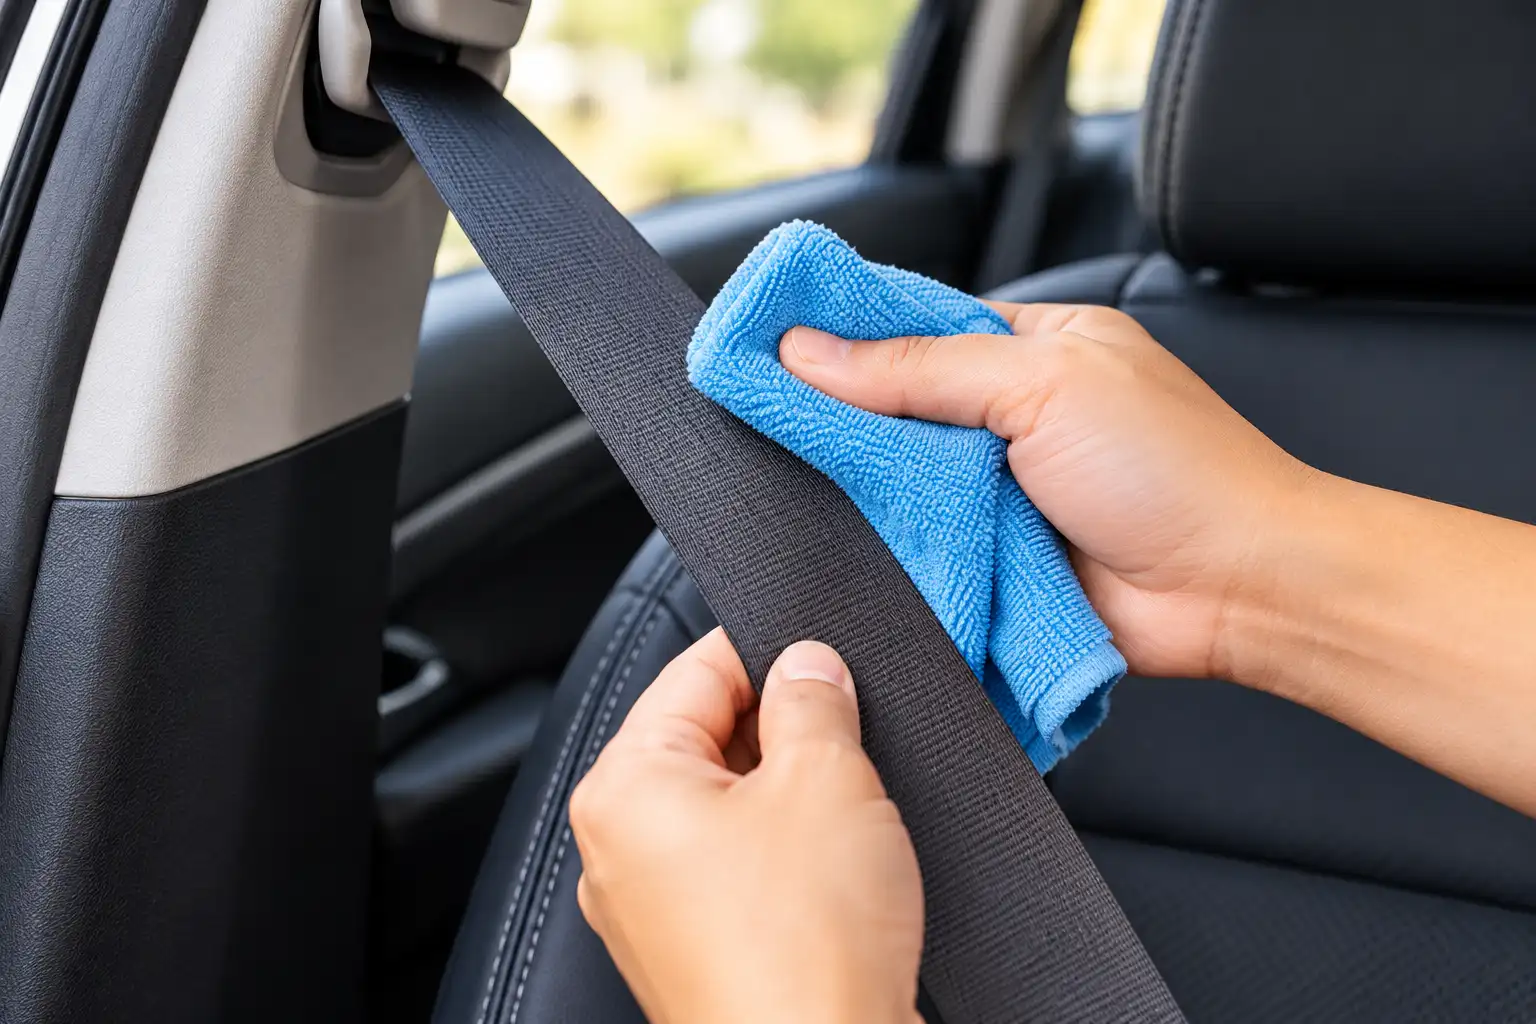
A headliner may be attached with adhesive that can be affected by excessive moisture or aggressive scrubbing. Seat belts are safety components and must be cleaned only according to the manufacturer’s instructions.
Do not automatically use seat-cleaning products on the ceiling lining or safety belts. Treat those areas as separate cleaning tasks with their own precautions.
How to Keep Car Upholstery Clean for Longer
Regular, gentle maintenance helps prevent dust, crumbs, and fresh spills from developing into harder-to-remove contamination. The best routine depends on how often you drive, the conditions in which you use your vehicle, and the type of upholstery.
Vacuum Regularly
Remove loose dust, hair, crumbs, and grit before they become embedded in fabric or collect around seams.
Include seat creases, cushion gaps, and the areas where the seats meet the carpet. Use a suitable soft attachment to avoid scratching or abrading the material.
Treat Spills Promptly
Blot fresh spills as soon as practical, then use a compatible cleaner if necessary. Avoid rubbing liquid into the fibers or leaving sugary and oily residue on the surface.
Quick attention can make many fresh spills easier to manage.
Reduce Direct Sunlight Exposure
Where practical, park in a shaded area or garage. A suitable windshield sunshade can also help limit direct sunlight entering the cabin.
This may help reduce environmental exposure, but it cannot eliminate age-related wear or protect upholstery from every source of damage.
Use Seat Covers Only When Suitable
Compatible seat covers may help limit everyday dirt and friction on upholstery. However, covers must be suitable for the vehicle and must not interfere with seat-mounted airbags, ventilation, heating, or other safety features.
Check the vehicle manufacturer’s guidance before installing them.
Schedule Deep Cleaning When Needed
A full deep clean is not necessary every time you vacuum. Base deeper cleaning on visible soil, persistent odors, spills, and the material’s care requirements.
For cloth upholstery and carpets, our guide on how to deep clean carpets and floor mats covers related techniques for removing embedded dirt and managing moisture.
When Should You Hire a Professional Upholstery Cleaner?
Professional cleaning may be appropriate when stains persist after careful treatment, odors return after drying, or liquid has penetrated deeply into the seat padding.
It is also worth considering when you have delicate or unidentified upholstery, extensive mold contamination, severe dye transfer, or material damage that ordinary cleaning cannot resolve.
Professional equipment may help remove deeper contamination and excess moisture, but it cannot guarantee that every stain or odor will disappear. Ask the service provider about the cleaning method, product compatibility, and drying process before booking.
If upholstery is torn, peeling, or permanently discolored, cleaning alone may not restore it. An upholstery specialist can assess whether repair or replacement is more appropriate.
Frequently Asked Questions About Cleaning Car Upholstery
What Is the Best Way to Clean Car Upholstery?
The best way to clean car upholstery is to identify the material, vacuum loose dirt, test a compatible cleaner, treat stains gently, remove residue, and dry the surface thoroughly. Fabric, leather, vinyl, and specialty microfiber upholstery require different products and moisture levels, so follow your vehicle manufacturer’s instructions.
What Can I Use to Clean Car Upholstery at Home?
You can use a vacuum cleaner, clean microfiber cloths, and a suitable automotive upholstery cleaner at home. A mild soap-and-water solution may be appropriate for some surfaces when permitted by the manufacturer’s care instructions. Avoid unapproved household chemicals and test a suitable product on a hidden area first.
Can You Clean Car Upholstery With Dish Soap?
A mild dish soap solution may be suitable for some upholstery surfaces, but it is not appropriate for every material or finish. Check the owner’s manual, use a small amount only when permitted, and remove residue as directed. For difficult stains, a compatible automotive upholstery cleaner may be a better option.
How Do You Clean Car Upholstery Without a Machine?
To clean car upholstery without an extractor, vacuum loose dirt, apply a compatible cleaner in a controlled amount, and gently wipe or brush the surface as appropriate. Blot dirty moisture with clean towels and allow the area to dry completely. Avoid soaking fabric seats because moisture can become trapped in the padding.
How Do You Remove Bad Odors From Car Upholstery?
To remove odors from car upholstery, identify and clean the source of the smell rather than covering it with fragrance. Use a cleaner suitable for the material, remove excess moisture, and dry the interior thoroughly. If the smell returns, inspect for hidden spills, persistent dampness, or contamination inside the padding.
How Often Should You Clean Car Upholstery?
Clean car upholstery according to its condition and use. Vacuum regularly, remove fresh spills promptly, and deep-clean when visible dirt, stains, or persistent odors make it necessary. Follow the vehicle manufacturer’s care instructions and avoid unnecessary wet cleaning that can prolong drying.
Can You Use a Steam Cleaner on Car Upholstery?
A steam cleaner is not suitable for every automotive upholstery material. Heat and moisture may damage certain finishes, adhesives, or seat components. Check the vehicle and equipment manufacturers’ instructions before using steam, and choose a gentler method when compatibility is uncertain.
Is It Better to Clean Car Upholstery Yourself or Hire a Professional?
DIY cleaning is often suitable for routine dust, light dirt, and manageable spills when you have the correct products. Professional cleaning may be preferable for deep stains, persistent odors, extensive contamination, or delicate materials. Neither method guarantees removal of permanent stains or restoration of damaged upholstery.
Final Thoughts
Learning how to clean car upholstery properly starts with understanding the material and choosing a suitable cleaning method. Vacuuming before wet cleaning, treating stains carefully, controlling moisture, and drying the interior thoroughly can help maintain your car’s appearance without introducing unnecessary damage.
Use fabric-safe products on cloth seats, compatible cleaners on leather and vinyl, and material-specific instructions for delicate upholstery. Avoid harsh chemicals, excessive scrubbing, and uncontrolled moisture, especially around seams and seat components.
For everyday maintenance, regular vacuuming and prompt spill treatment can reduce the need for intensive cleaning. When stains, odors, or moisture problems persist, seek professional advice rather than repeatedly applying stronger products.