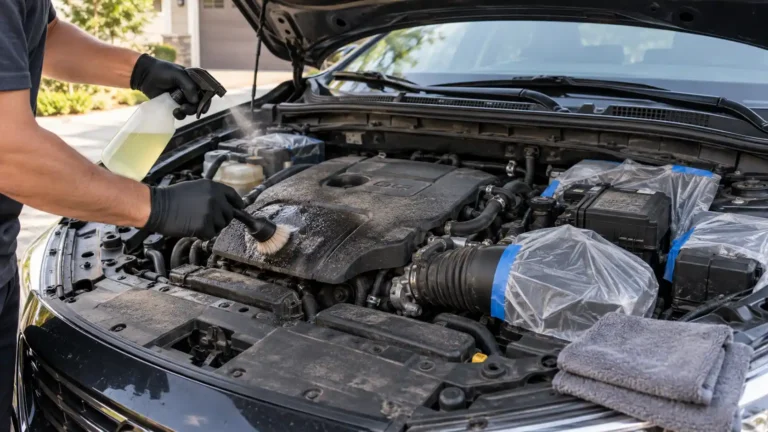
Detailing your engine bay safely means covering or avoiding direct water and cleaner contact with electrical components, using low pressure rather than a direct pressure washer stream, and working with the engine cool rather than hot or running. Following these precautions lets you safely remove built-up grease, dust, and grime without risking damage to sensors, connectors, or wiring that a careless approach could cause.
This guide covers: the safety precautions that matter most, the correct cleaning process, and the specific components that need extra protection during the process.
Why Does Engine Bay Cleaning Require More Caution Than Exterior Washing?
An engine bay contains sensitive electrical connectors, sensors, and wiring that aren’t sealed to the same standard as components designed for constant outdoor water exposure, unlike the vehicle’s exterior body panels. Direct, high-pressure water aimed at these components can force moisture into connections not designed to handle it, potentially causing corrosion, electrical faults, or sensor malfunctions.
This is why engine bay cleaning follows a fundamentally different set of precautions than body washing, prioritizing controlled, gentle water application and protective covering over the higher-pressure techniques that work fine on painted exterior surfaces. Understanding this distinction upfront prevents the most common mistakes that turn a helpful cleaning task into an expensive repair.
What Preparation Should You Do Before Starting?
Before cleaning an engine bay, let the engine cool, identify sensitive components, protect exposed electrical areas, and remove loose debris by hand. These preparation steps reduce unnecessary exposure to heat, water, and cleaning chemicals.
- Let the engine cool completely: Work only after the engine has cooled completely. A hot engine can create a burn risk, while introducing cold water to hot components can create unnecessary thermal stress.
- Disconnect the battery when appropriate: If you are unfamiliar with your vehicle’s electrical layout, disconnecting the battery can provide an additional precaution before cleaning. Follow the vehicle manufacturer’s instructions because the procedure can vary between vehicles.
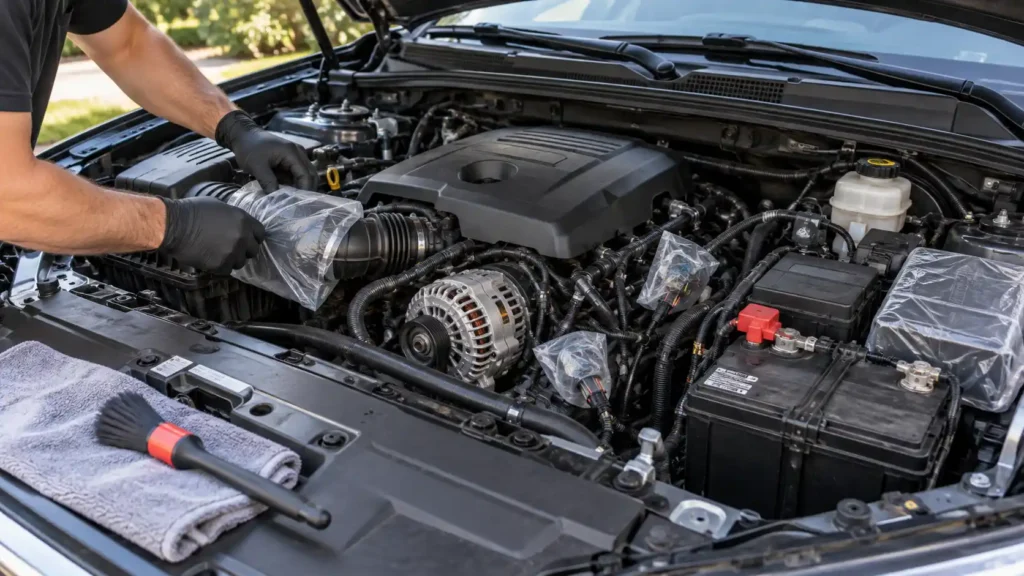
- Cover sensitive components: Protect exposed areas such as the air intake, alternator, and electrical connectors before applying cleaner or water. Use suitable protective covers or securely fastened plastic bags that will remain in place during cleaning.
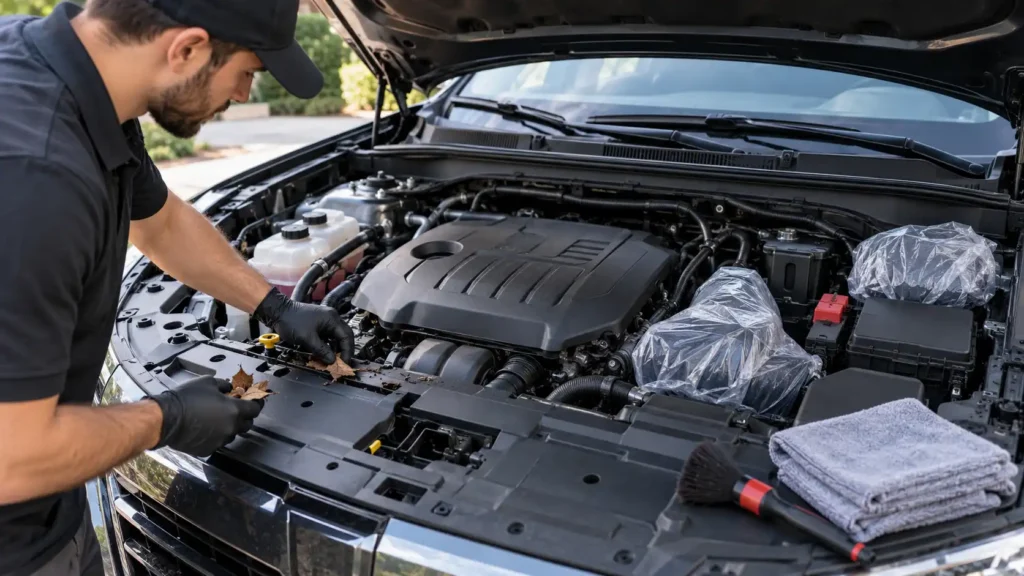
- Remove loose debris by hand: Clear leaves, dirt clumps, and other loose debris before introducing any liquid. Removing this material first prevents it from becoming wet and harder to remove during cleaning.
How Do You Clean the Engine Bay Step by Step?
You can safely clean an engine bay by protecting sensitive components, applying an engine-safe degreaser, gently agitating dirt, rinsing with low pressure, and allowing the area to dry thoroughly before starting the engine. The goal is to remove grease and grime without directing water or cleaner into electrical connections or air intake openings.
Step 1. Cover Sensitive Components
Before applying any cleaner or water, cover exposed electrical connectors, the air intake opening, and other sensitive components identified during preparation. Make sure the coverings are secure and will not come loose during cleaning.
Step 2. Apply an Engine-Safe Degreaser
Spray a degreaser specifically formulated for engine bay use onto dirty areas. Follow the product’s instructions for dilution, application, and dwell time rather than assuming every degreaser should be used at the same strength.
Step 3. Let the Degreaser Dwell
Allow the cleaner to sit for the manufacturer’s recommended time so it can loosen grease and road grime. Avoid allowing the product to dry on the surface.
Step 4. Agitate Stubborn Grime
Use a soft detailing brush to loosen stubborn dirt and grease. Concentrate on visibly contaminated areas instead of aggressively scrubbing every component.
Step 5. Rinse With Low Pressure
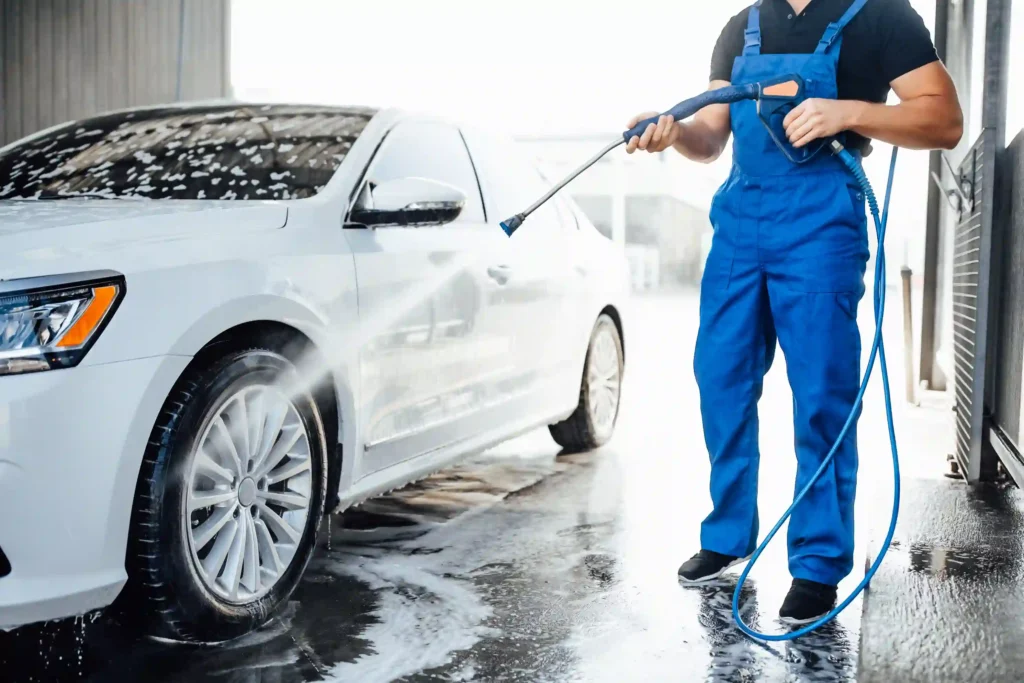
Rinse the engine bay gently using a garden hose on a low-pressure setting or a pressure washer used at a safe distance and low setting. Avoid directing water directly at electrical connectors, the alternator, fuse boxes, or air intake openings.
Step 6. Dry the Engine Bay
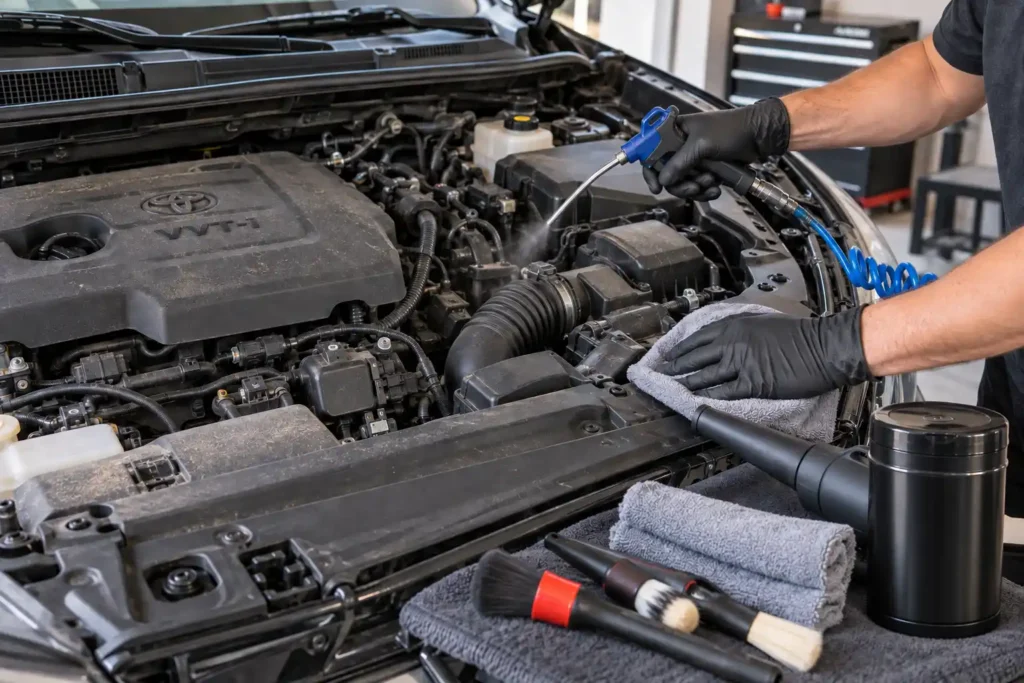
Use compressed air to help remove trapped water around connectors and other tight areas if available. Otherwise, leave the hood open and allow the engine bay to air dry before removing protective coverings.
Step 7. Start the Engine After Drying
Once the engine bay is mostly dry and protective coverings have been removed, start the engine. This allows normal operating heat to help evaporate residual moisture from areas that may remain slightly damp.
What Components Need the Most Protection During Cleaning?
The air intake, alternator, electrical connectors, battery terminals, and fuse boxes need the most attention when cleaning an engine bay. Protecting these areas from direct high-pressure water helps reduce the risk of water intrusion, corrosion, and electrical problems.
1. Air Intake Opening
Protect the air intake opening before applying cleaner or water. Water entering an exposed intake opening can be drawn toward the engine, so avoid directing any spray into this area during cleaning.
2. Alternator
The alternator can tolerate some moisture, but direct high-pressure spray can force water into its housing. Keep strong water streams away from the alternator and use gentle rinsing around this component.
3. Electrical Connectors and Sensor Plugs
Exposed electrical connectors and sensor plugs should be protected from direct water pressure. Their seals may handle normal weather exposure, but concentrated high-pressure spray can increase the chance of water entering the connections.
4. Battery and Terminals
Avoid allowing water to pool around the battery and its terminals during cleaning. After rinsing, check the area for trapped moisture and allow it to dry thoroughly to help reduce the risk of corrosion or electrical problems.
5. Fuse Boxes and Relay Panels
Fuse boxes and relay panels are normally protected by covers, but damaged covers, aging seals, or gaps can allow water to enter. Avoid directing high-pressure water at these areas, particularly if the protective cover or seal is not in good condition.
What Products Are Safe to Use in an Engine Bay?
Dedicated engine bay degreasers are formulated specifically for this environment, designed to cut through grease and road grime without being overly aggressive toward rubber hoses, plastic components, or painted surfaces commonly found under the hood. General-purpose degreasers or household cleaners aren’t always tested for this specific mix of materials and can potentially dry out rubber components with repeated use.
A dedicated engine bay dressing, applied after cleaning, can restore a factory-fresh look to plastic covers and components, though it’s a purely cosmetic step rather than a necessary part of the safety-focused cleaning process. Choosing products specifically labeled for engine bay use, rather than substituting general automotive or household cleaners, reduces the risk of unintended material damage over repeated cleanings.
Does Engine Bay Design Vary Enough to Change the Approach?
Yes, newer vehicles generally have more encapsulated engine bays, with plastic covers shielding much of the wiring and connectors from direct exposure, which makes cleaning somewhat more forgiving than on older vehicles with more exposed components. Older vehicles, or those with aftermarket modifications that have removed factory covers, require more careful attention to identify and protect exposed wiring that a newer vehicle’s design might already shield.
Checking your specific vehicle’s layout before starting, rather than assuming every engine bay follows the same protection standard, helps you identify which components genuinely need extra covering versus which are already reasonably protected by design and don’t require the same level of caution. Owner’s forums or manufacturer documentation for your specific make and model can clarify this if you’re uncertain about your vehicle’s particular layout.
Is It Ever Better to Skip Water Entirely and Use a Dry Cleaning Method?
For vehicles with particularly sensitive or exposed electrical systems, or for owners who prefer to eliminate water-related risk entirely, a dry cleaning approach using compressed air, detailing brushes, and waterless engine cleaning wipes or sprays can achieve a meaningfully cleaner engine bay without any liquid rinse step at all. This approach won’t remove heavy, caked-on grease as effectively as a proper degreaser and rinse, but it’s a reasonable option for light dust and surface grime maintenance between more thorough cleanings.
This dry method is also worth considering for classic or collector vehicles where original wiring and components may be more sensitive to any water exposure than a modern production vehicle, since preserving originality often matters as much as achieving a spotless appearance for these owners. Weighing the vehicle’s specific sensitivity against how deep a clean you actually need helps determine whether the full water-based process or a gentler dry approach is the better fit for a given engine bay, and there’s no requirement to commit to one method exclusively if alternating between the two based on how dirty the bay looks makes more practical sense.
conclusion
Cleaning your engine bay does not require aggressive pressure or excessive water. The safest approach is to work with a completely cool engine, protect exposed electrical components and air intake openings, use an engine-safe degreaser, and rinse gently with low pressure. Pay particular attention to the alternator, connectors, fuse boxes, battery terminals, and other areas where water can cause problems.
If your vehicle has especially exposed wiring or you only need to remove light dust, a dry cleaning method using brushes and compressed air can be a safer alternative. Always consider your specific vehicle’s design and follow the manufacturer’s guidance when available. With the right preparation and a controlled cleaning process, you can remove grime while minimizing unnecessary risk to sensitive components.
Frequently Asked Questions
How often should I clean my engine bay?
Most vehicles benefit from engine bay cleaning two to four times a year, aligned with regular detailing sessions rather than every wash. Vehicles that see off-road use or significant oil leaks may benefit from more frequent attention to prevent grease buildup from becoming difficult to remove.
Is it safe to use a pressure washer on an engine bay at all?
Yes, with caution: using a lower pressure setting and keeping the nozzle at a reasonable distance from sensitive components reduces risk significantly compared to a direct, close-range high-pressure stream. Many detailers prefer a garden hose with a gentle spray setting specifically for this reason, even if they use a pressure washer elsewhere on the vehicle.
Can I start my car with a wet engine bay?
It’s best to wait until the engine bay is mostly dry, or use compressed air to help clear water from connector areas, before starting the engine. Starting with water still present around electrical connections increases the risk, however small, of an electrical fault or rough running until everything fully dries out.
Do I need to disconnect my battery every time I clean the engine bay?
Not necessarily for routine cleaning with proper covering and low-pressure technique, though it’s an extra precaution some detailers recommend for unfamiliar vehicles or when doing a particularly thorough cleaning. If you’re uncertain about your vehicle’s specific electrical layout, disconnecting the battery removes one layer of risk entirely.
What should I do if water gets into a connector despite my precautions?
If you notice a connector got wet despite covering, disconnecting it, drying it thoroughly with compressed air or a clean cloth, and applying a small amount of dielectric grease before reconnecting helps prevent corrosion. If the vehicle runs roughly or shows warning lights after cleaning, letting everything dry completely overnight before troubleshooting further is a reasonable first step, since many moisture-related issues resolve on their own once the affected connector has had adequate time to fully dry out.