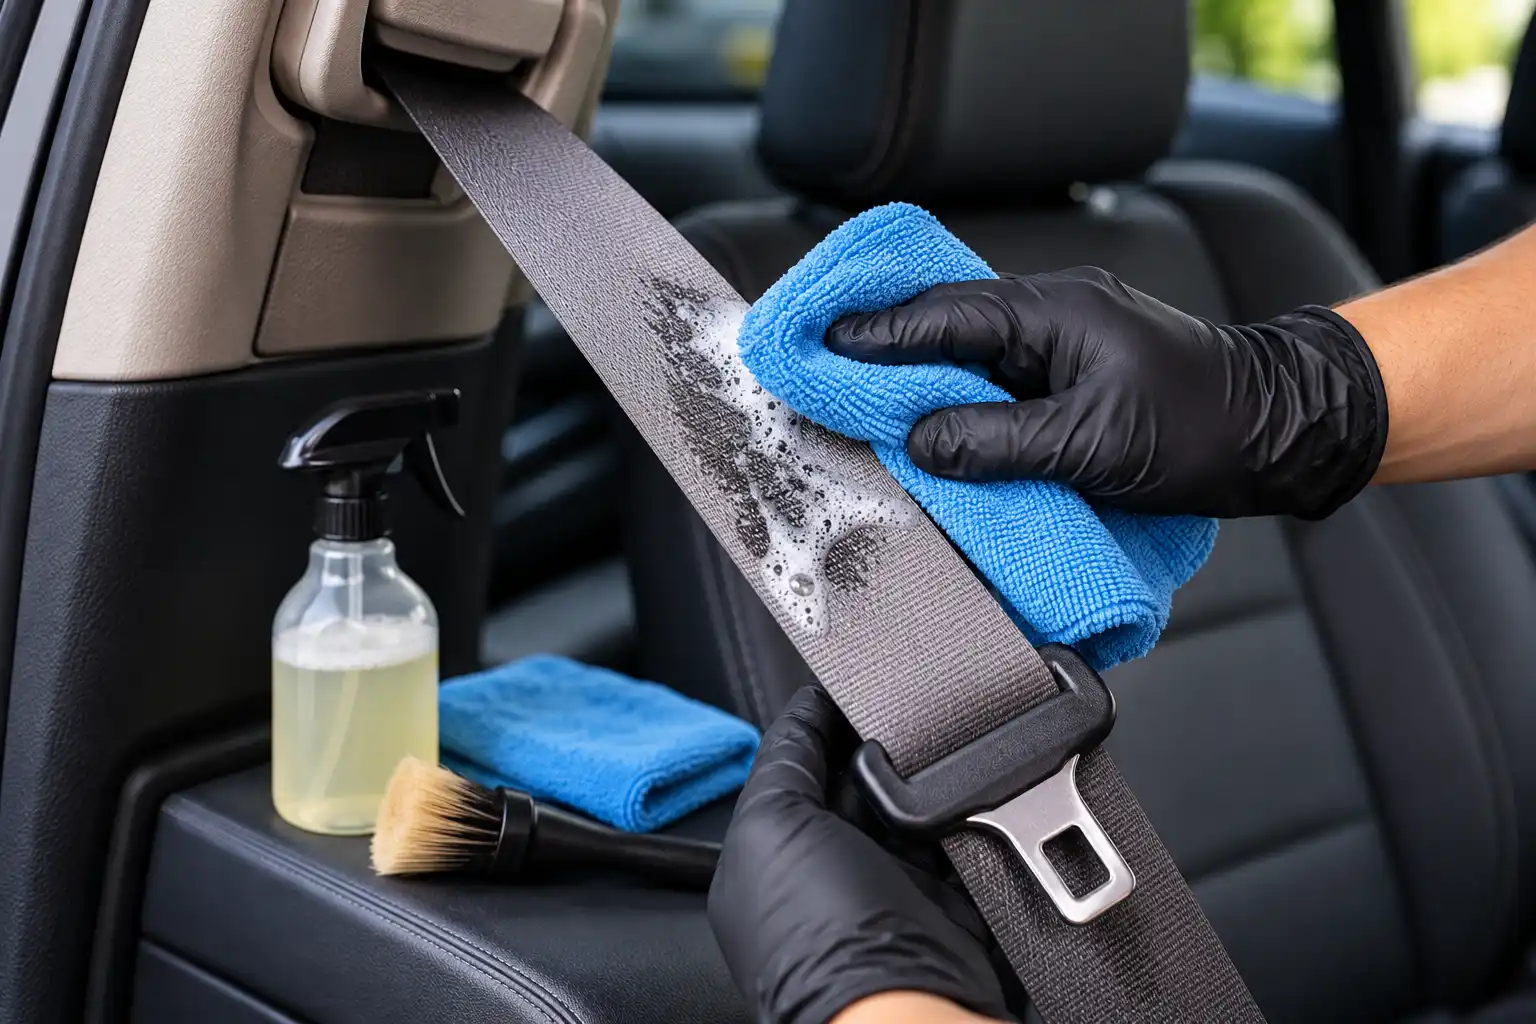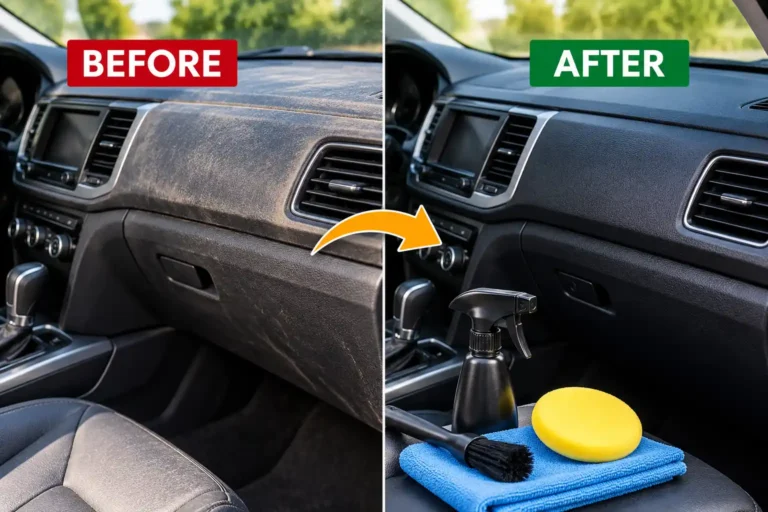
Faded car interior plastic can make an otherwise clean vehicle look old and poorly maintained. Dashboard panels may lose their original appearance, door trims can become dull, and frequently touched surfaces may develop greasy patches, scratches, or uneven discoloration. Heat, sunlight, everyday friction, and inappropriate cleaning products can all contribute to these changes.
The good news is that many dirty, dull, or mildly faded plastic surfaces can be improved with the right cleaning and restoration process. The key is to identify the type of damage before choosing a product. A plastic cleaner can remove dirt, an interior trim restorer may improve the appearance of faded unpainted plastic, and protective products can help maintain the finish. However, deep scratches, peeling coatings, and permanently damaged plastic may require refinishing or professional repair.
In this guide, you will learn how to restore car interior plastic step by step, choose suitable products, improve faded dashboard and door panels, remove stubborn stains, and protect the restored finish without creating a greasy or shiny interior.
Can You Restore Faded Car Interior Plastic?
Yes, you can often improve faded car interior plastic, especially when the problem is caused by accumulated dirt, surface residue, or a worn-looking finish rather than severe material damage.
The restoration method depends on the condition and construction of the plastic. Some surfaces respond well to thorough cleaning and an automotive interior trim restorer. Others may need a compatible protective treatment, while damaged coatings or deep scratches may require specialist refinishing.
Before beginning, identify which of these problems affects your vehicle:
- Dirty or dull plastic: Dust, body oils, and cleaning residue may be hiding the original finish. Thorough cleaning may be enough.
- Faded or unevenly colored plastic: A compatible interior trim restorer may improve the appearance of suitable unpainted plastic.
- Light surface scuffs: Gentle cleaning may reduce their visibility, but scratches that have physically removed material usually cannot be cleaned away.
- Deep scratches or peeling coatings: These may require professional repair, refinishing, or replacement.
- Sticky or deteriorating soft-touch surfaces: The original surface coating may be breaking down. Applying another dressing may make the problem worse.
The goal is to restore a clean, even appearance without damaging the original texture, color, or protective finish.
What Causes Car Interior Plastic to Fade?
Car interior plastic can fade over time due to prolonged sunlight and UV exposure, repeated heat, and everyday wear. Body oils, dust, and product residue can also cause uneven discoloration or a dull appearance. Harsh cleaners and unsuitable interior dressings may damage the surface or its protective coating. Regular cleaning, reducing direct sun exposure, and using a compatible interior protectant can help maintain the plastic’s original appearance.
Sunlight and UV Exposure
Repeated exposure to sunlight can contribute to discoloration and deterioration of automotive interior materials. Dashboard panels, upper door trims, and other surfaces exposed to direct sunlight may develop an uneven or faded appearance.
An interior protectant labeled for the specific material may help protect suitable surfaces, but it cannot reverse severe material degradation.
Heat Inside the Vehicle
Vehicle interiors can become very hot when parked in direct sunlight. Repeated heating and cooling can contribute to the aging of some plastic surfaces, coatings, and adhesives.
Parking in shade when practical and using an appropriate sunshade can help reduce direct sun exposure to the dashboard.
Body Oils and Everyday Contact
Steering-wheel surrounds, door handles, armrests, switches, and center consoles collect oils from hands, cosmetics, and other everyday contaminants. These deposits can make plastic look darker or shinier than the surrounding areas.
In these cases, cleaning the surface thoroughly is often the first step before considering a restorer.
Harsh Cleaning Products
Some chemicals and unsuitable interior dressings can discolor plastic, leave streaks, or affect its surface coating. For example, Mercedes-Benz warns against using solvent-based care products on cockpit plastics because they can make certain surfaces porous and potentially affect their behavior during airbag deployment.
Follow your vehicle manufacturer’s recommendations and avoid experimenting with strong solvents on dashboard materials.
What You Need to Restore Car Interior Plastic
Gather the necessary supplies before starting. You do not need a large collection of products to improve most dirty or dull interior plastic.
Essential Cleaning Supplies
- A vacuum cleaner with a suitable soft attachment.
- Two or three clean microfiber towels.
- A soft-bristle detailing brush.
- An automotive interior plastic cleaner approved for the material.
- A clean sponge or applicator pad, if recommended by the product manufacturer.
- A dry microfiber towel for final wiping.
- An automotive interior plastic restorer for compatible faded surfaces.
- An interior UV protectant, if suitable for the material and permitted by the vehicle manufacturer.
A separate restorer and protectant are not always necessary. Some products combine cleaning or appearance-enhancing properties, while others are designed specifically for protection.
Read each product’s label before use. Confirm whether it is intended for interior plastic, exterior trim, vinyl, rubber, painted panels, or a specific surface finish. These applications should not automatically be treated as interchangeable.
How to Restore Plastic Interior of a Car Step by Step
Follow this process to clean and improve suitable plastic dashboard panels, door trims, center consoles, and other interior surfaces.
Step 1: Inspect the Plastic and Identify the Finish
Before applying a cleaner or restorer, inspect the affected area under good lighting.
Determine whether the surface is textured hard plastic, painted plastic, glossy trim, or a soft-touch coated material. These finishes may require different products and cleaning methods.
Look for scratches, peeling, sticky patches, uneven coloring, and signs of previous chemical damage.
If the surface has a peeling coating or deteriorating soft-touch finish, do not immediately apply a plastic restorer. The product might not bond evenly or could make the damage more noticeable.
Check the vehicle owner’s manual for recommended interior cleaning methods. Test any unfamiliar product in a small, hidden area and allow the test spot to dry fully before continuing.
Step 2: Remove Dust and Loose Dirt
Use a vacuum cleaner with a suitable soft attachment to remove loose dust, crumbs, and debris from the interior.
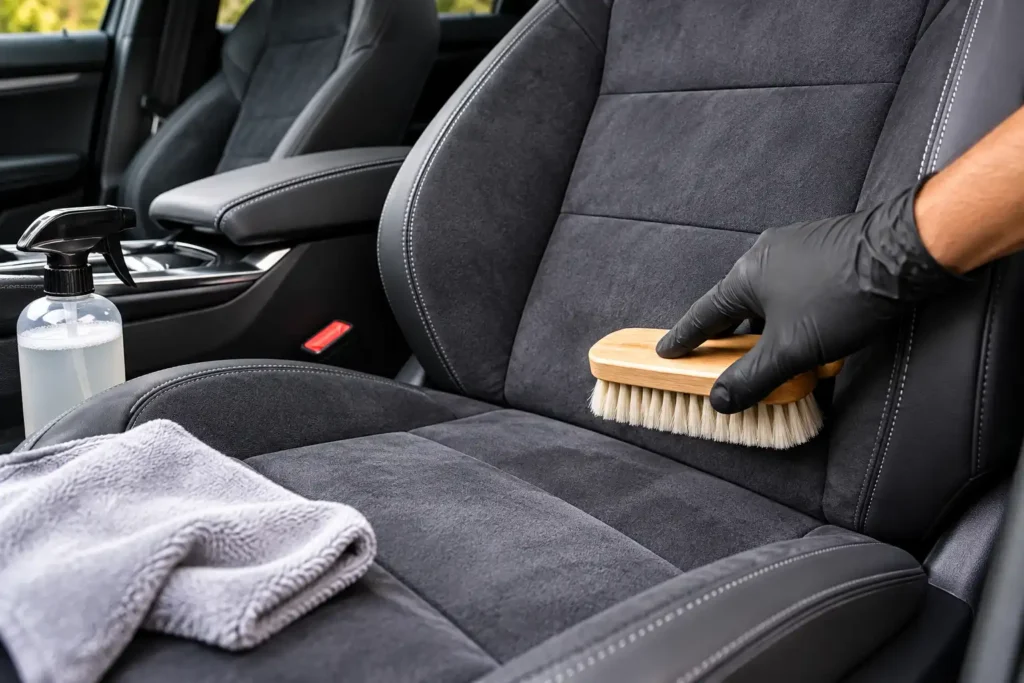
Pay attention to door pockets, console edges, panel seams, and the areas around air vents. Use a soft detailing brush to loosen dirt from textured surfaces while vacuuming.
Do not force the brush into narrow gaps or scratch glossy panels with the vacuum attachment.
Removing loose debris first is important because wiping a dusty panel can drag particles across the plastic and leave fine marks.
Step 3: Clean the Plastic Thoroughly
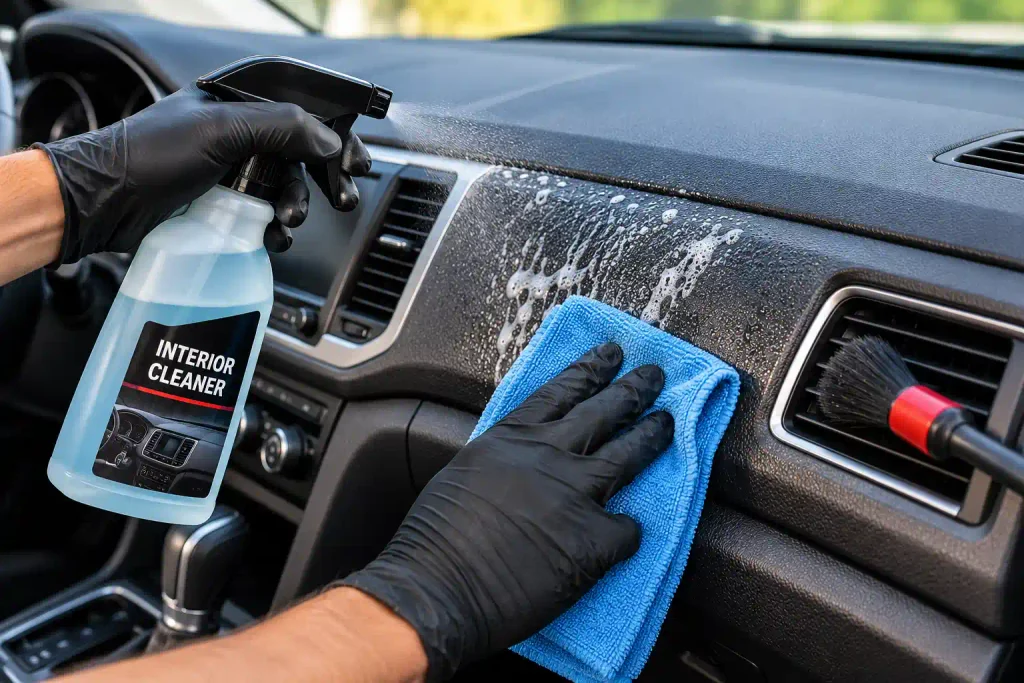
Once the loose dirt has been removed, clean the affected surface with an automotive interior cleaner suitable for that particular material.
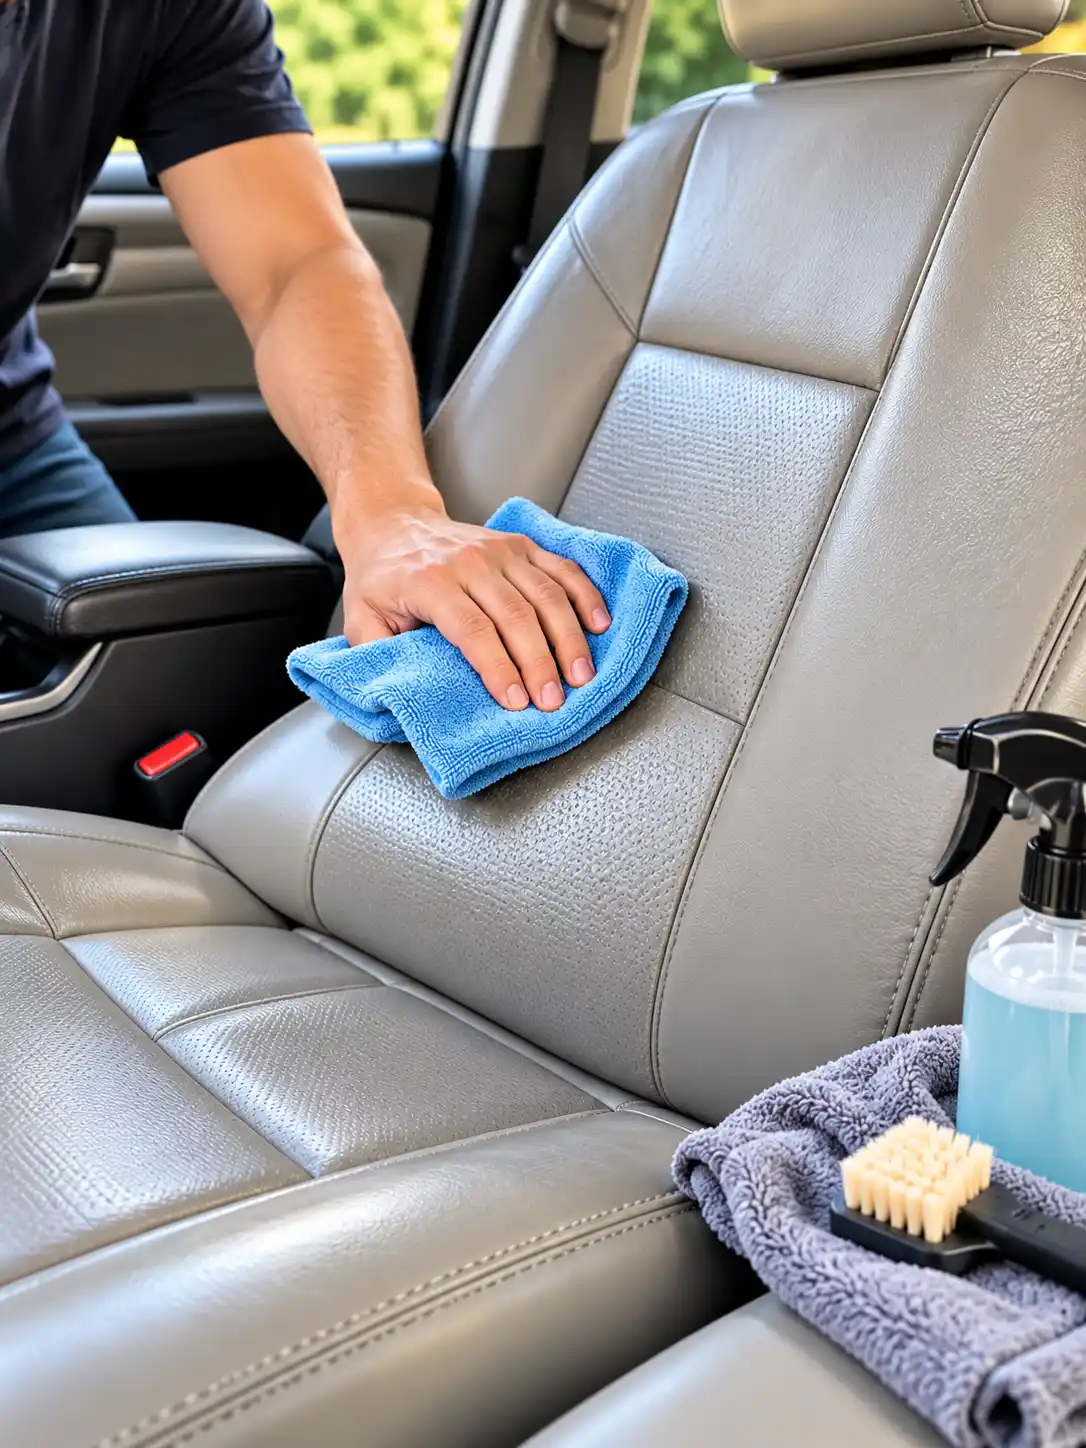
Apply the cleaner according to its label. When direct application is not recommended, apply a small amount to a microfiber cloth instead of spraying the dashboard or panel directly.
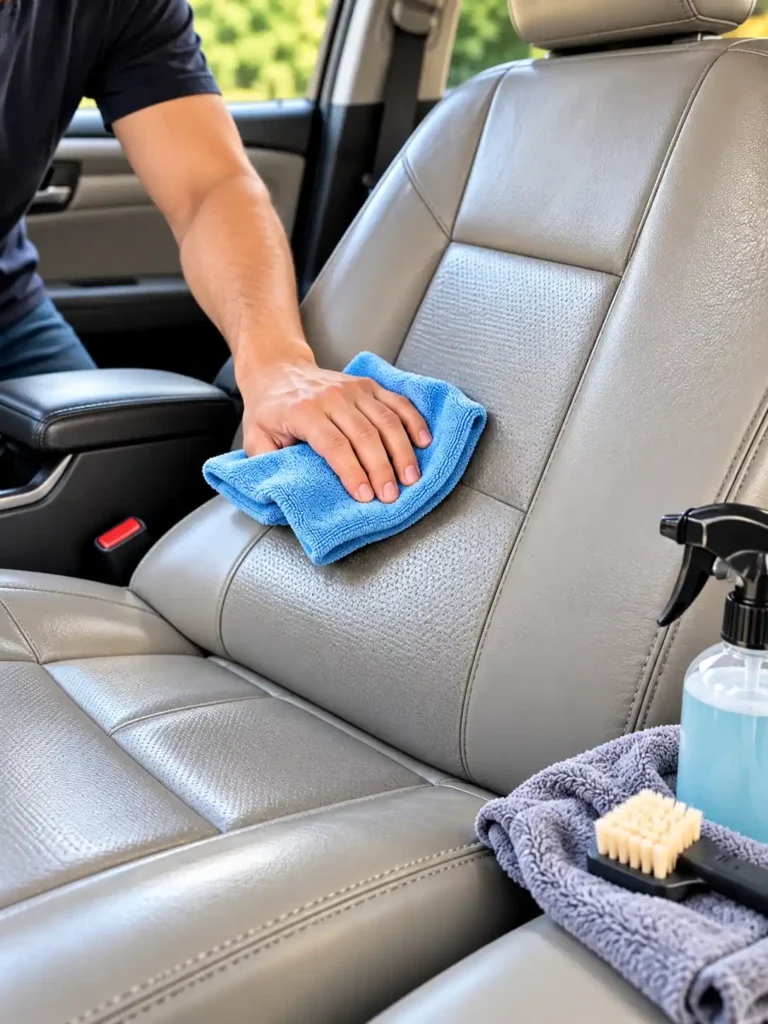
Wipe the surface gently and work in manageable sections. Use a soft detailing brush to loosen dirt from textured areas where needed.
Pay particular attention to greasy patches around door handles, armrests, and the center console. Do not repeatedly scrub the same spot with excessive pressure.
For sensitive cockpit panels, use only products permitted by the vehicle manufacturer. Mercedes-Benz, for example, recommends a damp, lint-free cloth for routine plastic-trim cleaning and approved products for heavy soiling.
Step 4: Remove Cleaner Residue
After cleaning, inspect the plastic for streaks, greasy patches, and remaining residue.
If the product instructions call for it, wipe the panel with a separate clean microfiber cloth dampened with water. Avoid soaking the surface, particularly near buttons, switches, screens, and electrical components.
Follow with a dry microfiber cloth to remove remaining moisture.
Allow the surface to dry before judging its final appearance. Wet plastic can temporarily look darker or more uniform, which may make it difficult to determine whether a restorer is actually needed.
Step 5: Assess Whether the Plastic Needs Restoration
Once the panel is clean and dry, compare its appearance with an adjacent area that receives less wear or sunlight.
If the original color and finish have returned, there may be no need to use a restorer. Maintaining a clean surface may be sufficient.
If compatible unpainted plastic remains dull or unevenly faded, consider a dedicated automotive interior trim restorer.
A plastic restorer is intended to improve the appearance of suitable surfaces, but not every formulation works on every interior material. Check the label carefully before applying it to dashboards, door panels, or other trim.
Do not use exterior bumper restorers or products designed for engine-bay plastics unless the manufacturer explicitly identifies the interior surface as an approved application.
Step 6: Apply an Interior Plastic Restorer
Choose a restorer designed for the type of interior plastic you are treating. For a factory-style appearance, look for a product that specifies a matte or satin finish if that matches your original trim.
Before using the product, confirm compatibility with the panel, test it in an inconspicuous area, and allow the test area to dry.
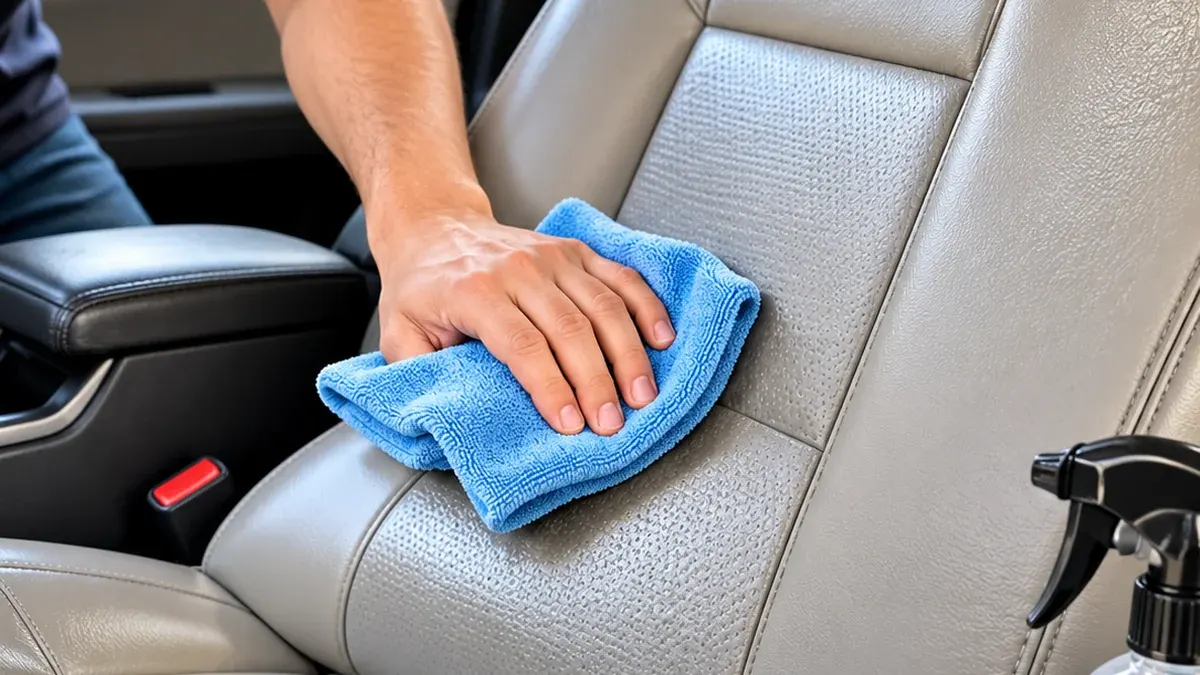
Apply a small amount to the specified applicator or microfiber cloth. Spread the product evenly over the compatible surface, following the manufacturer’s recommended application method.
Work in small sections so that you can maintain an even finish. Use additional product only when the directions call for it; applying a heavy layer can leave a greasy surface, uneven patches, or residue.
Remove excess product as directed. If the finish looks darker immediately after application, allow the recommended curing or drying time before deciding whether further treatment is necessary.
Do not apply trim restorer to the steering wheel grip, brake or accelerator pedals, gear-shift grip, display screens, or surfaces where an altered finish could affect safe operation. Do not coat airbag covers unless the vehicle manufacturer explicitly permits the exact product and application.
Step 7: Restore Door Panels and Center Console Trim
Door panels and center consoles often show wear where hands, elbows, and everyday objects repeatedly touch the surface.
Treat these areas using the same general sequence: remove loose dirt, clean the material, remove residue, allow it to dry, and then apply a compatible restorer if needed.
Pay attention to the differences between the materials on a single panel. A door trim assembly may include hard plastic, vinyl, fabric, leather, and painted or glossy decorative inserts.
Do not spread the same dressing across every material simply because the surfaces are next to each other. Use the correct product for each finish, and avoid allowing cleaners or dressings to collect inside switches and control openings.
Step 8: Apply a Suitable Interior Protectant
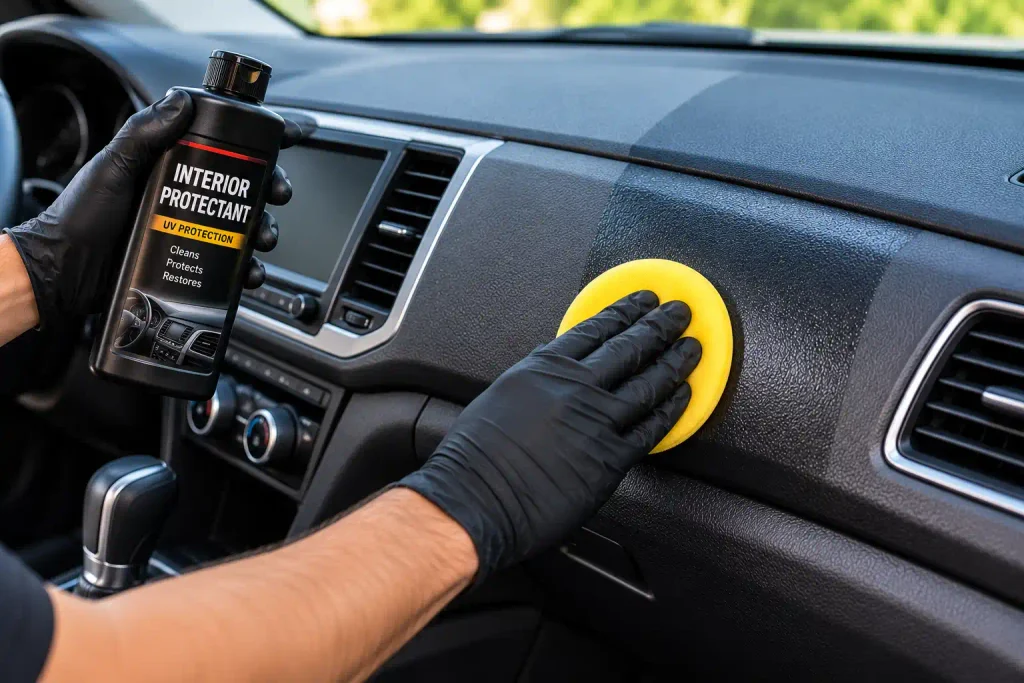
After restoration, a compatible automotive interior protectant may help maintain the finish and reduce the effects of routine contamination or sunlight exposure.
Choose a product specifically labeled for the interior material and follow its instructions. If UV protection is important, confirm that the product explicitly states that it offers UV protection.
Apply the recommended amount evenly, then remove excess residue where directed.
For most factory-style interiors, a clean matte or satin appearance looks more natural than a greasy, high-gloss finish. The best finish is the one that matches the vehicle’s original appearance.
Remember that a protectant cannot reverse deep scratches, restore missing material, or repair a failed coating. Its role is preventive maintenance, not structural repair.
Step 9: Inspect the Results
After the product has dried or cured for the specified time, inspect the restored plastic in natural light.
Look for streaks, uneven color, sticky patches, or excessive shine. If the finish appears uneven, follow the product manufacturer’s instructions for removing excess product or correcting the application.
Confirm that the dashboard, handles, pedals, steering wheel, switches, and other controls remain clean and safe to use.
Allow any specified drying or curing time to finish before normal use. Do not layer additional products over an uneven surface without understanding how they interact.
How to Restore Faded Black Plastic Inside a Car
Faded black interior plastic is a common concern because gray patches and uneven coloring are easy to see against darker trim.
Start with thorough cleaning. Oils, dust, and old product residue may make black plastic look lighter or patchy, and a suitable cleaner could improve its appearance without any additional treatment.
If the material remains faded after cleaning and drying, use an interior restorer specifically approved for that plastic type. Choose a finish that matches the surrounding trim rather than assuming that a glossy product will produce a better result.
Follow the directions carefully and test a hidden area first. If the color remains uneven because the plastic itself has deteriorated, consider professional refinishing.
Avoid using a heat gun, open flame, or other intense heat source to darken the plastic. These methods can warp panels, alter surface texture, damage adjacent materials, and create an uneven result.
How to Remove Scratches From Car Interior Plastic
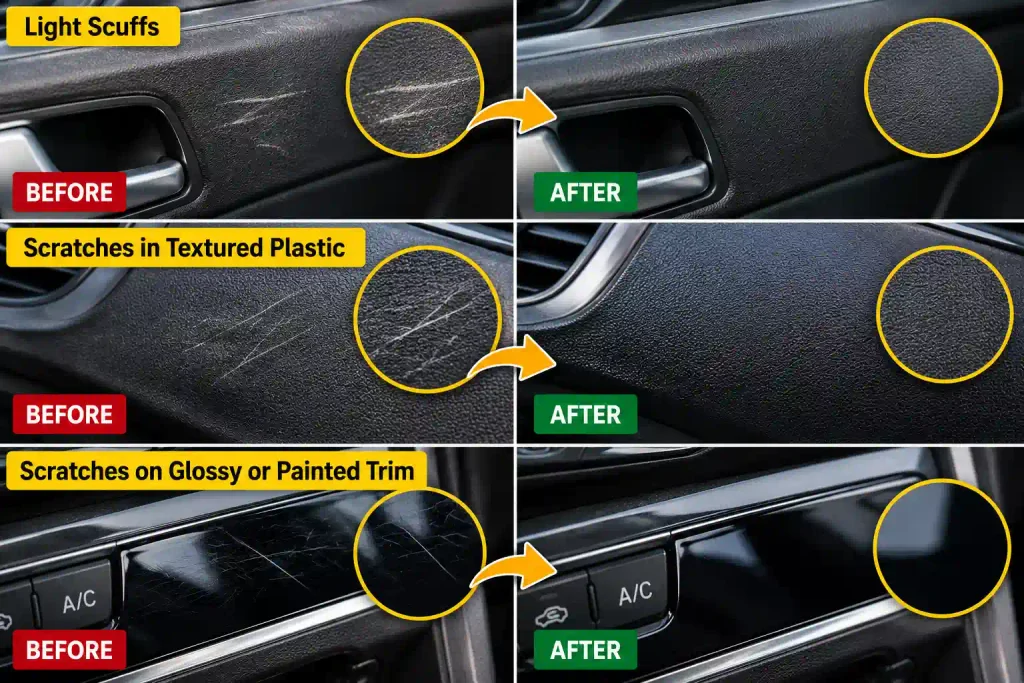
Not all scratches can be removed with cleaning or restoration products. First determine whether the mark is surface residue, a light scuff, a scratch in the textured plastic, or damage to a painted or coated panel.
Light Scuffs
A light scuff may be removable with a suitable interior cleaner and a microfiber cloth if it consists primarily of transferred material.
Wipe gently and inspect the result. If the mark remains, do not increase pressure indefinitely.
Scratches in Textured Plastic
Scratches that cut into textured plastic usually cannot be removed simply by applying a dressing. Attempting to sand or polish textured trim may flatten the grain and create a shiny patch that looks worse than the original scratch.
A specialist may be able to improve the appearance using an appropriate refinishing method, but results depend on the plastic and the extent of the damage.
Scratches on Glossy or Painted Trim
Glossy black inserts and painted plastic can be more delicate than ordinary textured trim. Abrasive compounds intended for other automotive surfaces may create haze or additional scratches.
Use only products approved for the particular finish, or seek professional help if the panel is valuable or the damage is extensive.
Common Mistakes to Avoid When Restoring Interior Plastic
Using the wrong product or trying to restore the finish too aggressively can damage the interior. Avoid these common mistakes:
- Using exterior trim restorer on interior surfaces without checking compatibility.
- Applying heavy layers of dressing to hide discoloration.
- Using household solvents or strong chemicals on dashboard plastic.
- Scrubbing textured panels with stiff brushes.
- Sanding textured plastic and removing the factory grain.
- Applying glossy dressings to steering wheels, pedals, or other surfaces where grip matters.
- Coating airbag covers or electrical controls with unapproved products.
- Mixing multiple cleaners, dressings, or protective products without checking compatibility.
- Applying products before the plastic has been cleaned and dried.
- Using heat guns or flames to darken faded plastic.
It is also important not to assume that every faded panel needs a restorer. Sometimes, a thorough cleaning is enough to restore a more uniform appearance.
How to Keep Car Interior Plastic Looking New
Once the plastic has been restored, routine maintenance can help it stay cleaner and reduce the need for repeated treatment.
Clean Regularly
Remove dust before it builds up, wipe away fingerprints promptly, and clean spill-prone areas as needed. Use a soft cloth and products suitable for the specific interior material.
For routine maintenance, avoid heavy layers of dressing that attract dust or leave an artificial shine.
Reduce Direct Sunlight
When practical, park in shade or use a suitable windshield sunshade. These measures can reduce direct sunlight reaching the dashboard and help limit unnecessary exposure.
They cannot prevent all forms of aging, but they are simple ways to reduce repeated direct sun exposure.
Avoid Harsh Chemicals
Use vehicle-approved interior cleaners and follow their labels. Avoid strong solvents, unapproved degreasers, and products designed for surfaces that are materially different from your interior trim.
Use Protectants Only When Appropriate
An interior plastic protectant can be useful when its label identifies the surface as suitable and the product is compatible with the original finish.
Avoid overapplication. The aim is to maintain the material, not to cover it with a thick layer of product.
For a complete maintenance routine, visit the DIY Car Detailing Checklist. You can also use our guide on How Often to Deep Clean Your Car to organize your interior care schedule.
When Should You Seek Professional Interior Plastic Restoration?
DIY restoration can be effective for dirt, mild fading, and some surface discoloration. However, certain problems require more than a cleaner or dressing.
Consider professional assistance when:
- The plastic has deep scratches or gouges.
- The original coating is peeling or dissolving.
- The surface remains sticky after cleaning.
- The color is severely discolored or uneven.
- A previous chemical treatment has damaged the trim.
- The panel requires repainting, texturing, or specialist refinishing.
- The damaged surface is near an airbag or another safety-critical component.
A qualified automotive interior repair specialist can assess whether cleaning, refinishing, or panel replacement is the most appropriate option.
Conclusion
Restoring the plastic interior of a car starts with identifying the problem and cleaning the surface properly. Remove loose dirt, use a compatible interior cleaner, remove residue, and let the plastic dry before deciding whether it needs a restorer.
For suitable faded plastic, apply an automotive interior trim restorer in a thin, even layer according to the manufacturer’s instructions. Use a compatible protectant when appropriate, and avoid aggressive scrubbing, strong solvents, unapproved heat treatments, and excessive shine.
The most reliable approach is to preserve the original texture and finish rather than trying to make every panel darker or glossier. With suitable products and regular maintenance, you can improve the appearance of many interior plastic surfaces while helping protect them from further wear.
Frequently Asked Questions About Restoring Car Interior Plastic
1. How Do You Restore Faded Plastic Inside a Car?
Clean the plastic with a suitable automotive interior cleaner, remove all residue, and let the surface dry completely. If compatible unpainted plastic remains faded, apply an interior trim restorer according to the product instructions. Deep damage may require professional refinishing.
2. What Is the Best Product to Restore Car Interior Plastic?
The best product is one specifically designed for the type of interior plastic you are treating. Choose an interior trim restorer that is compatible with the material and produces the finish you want. Always test it in a hidden area before treating a visible panel.
3. Can You Use a Plastic Restorer on a Car Dashboard?
Only if the product label and the vehicle manufacturer’s instructions permit use on that dashboard material. Some dashboards have painted, coated, or safety-sensitive surfaces that may be damaged by unsuitable products. Do not coat airbag covers unless the vehicle manufacturer explicitly approves the treatment.
4. How Do You Make Black Car Interior Plastic Look New Again?
Remove dust and residue, clean the plastic thoroughly, and allow it to dry. If the surface remains faded, use a compatible interior restorer and apply it evenly. A matte or satin finish often looks closer to an original factory appearance than a thick, glossy dressing.
5. Can Scratched Car Interior Plastic Be Restored?
Light surface marks may be removable if they are caused by transferred dirt or material. Scratches that cut into the plastic generally require a different repair method, such as specialist refinishing. Cleaning and dressing cannot replace missing plastic or reliably remove deep scratches.
6. How Often Should You Restore Car Interior Plastic?
There is no universal restoration interval. Clean interior plastic whenever necessary, and reapply a restorer or protectant only when the surface condition and product instructions justify it. Frequent heavy applications are not a substitute for regular cleaning.
7. How Can You Prevent Car Interior Plastic From Fading Again?
Clean the interior regularly, avoid harsh or unapproved chemicals, reduce direct sunlight when practical, and use a compatible interior protectant that explicitly offers UV protection when needed. These measures can help maintain the finish but cannot prevent all age-related deterioration.