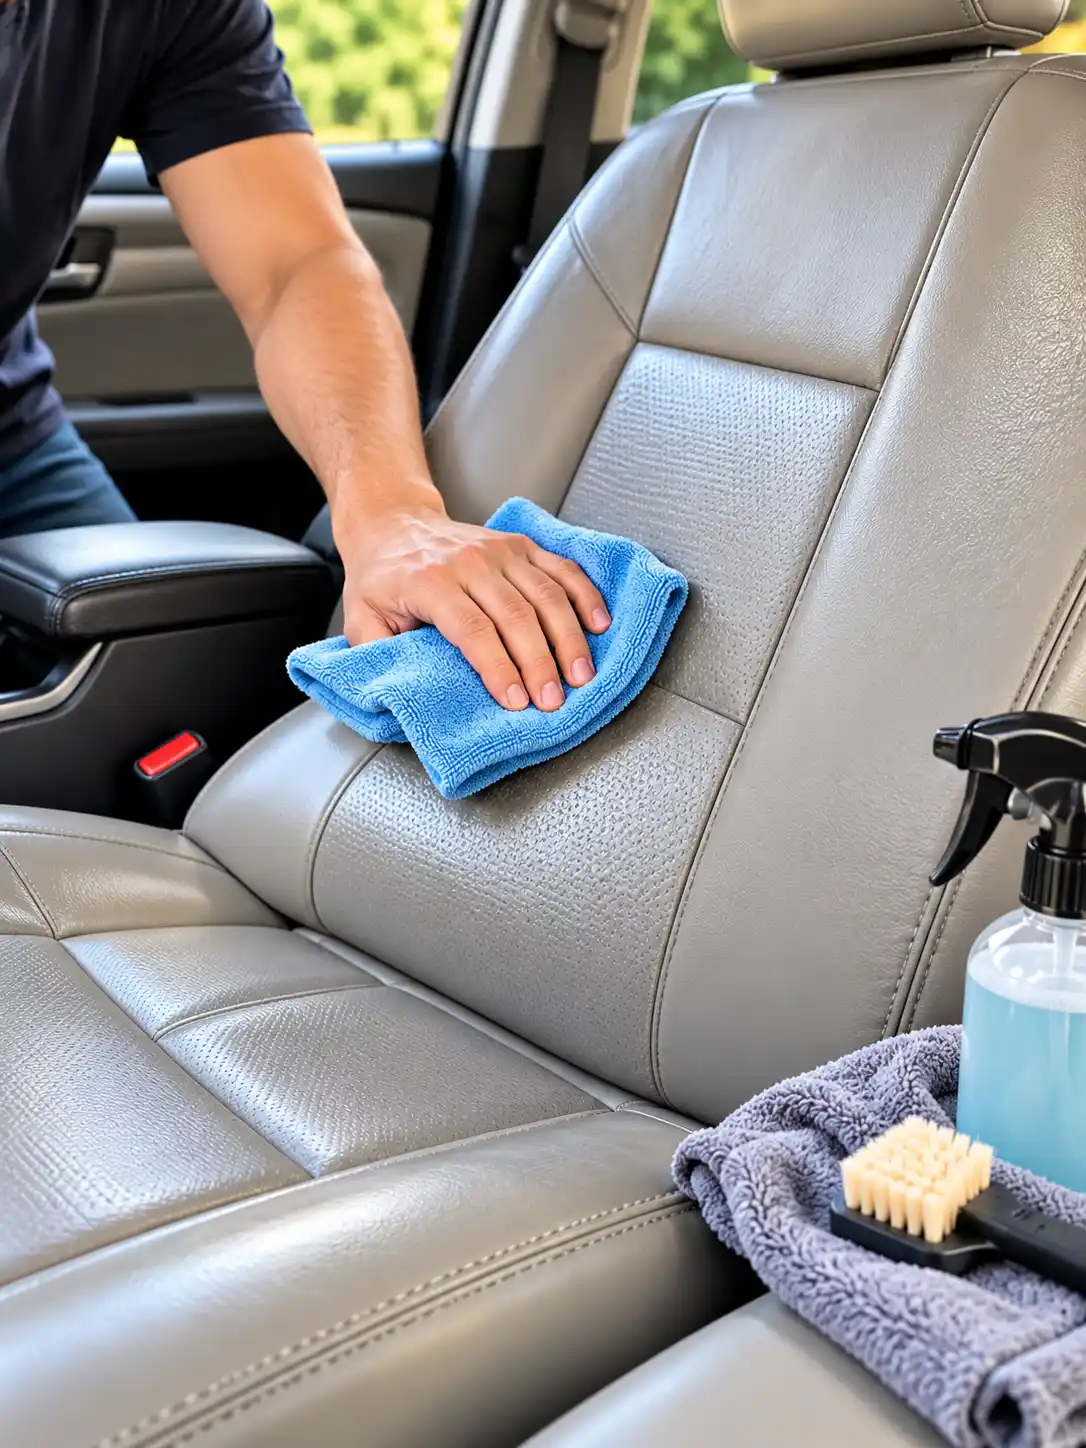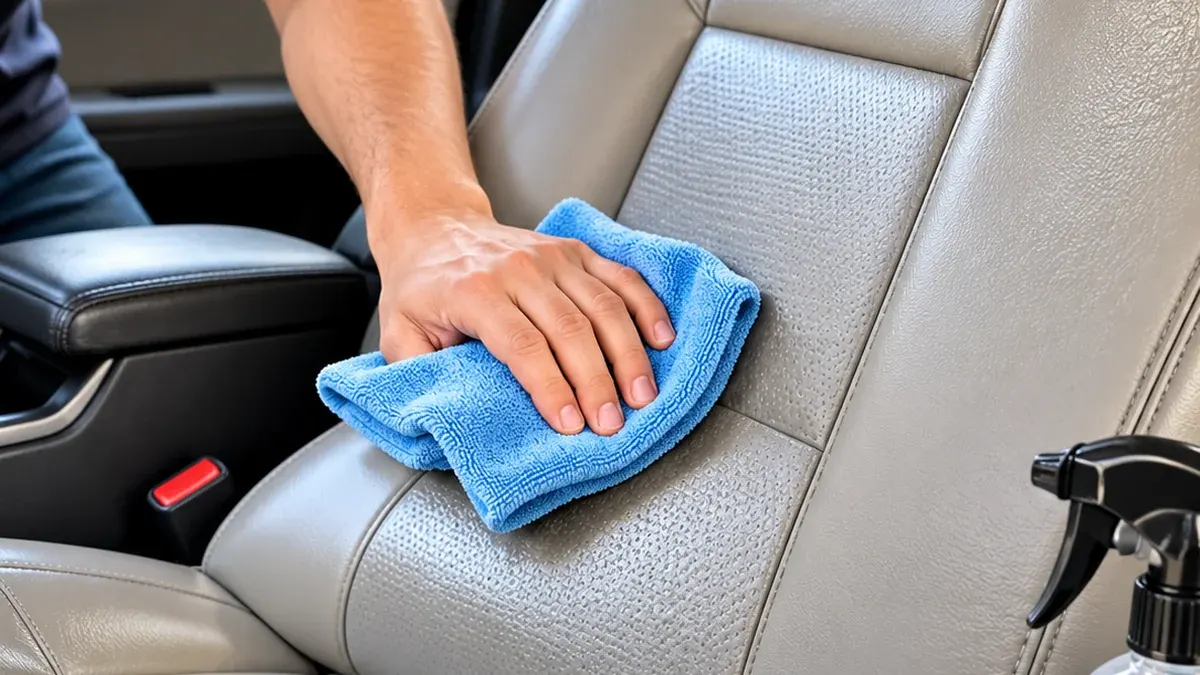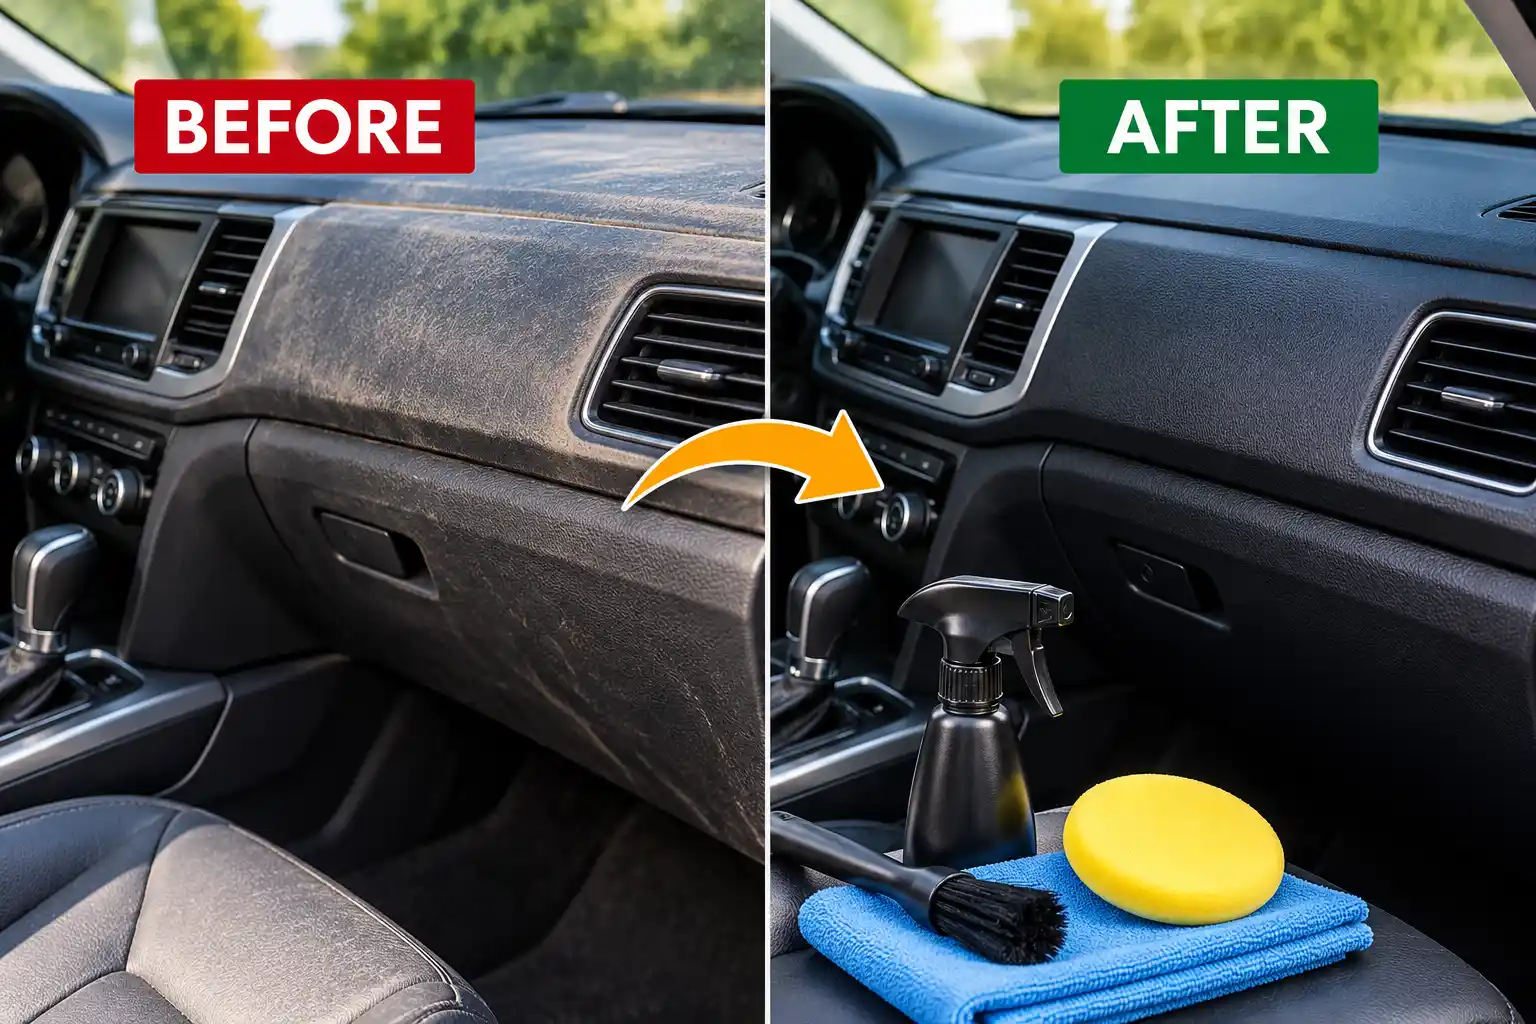
Car air vents often collect dust, dirt, fingerprints, and debris that can make an otherwise clean interior look neglected. Because the vents are narrow and difficult to reach, regular dashboard wiping rarely removes all the buildup between the vent slats and around their edges.
Learning how to clean air vents in a car properly helps you maintain a cleaner-looking interior, remove accessible dust, and identify potential causes of unpleasant odors coming from the air conditioning system. The process is straightforward when you use the right tools and avoid forcing dirt or cleaning liquids deeper into the dashboard.
In this guide, you’ll learn how to clean car air vents step by step, which tools work best, how to reach tight spaces, how to deal with musty smells, and which common cleaning mistakes to avoid.
Quick Answer: How Do You Clean Air Vents in a Car?
To clean car air vents, switch off the vehicle and climate control system, remove loose dust with a soft detailing brush, and use a vacuum with a soft brush or narrow attachment to collect the loosened debris. Wipe the accessible vent slats with a clean microfiber cloth lightly dampened with a suitable automotive interior cleaner, applying the product to the cloth rather than spraying it directly into the vent.
Use a soft detailing swab for tight corners, wipe away any residue, and allow the surfaces to dry completely before turning the climate control system back on.
If the vents produce a persistent musty smell, inspect the cabin air filter and consider having the air conditioning system checked. Cleaning the visible vent surfaces alone may not resolve an odor originating deeper inside the HVAC system.
Why Should You Clean Your Car’s Air Vents?
Car air vents are easy to overlook during routine interior detailing. However, their narrow openings and movable slats can trap dust and other debris that ordinary wiping does not reach.
Here are the main reasons to include vent cleaning in your interior maintenance routine.
1. Remove visible dust and dirt
Dust collects along the edges of vent slats, around adjustment knobs, and inside accessible corners. Removing this buildup improves the appearance of the dashboard and helps prevent loosened debris from spreading during later cleaning.
2. Keep the dashboard looking clean
Even a freshly wiped dashboard can look dirty when the vents have visible dust around their edges. Cleaning the vents alongside the surrounding trim helps create a more consistent finish.
3. Address accessible residue
Fingerprints, light grease, and sticky residue may accumulate around frequently touched vent controls. A suitable interior cleaner can help remove this surface contamination without aggressive scrubbing.
4. Investigate unpleasant odors
If an unpleasant smell appears when you switch on the air conditioning, cleaning the visible vent surfaces is a reasonable first step. However, a persistent musty odor may come from the cabin air filter, moisture, or contamination elsewhere in the HVAC system.
Cleaning the vent slats will not necessarily eliminate the underlying cause.
What You’ll Need to Clean Car Air Vents
Before starting, gather the following tools and supplies.
| Tool or product | Purpose |
|---|---|
| Microfiber cloths | Remove dust and wipe accessible vent surfaces |
| Soft detailing brush | Loosen dirt between narrow vent slats |
| Vacuum with a soft brush attachment | Collect loose dust before it enters deeper openings |
| Automotive interior cleaner | Remove fingerprints and light surface grime |
| Foam detailing swabs | Reach narrow corners and recessed areas |
| Flashlight | Inspect vent openings and identify remaining dirt |
| Clean, dry towel | Remove any remaining moisture or residue |
You do not need every specialized detailing tool to clean ordinary dashboard vents. A soft brush, microfiber cloth, and suitable vacuum attachment are sufficient for many routine cleaning tasks.
Choose a cleaner compatible with your vehicle’s dashboard material. If your interior has glossy trim, soft-touch coatings, or delicate finishes, follow the manufacturer’s care instructions and test the product in an inconspicuous location.
Avoid sharp metal tools, stiff brushes, and excessively wet cleaning accessories.
How to Clean Air Vents in a Car Step by Step
Follow this process to remove accessible dirt while minimizing the risk of scratching the dashboard or forcing debris into the ventilation system.
Step 1: Turn Off the Vehicle and Climate Control
Park the car safely, switch off the engine or vehicle power as appropriate, and turn off the heating, ventilation, and air conditioning system.
The blower should remain off while you’re manually brushing and wiping the vents. This helps prevent airflow from scattering loosened dust or blowing it toward you while you work.
Allow any recently heated surfaces to cool before cleaning them.
Next, adjust the vent slats gently so you can reach the accessible surfaces. Do not force the louvers beyond their normal range of movement. Some vent designs have delicate adjustment mechanisms that can break if excessive pressure is applied.
Step 2: Inspect the Vents Before Cleaning
Examine each vent with a flashlight.
Look for:
- Dust along the front edges of the slats.
- Debris trapped between the louvers.
- Sticky residue around the adjustment wheel.
- Dirt along the outer vent frame.
- Loose or damaged slats.
- Signs of excessive moisture or unusual contamination.
Identifying the type of buildup helps you choose the appropriate technique.
Loose dust generally requires dry brushing and vacuuming. Sticky residue may need a compatible interior cleaner, while persistent odors can require attention to components beyond the visible vent opening.
If a vent is damaged or a component has fallen deep inside the duct, avoid pushing tools farther into the opening.
Step 3: Remove Loose Dust With a Vacuum
Start with a vacuum equipped with a soft brush attachment or suitable narrow nozzle.
Hold the nozzle close to the vent opening without pressing it hard against the plastic. Use gentle suction to collect visible dust and loose debris.
If the vacuum has a hard plastic nozzle, keep it from rubbing directly against the dashboard. Hard edges can scratch delicate interior finishes.
Work slowly around each vent, including the outer frame and the corners where the louvers meet the housing.
Do not insert a large nozzle deep into the vent. The goal is to collect accessible debris, not to reach the entire HVAC duct.
Vacuuming first reduces the amount of loose dust that can spread during the next stage.
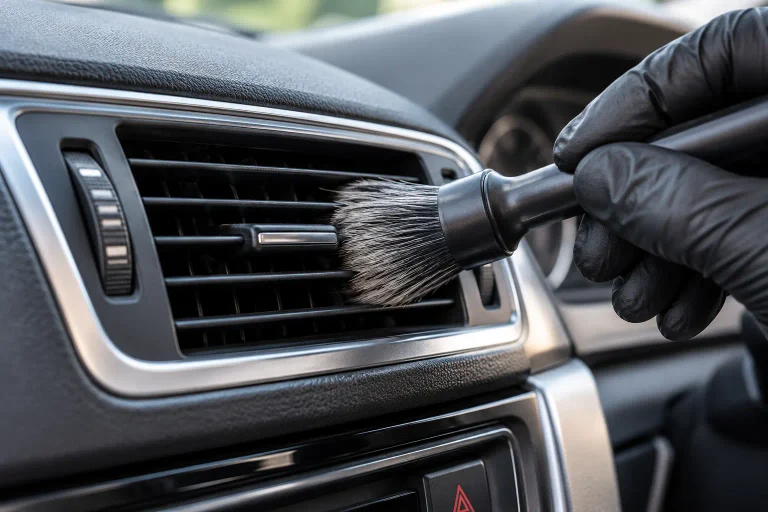
Step 4: Brush Between the Vent Slats
Take a clean, soft-bristled detailing brush and gently sweep between the vent louvers.
Use short, controlled strokes to loosen dust along the front edges and accessible recesses. If the vent slats move freely, adjust them carefully to expose additional surfaces.
Keep the brush pressure light. Thin plastic louvers can bend or break when forced.
Whenever possible, position the vacuum near the opening while brushing so it collects the loosened dust.
For stubborn surface buildup, repeat the process gently rather than switching immediately to a stiff brush or applying more pressure.
Avoid aggressively brushing debris farther into the duct. If dirt is deeply lodged and cannot be removed safely from the visible opening, consider professional cleaning.
Step 5: Clean the Vent Slats With a Microfiber Cloth
After removing loose dust, inspect the slats for fingerprints, light grease, and remaining residue.
Apply a small amount of a compatible automotive interior cleaner to a clean microfiber cloth. Do not spray the product directly into the vent opening.
The cloth should be lightly damp, not wet enough to release droplets.
Carefully wipe the accessible surfaces of each louver. Fold the cloth into a narrow edge when working between closely spaced slats, and use a clean section as dirt transfers onto the fabric.
Work slowly around the vent frame and adjustment controls.
Avoid pushing a soaked cloth deep into the opening. Liquids that enter the HVAC duct may leave residue or reach components that are not intended to get wet.
If your vehicle manufacturer recommends a different cleaning method for a particular surface, follow those instructions.
Step 6: Use Foam Swabs for Narrow Corners
Some vents have small gaps that a microfiber cloth cannot reach comfortably.
A clean foam detailing swab can help remove accessible dirt from these areas without leaving as much lint as certain cotton products.
Lightly dampen the swab with a compatible cleaner if necessary, following the product label. Keep it only slightly moist and use gentle movements along the accessible edges.
Do not force the swab into a narrow opening or allow it to break apart inside the vent.
Avoid sharp picks, screwdrivers, and other hard tools that may scratch the housing or damage internal components.
For hard-to-reach debris that cannot be removed safely, stop rather than risking damage to the vent assembly.
Step 7: Clean the Vent Frame and Surrounding Dashboard
The area surrounding the vents can also hold dust, fingerprints, and cleaning residue.
Wipe the vent frame, adjustment knobs, and nearby dashboard using a clean microfiber cloth with an appropriate interior cleaner.
Pay attention to textured plastic, glossy trim, and soft-touch surfaces because they may require different cleaning products.
Do not allow cleaner to collect around switches, electronic controls, or panel gaps. Use a controlled amount on the cloth and wipe away excess product promptly.
If the dashboard has a protective coating or specialty finish, consult the manufacturer’s care instructions before applying any cleaner or protectant.
Step 8: Clean the Other Air Vents in the Vehicle
Dashboard vents are not the only openings that need attention.
Depending on your vehicle, you may also have rear passenger vents, floor-level vents, and narrow windshield defroster outlets.
Clean each accessible area carefully.
Rear passenger vents
Check the back of the center console and other rear seating areas for dust and debris. Use a soft brush and vacuum to clean the vent faces, followed by a lightly dampened microfiber cloth for suitable hard surfaces.
Floor-level vents
Floor vents can collect dust, carpet fibers, and loose debris from footwear. Vacuum the accessible openings before using a soft brush to loosen remaining surface dust.
Avoid inserting tools deep into the ductwork.
Windshield defroster vents
Defroster outlets are often long, narrow openings near the base of the windshield. Use a slim, soft detailing brush to remove accessible dust.
Keep cleaning liquids away from the duct openings and windshield edges. Avoid using hard objects to reach deep into these narrow channels.
Step 9: Dry the Vents and Inspect Your Work
Once cleaning is complete, inspect the vent surfaces with a flashlight.
Use a clean, dry microfiber cloth to remove any remaining moisture or cleaning residue from accessible surfaces.
Allow the vents to air-dry completely before switching the climate control system back on.
Check that the vent slats and adjustment controls move normally. If a louver feels stuck or damaged, do not force it.
A final inspection helps identify missed areas without requiring another full cleaning session.
Step 10: Investigate Persistent Odors
If the vents look clean but the air still smells unpleasant, the problem may be beyond the visible surfaces.
Start by checking the cabin air filter. Its location and replacement interval vary by vehicle, so consult the owner’s manual or service information.
A dirty or overdue filter may contribute to stale smells and restricted airflow, although it is not the only possible cause.
If the odor resembles mildew, persists after filter replacement, or returns quickly, moisture or contamination in the evaporator or another HVAC component may be responsible. A qualified technician can inspect the system and recommend an appropriate treatment.
Avoid randomly spraying disinfectants, fragrances, or household cleaning chemicals deep into the vents. These products may not address the source and may damage materials or leave unwanted residue.
How to Clean Different Types of Car Air Vents
Although the general method is similar, different vent designs require slightly different handling.
Horizontal and Vertical Dashboard Vents
These vents typically use movable louvers to direct airflow.
Adjust the slats gently and use a soft brush to remove dust from the exposed edges. Follow with a microfiber cloth for suitable surfaces.
Do not pull on the louvers or use excessive force to reach behind them.
Circular Air Vents
Circular vents may have rotating rings and several movable fins.
Turn the adjustment mechanism gently to expose different sections. Use a small soft brush to remove dust without placing pressure on the mechanism.
If the ring does not rotate freely, do not force it.
Rear Seat Air Vents
Rear vents may be positioned in the center console, rear door panels, or other passenger areas.
Clean them using the same dry-first method as front vents. Check nearby cup holders and console surfaces because spilled drinks and accumulated dust can contribute to grime around the openings.
Hidden Defroster Vents
Defroster outlets are more difficult to access because they often consist of long slots rather than individually adjustable louvers.
Use a long, soft detailing brush to clean accessible surfaces, and collect loosened debris with a vacuum where practical.
If heavy contamination lies deep inside the ducts, a specialist can determine whether further access is necessary.
How to Remove a Musty Smell From Car Air Vents
A musty odor when the air conditioning starts can be frustrating, particularly when the rest of the interior appears clean.
However, cleaning the vent faces alone may not resolve it.
1. Check the cabin air filter
Inspect the filter according to your vehicle’s maintenance schedule. Replace it if it is dirty or due for replacement, using the correct filter specification.
Do not assume every vehicle has the same filter location or replacement procedure.
2. Look for signs of moisture
Check for damp carpets, unexplained moisture, unusual condensation, or a persistent damp smell in the cabin.
Moisture-related problems should be addressed rather than covered up with fragrance.
3. Consider the evaporator and HVAC system
The air conditioning evaporator can remain damp during normal operation. If odors persist, contamination or a drainage problem within the HVAC system may need investigation.
A visible vent cleaning routine cannot adequately clean every internal component.
4. Seek professional diagnosis when needed
If the odor returns after cleaning and filter maintenance, consult a qualified automotive technician.
Avoid disassembling dashboard components or applying a chemical treatment without confirming that the procedure is compatible with your vehicle.
Common Mistakes to Avoid When Cleaning Car Air Vents
Using the wrong tools or too much liquid can damage interior components. Avoid these common mistakes.
Spraying cleaner directly into the vents
This can allow liquid to reach ductwork or nearby components. Apply cleaner to a microfiber cloth or suitable detailing brush instead.
Using a stiff brush
Hard bristles can scratch interior finishes and damage delicate louvers. Start with a soft detailing brush.
Pushing dirt deeper into the dashboard
Aggressive brushing or uncontrolled compressed air can move dust farther into the duct. Use gentle strokes and collect debris with a vacuum whenever possible.
Using too much water
A soaking-wet cloth or swab can leave liquid inside narrow openings. Use minimal moisture and wipe up residue promptly.
Using sharp metal tools
Metal picks and screwdrivers can scratch plastic, damage adjustment mechanisms, or reach sensitive internal components. Use purpose-built soft detailing tools instead.
Cleaning while the blower is running
Active airflow can scatter dust and make it harder to control loose debris. Keep the climate control system switched off during manual cleaning.
Disassembling vents without proper guidance
Some vent assemblies use hidden clips or vehicle-specific removal procedures. Pulling on the trim without the correct instructions can break clips or damage the dashboard.
Only remove the assembly if the manufacturer’s service information supports the procedure and you have the appropriate tools.
Ignoring odors that return repeatedly
A persistent musty smell may indicate a filter, moisture, drainage, or HVAC-system issue. Repeatedly cleaning the vent openings is unlikely to resolve every underlying cause.
How Often Should You Clean Your Car’s Air Vents?
There is no universal schedule for every vehicle. The right frequency depends on driving conditions, dust exposure, passenger activity, and how quickly debris accumulates.
For routine maintenance, inspect the vent surfaces whenever you clean the dashboard or carry out an interior detail.
Vehicles driven in dusty environments, frequently used with open windows, or regularly carrying pets may need more frequent attention.
A simple maintenance routine can include:
- Removing visible dust during regular interior cleaning.
- Brushing and vacuuming vent faces when buildup becomes noticeable.
- Wiping away fingerprints and surface residue when needed.
- Inspecting the cabin air filter according to the vehicle’s maintenance schedule.
- Investigating recurring smells or abnormal airflow rather than relying on repeated surface cleaning.
For a more complete interior care routine, follow our DIY Car Detailing Checklist for Beginners. You can also learn when a more thorough cleaning session may be useful in our guide on How Often Should You Deep Clean Your Car?.
Frequently Asked Questions
Can I clean my car air vents without removing them?
Yes. Routine maintenance can usually be performed with the vent assemblies installed. A soft brush, vacuum attachment, microfiber cloth, and foam detailing swabs can clean many accessible surfaces without dismantling the dashboard.
Removal may be necessary for certain deeper cleaning or repair jobs, but the correct procedure depends on the vehicle.
What is the best brush for cleaning car air vents?
A small, soft-bristled automotive detailing brush is a good starting point. It can reach between vent slats without the stiffness of many household brushes.
For tight corners, use a purpose-built foam detailing swab and collect loosened debris with a vacuum when possible.
Can I use compressed air to clean car vents?
Compressed air can loosen debris, but it can also push dust farther into the HVAC ductwork. For routine cleaning, a soft brush and vacuum are generally easier to control.
If compressed air is appropriate for your setup, use controlled, low-pressure bursts, keep the nozzle at a safe distance, and position a vacuum to collect released dust. Follow the equipment and vehicle manufacturer’s instructions.
Can I use vinegar to clean car air vents?
Vinegar is not automatically suitable for every dashboard material or vent assembly. Its acidity may be incompatible with some finishes, coatings, and internal components.
Use a cleaner recommended for your vehicle’s interior materials instead. Never pour or spray household cleaning mixtures directly into the ventilation system.
Why do my car vents smell bad when I turn on the AC?
Possible causes include a dirty cabin air filter, moisture-related odor, or contamination within the HVAC system, including around the evaporator. The smell alone does not confirm which problem is responsible.
Check the filter and look for signs of moisture. If the odor persists, have the system inspected rather than relying on fragrance or surface cleaning.
Does cleaning car air vents improve airflow?
Removing a visible obstruction or heavy surface buildup may help if it is interfering with the vent opening. However, cleaning the slats will not necessarily resolve weak airflow caused by a clogged filter, blocked duct, blower problem, or another HVAC issue.
Persistent airflow problems require further diagnosis.
Can I use an ordinary household vacuum to clean the vents?
Yes, provided it has a suitable attachment and you can control the suction and prevent hard plastic edges from scratching the dashboard. Use the vacuum around the opening rather than forcing the nozzle deep inside.
A soft brush attachment is preferable to an abrasive or hard-edged nozzle.
Can cleaning gel be used on car air vents?
Some detailing gels are marketed for collecting dust from narrow interior spaces. Their suitability varies by product and vent design.
Follow the product label, avoid pushing gel deep into openings, and make sure it does not leave residue or break apart inside the vent. A soft brush and vacuum remain a dependable starting point for routine cleaning.
Final Thoughts
Learning how to clean air vents in a car is an important part of maintaining a tidy interior. Although the vents are small and sometimes difficult to reach, they can usually be cleaned effectively with a few basic detailing tools.
Start with the vehicle and blower switched off, remove loose dust with a vacuum and soft brush, and use a lightly dampened microfiber cloth for accessible residue. Clean the surrounding dashboard and other vent locations, then allow all treated surfaces to dry completely.
Most importantly, keep liquids out of the ductwork and avoid forcing tools into narrow openings. If persistent odors, restricted airflow, or hidden contamination remain after routine cleaning, investigate the cabin air filter and HVAC system.
With regular, gentle maintenance, you can keep your car’s air vents looking cleaner while minimizing the risk of damage to the dashboard and ventilation components.
Further Reading
For additional guidance, see NAPA’s guide to cleaning car air vents and AutoZone’s car air vent cleaning guide.