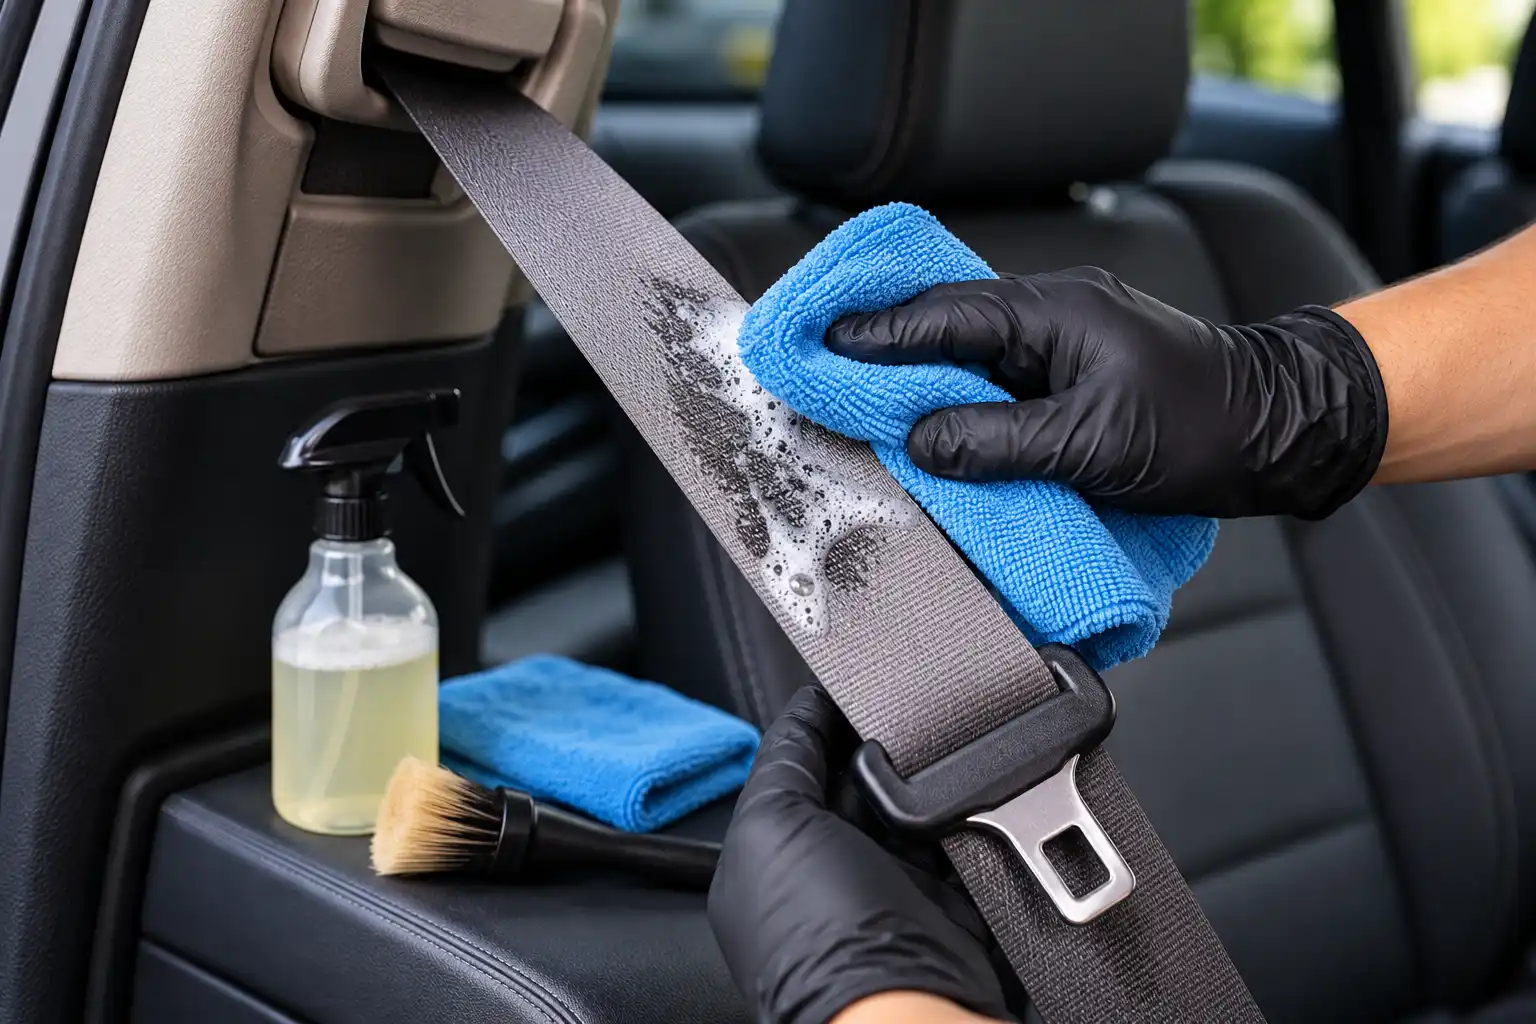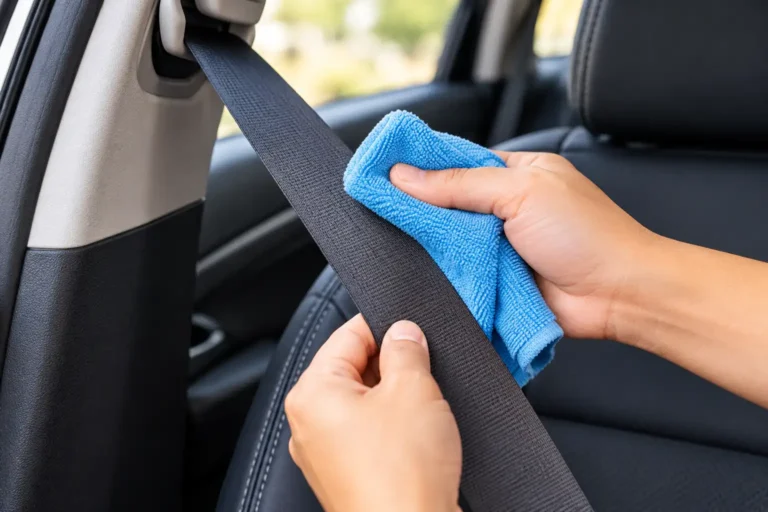
Seat belts are among the most important safety components in your vehicle, but they are also easy to overlook during routine interior cleaning. Over time, seat belt webbing collects dust, sweat, body oils, food residue, makeup, and everyday grime. These contaminants can leave the belt looking discolored, feeling dirty, or developing an unpleasant odor.
Learning how to clean seat belts safely without damage is important because seat belts are not ordinary upholstery. Their webbing is engineered to restrain occupants during a collision, and unsuitable chemicals or aggressive cleaning methods may weaken the material.
The safest starting point for many vehicles is a mild soap-and-water solution, provided the owner’s manual recommends or permits it. Clean the exposed webbing gently, keep moisture away from the retractor mechanism, and allow the belt to dry completely before it retracts.
In this guide, you will learn how to clean dirty seat belts step by step, remove common stains, choose suitable cleaning supplies, and recognize when a belt needs professional inspection or replacement rather than further cleaning.
Why Should You Clean Car Seat Belts Regularly?
Seat belts come into contact with clothing, skin, hands, and sometimes food or spilled drinks. Dirt can gradually accumulate on the webbing, particularly where the belt passes over the shoulder or around the waist.
Regular cleaning helps maintain a tidy vehicle interior and may prevent dirt from becoming more difficult to remove. It also gives you an opportunity to inspect the belt for visible damage.
Cleaning, however, should never compromise safety. A seat belt that looks clean is not necessarily undamaged, and cleaning cannot restore webbing that has been weakened by chemicals, abrasion, or a serious collision.
What Is the Safest Way to Clean Seat Belts?
The safest general approach is to use a mild soap solution and a soft cloth or sponge, provided this method is permitted by your vehicle manufacturer’s instructions.
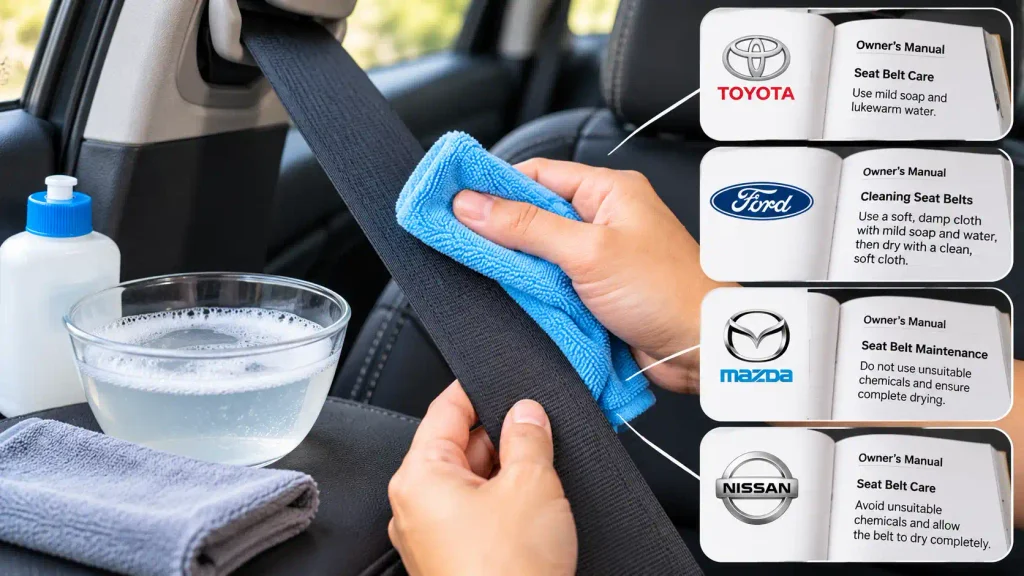
Toyota recommends mild soap and lukewarm water for seat belt cleaning. Ford advises using a soft, damp cloth with mild soap and water, followed by drying with a clean, soft cloth. Mazda and Nissan also provide instructions warning against unsuitable chemicals and emphasizing complete drying.
Always prioritize the manual for your exact vehicle. Cleaning instructions can vary by model and year.
What You Need to Clean Seat Belts Safely
You do not need an extensive collection of detailing products to clean most dirty seat belts. A few appropriate supplies are usually enough.
Essential Cleaning Supplies
- Mild soap and lukewarm water, if approved by the vehicle manufacturer.
- Two clean, soft, lint-free cloths.
- A soft sponge, if recommended by the manufacturer’s instructions.
- A dry, clean towel for removing surface moisture.
- A safe, well-ventilated area where the belt can dry completely.
Use clean supplies so that dirt is not transferred back onto the webbing. Avoid colored cloths that may bleed dye and abrasive materials that could snag or damage the fibers.
A dedicated seat belt cleaner may be appropriate in some situations, but only when its label specifically permits use on seat belt webbing and your vehicle manufacturer’s instructions allow it. A product advertised for fabric seats or carpets should not automatically be considered suitable for safety belts.
How to Clean Seat Belts Safely Without Damage: Step-by-Step Guide
Follow these steps for routine dirt and light stains, adapting the process to the instructions in your owner’s manual.
Step 1: Inspect the Seat Belt Before Cleaning
Start by examining the accessible webbing for dirt, discoloration, cuts, fraying, abrasion, or other visible damage.
Check the belt along its accessible length, paying attention to areas that experience frequent contact with clothing or the shoulder.
Also observe whether the belt extends and retracts normally and whether the buckle appears to function correctly.
If the webbing is cut, frayed, badly abraded, chemically contaminated, or otherwise damaged, do not try to repair it with cleaning products. Arrange inspection by an authorized dealer or qualified restraint-system specialist.
A damaged seat belt may need replacement even if most of it looks clean.
Step 2: Extend the Belt According to the Manufacturer’s Instructions
If your vehicle’s manual permits it, pull the seat belt out gradually to expose the dirty section you need to clean.
Keep the webbing under control so it cannot retract while wet. Follow the manufacturer’s directions for holding the belt in position. Do not use a sharp clamp, pin, or other device that could cut, crease, or damage the material.
Avoid pulling the belt forcefully or dismantling the trim to access the retractor.
The aim is to expose the necessary webbing while protecting the belt mechanism and preventing liquid from entering the retractor opening.
Step 3: Prepare a Mild Soap Solution
If the owner’s manual recommends mild soap and water, prepare a small amount of the approved solution using lukewarm water.
Do not add bleach, solvents, dyes, fragrance oils, strong degreasers, or other chemicals to increase cleaning power.
For a commercial cleaner, follow the current product label and confirm that the intended application is compatible with your vehicle’s seat belt webbing.
Using more concentrated cleaner does not necessarily improve the result and may introduce unnecessary risks.
Step 4: Wipe the Webbing Gently
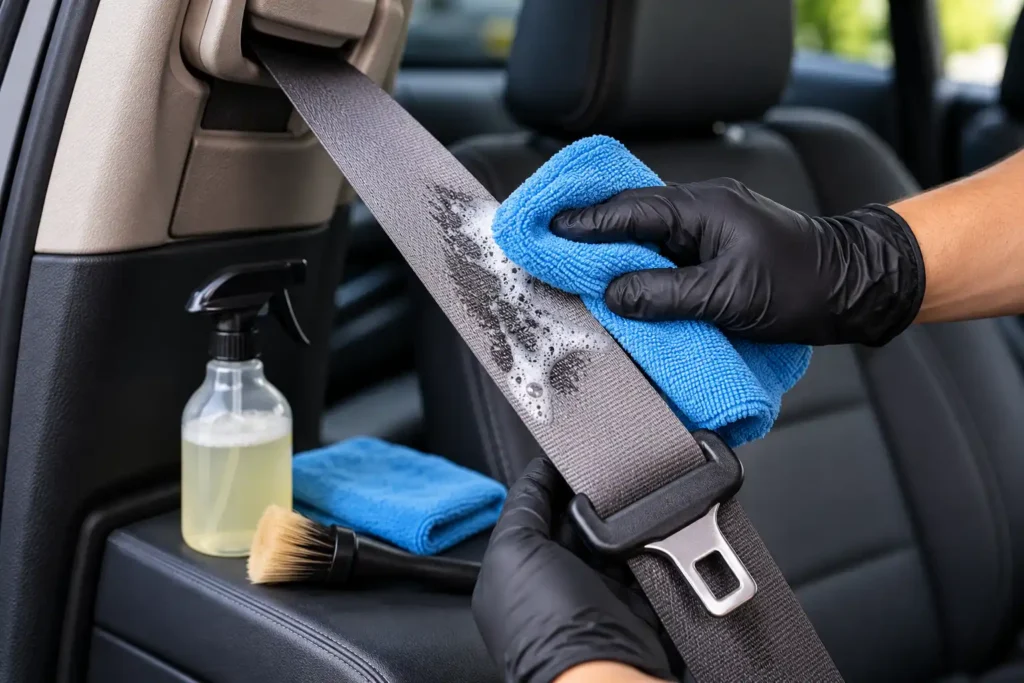
Dampen a clean, soft cloth with the approved solution and wring out any excess liquid. The cloth should be damp rather than dripping.
Wipe the exposed webbing using gentle, controlled movements. Work on a small area at a time, and use a clean section of the cloth as dirt transfers onto it.
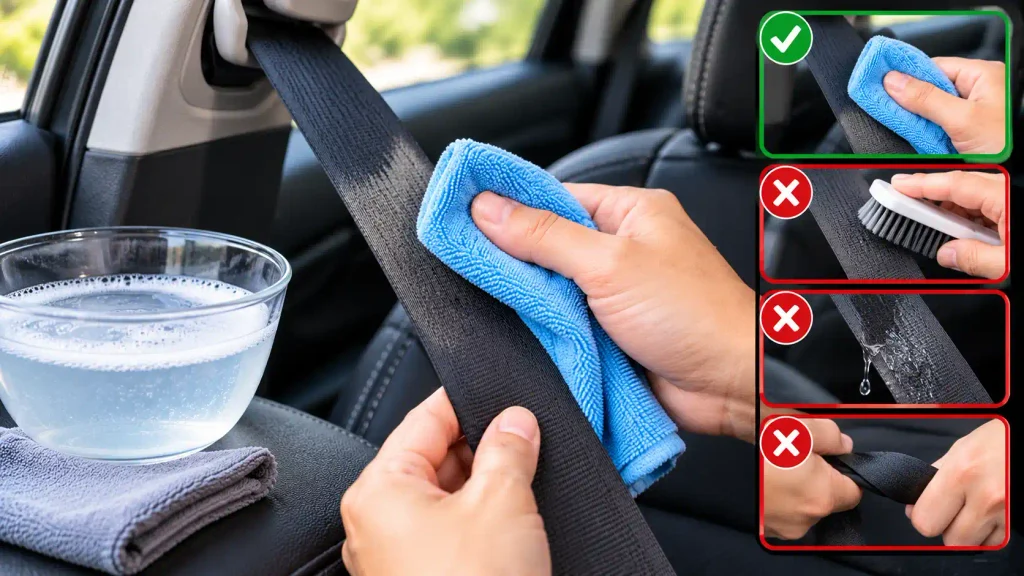
Do not scrub aggressively, twist the belt, or use a stiff brush to force dirt out of the fibers. Avoid flooding the belt with water or allowing liquid to run into the retractor mechanism.
For ordinary dust and surface grime, gentle wiping is often sufficient.
Step 5: Treat Stubborn Dirt Carefully
If dark grime remains, repeat the approved cleaning process rather than immediately switching to a stronger product.
Use a clean part of the cloth to avoid transferring dirt back onto the webbing. If the manufacturer permits a soft sponge, use it gently and avoid excessive friction.
Do not use an abrasive pad or attempt to scrape stains off the fibers.
Some old stains may not disappear completely with safe cleaning. In that situation, accept a small amount of residual discoloration rather than risk weakening the belt through aggressive treatment.
If contamination is extensive or you are unsure which cleaner is appropriate, seek professional advice.
Step 6: Remove Soap Residue
Follow the manufacturer’s cleaning instructions for removing any remaining soap.
If a water wipe is recommended, use a separate clean cloth dampened with plain water and wrung out thoroughly. Gently wipe the treated section without soaking the material.
Removing residue helps prevent a sticky surface from attracting additional dirt.
Do not pour water onto the belt to rinse it, and do not try to flush the retractor opening.
Step 7: Dry the Seat Belt Completely
Drying is one of the most important parts of safe seat belt cleaning.
Use a clean, dry, soft towel to remove excess moisture from the exposed webbing. Then allow the belt to dry completely in a suitable, well-ventilated area, following the vehicle manufacturer’s instructions.
Keep the webbing extended and prevent it from retracting while damp. Nissan specifically warns against allowing wet seat belts to roll into the retractor, while Mazda instructs owners to dry pulled-out belts thoroughly before retracting them.
Do not use a hair dryer, heat gun, open flame, or other intense heat source to speed up drying. Avoid leaving the belt wet for longer than necessary.
Do not retract the belt until the entire cleaned section is fully dry.
Step 8: Check the Belt’s Operation
After the webbing is completely dry, allow it to retract according to the manufacturer’s instructions.
Check whether it moves smoothly and whether the buckle engages and releases as expected. Do not force the belt or attempt to lubricate the mechanism yourself.
If the belt sticks, retracts unusually slowly, fails to latch, or behaves differently after cleaning, arrange an inspection by an authorized dealer or qualified restraint-system specialist.
Cleaning should not involve opening, dismantling, or modifying any part of the restraint system.
How to Remove Common Stains From Seat Belts
Different stains may need different treatment, but safety should always take priority over appearance. Begin with the cleaning method approved by your vehicle manufacturer.
How to Remove Sweat and Body Oil
Sweat and body oils can leave a gray or darkened area where the belt regularly touches clothing or skin.
Use a clean, soft cloth with the approved mild cleaning solution and wipe gently. Repeat the process only as permitted by the manufacturer’s instructions.
Avoid strong degreasers or solvent-based products. If a dark patch persists after careful cleaning, do not scrub harder to force it out.
How to Remove Coffee and Soft Drink Stains
Blot fresh liquid spills with a clean, absorbent cloth as soon as practical. Do not rub the spill deeper into the webbing.
Then clean the area using the manufacturer’s recommended method. If the drink contains sugar, carefully remove the remaining residue without soaking the belt.
Persistent staining may require specialist advice if ordinary approved cleaning does not work.
How to Remove Makeup and Sunscreen Marks
Makeup, lotion, and sunscreen may leave oily or colored marks on seat belt webbing.
Remove any excess material gently with a clean cloth and then follow the approved cleaning procedure.
Do not use nail polish remover, alcohol, acetone, paint thinner, or other unapproved solvents. These products may affect the strength or appearance of the webbing.
How to Remove Food Residue
Carefully lift solid food residue without scraping or pulling the fibers. Use the approved damp-cloth method to remove what remains.
Avoid soaking the belt in an attempt to dissolve sticky food. Keep moisture away from the retractor and allow the webbing to dry fully.
How to Handle Persistent Odors
If an odor remains after cleaning, inspect the accessible belt and surrounding interior for spilled food or other contamination.
Use only a cleaning method approved for the seat belt. Do not spray perfume, air freshener, deodorizer, or an unapproved enzyme cleaner onto the webbing.
Persistent smells may indicate contamination that extends beyond the surface. Seek professional guidance rather than repeatedly wetting the material.
For wider interior odor problems, read our guide on How to Remove Odors From Your Car.
What Should You Never Use to Clean Seat Belts?
Certain products and techniques can create unnecessary risks when used on restraint webbing.
Bleach and Whitening Products
Do not use bleach to make a seat belt look white or restore its original color. Ford, Toyota, and other manufacturers warn against bleach or similar inappropriate chemicals because they may weaken the webbing.
Chemical Solvents
Avoid paint thinner, acetone, strong degreasers, and other unapproved solvents. These products are not suitable substitutes for a mild soap solution.
Dye and Color-Restoration Products
Never dye a seat belt or apply an unapproved coating to hide discoloration. Changing the color does not repair worn fibers and may affect the material.
Abrasive Brushes and Aggressive Scrubbing
Stiff brushes, abrasive pads, and excessive friction can damage or fray the fibers. Use a soft cloth and gentle movements instead.
Steam Cleaners and Excessive Moisture
Do not steam-clean seat belts unless the vehicle manufacturer explicitly approves the method. Heat, moisture, and cleaning agents can pose unnecessary risks to the webbing and surrounding mechanism.
Likewise, do not saturate the belt or allow liquid to enter the retractor.
Heat Guns and Hair Dryers
Avoid using intense heat or unapproved artificial drying methods. Follow the manufacturer’s instructions and allow the belt to dry naturally in an appropriate, well-ventilated area.
How Often Should You Clean Seat Belts?
There is no universal cleaning schedule for every vehicle. The right frequency depends on use, visible contamination, and the owner’s manual.
Use these practical guidelines:
- Inspect the seat belts regularly for dirt, fraying, cuts, and other visible damage.
- Clean fresh spills promptly using an approved method.
- Include a visual belt inspection in your normal interior detailing routine.
- Clean heavily soiled areas when necessary, rather than repeatedly treating belts that are already clean.
- Follow your vehicle manufacturer’s recommendations for inspection, maintenance, and replacement.
Vehicles used frequently by children, pets, or multiple passengers may need more regular inspection. However, repeated deep cleaning is not a substitute for checking the belt’s condition.
For a complete interior maintenance routine, see our DIY Car Detailing Checklist.
What to Do if a Seat Belt Is Damaged
Cleaning is appropriate for surface dirt when the webbing is otherwise in good condition. It is not a repair method for damaged safety equipment.
Arrange professional inspection if you notice:
- Cuts, fraying, or damaged fibers.
- Heavy abrasion or visible deformation.
- Discoloration after exposure to a potentially damaging chemical.
- Webbing that no longer retracts normally.
- A buckle that does not latch or release correctly.
- Damage or a need for replacement following a collision.
Vehicle manufacturers may require seat belt replacement after certain collisions, even when the damage is not readily visible. Follow the exact instructions in your owner’s manual and the manufacturer’s post-collision guidance.
Do not sew, glue, dye, lubricate, or modify a damaged seat belt yourself. If its condition is uncertain, avoid relying on it until a qualified professional has assessed the problem.
Conclusion
Learning how to clean seat belts safely without damage comes down to using the right cleaning method and protecting the restraint system throughout the process.
Start by inspecting the webbing and checking your vehicle’s owner’s manual. Use mild soap and water when approved, wipe gently with a soft cloth, remove residue as instructed, and keep moisture out of the retractor. Most importantly, let the belt dry completely before allowing it to retract.
Avoid bleach, chemical solvents, dye, abrasive scrubbing, excessive moisture, and unapproved heat. If the belt is frayed, damaged, contaminated by a potentially harmful chemical, or no longer functions normally, seek professional inspection instead of attempting to restore it cosmetically.
A clean interior matters, but preserving the proper function of your seat belts matters much more.
Frequently Asked Questions About Cleaning Seat Belts
1. What Is the Safest Way to Clean Car Seat Belts?
The safest general method is to wipe the webbing gently with a soft cloth and a mild soap solution, provided your vehicle manufacturer’s instructions permit it. Avoid harsh chemicals, excessive moisture, and aggressive scrubbing, and dry the belt completely before retracting it.
2. Can You Use Upholstery Cleaner on Seat Belts?
Not automatically. A product designed for fabric seats or carpets may not be suitable for restraint webbing. Check your owner’s manual and the cleaner’s label before use. When compatibility is unclear, stick to the manufacturer-approved cleaning method.
3. Can You Use Bleach to Whiten Seat Belts?
No. Vehicle manufacturers warn that bleach can weaken seat belt webbing. Do not use bleach, dye, or whitening chemicals to change the belt’s color. Use an approved cleaning method and have damaged or chemically contaminated webbing inspected.
4. Should Seat Belts Be Wet When They Retract?
No. Follow the vehicle manufacturer’s drying instructions and do not allow wet webbing to roll into the retractor. Keep the belt extended until it has dried completely, because trapped moisture can create problems and may affect proper operation.
5. How Do You Remove Stubborn Stains From Seat Belts?
Start by gently wiping the area with the cleaning solution approved by the manufacturer. If the stain remains, do not switch to a strong solvent or scrub aggressively. Persistent stains may need professional assessment, particularly if removing them would require harsher treatment.
6. Can You Use a Steam Cleaner on Seat Belts?
Do not use a steam cleaner unless your vehicle manufacturer explicitly approves that method. Heat and excessive moisture are unnecessary risks for restraint webbing and its mechanism. Use the recommended cloth-and-cleaning-solution method instead.
7. When Should a Dirty Seat Belt Be Replaced Instead of Cleaned?
Replacement or professional inspection is necessary when a belt is cut, frayed, badly abraded, chemically damaged, or not functioning normally. Follow your vehicle manufacturer’s post-collision requirements, because some belts require replacement after a serious impact even without obvious visible damage.