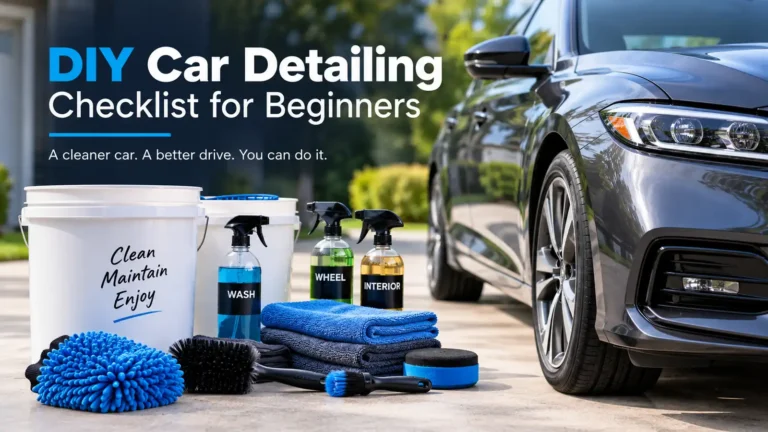
A beginner-friendly full detail is easiest to manage when you work from the dirtiest surfaces toward the finishing steps: wash and decontaminate the exterior, correct and protect the paint if needed, deep-clean the interior, then finish the glass, trim, and tires.
The key is not doing every possible detailing step. A first detail should focus on safely removing dirt and bonded contamination, improving the vehicle’s appearance, and applying protection without taking on advanced procedures you are not ready to perform.
This checklist covers the supplies, sequence, techniques, and beginner-level tasks needed to complete a thorough DIY detail.
What Supplies Do You Need Before Starting?
Gather everything before you begin so you are not leaving a wet panel or unfinished section while searching for another product.
Exterior Supplies
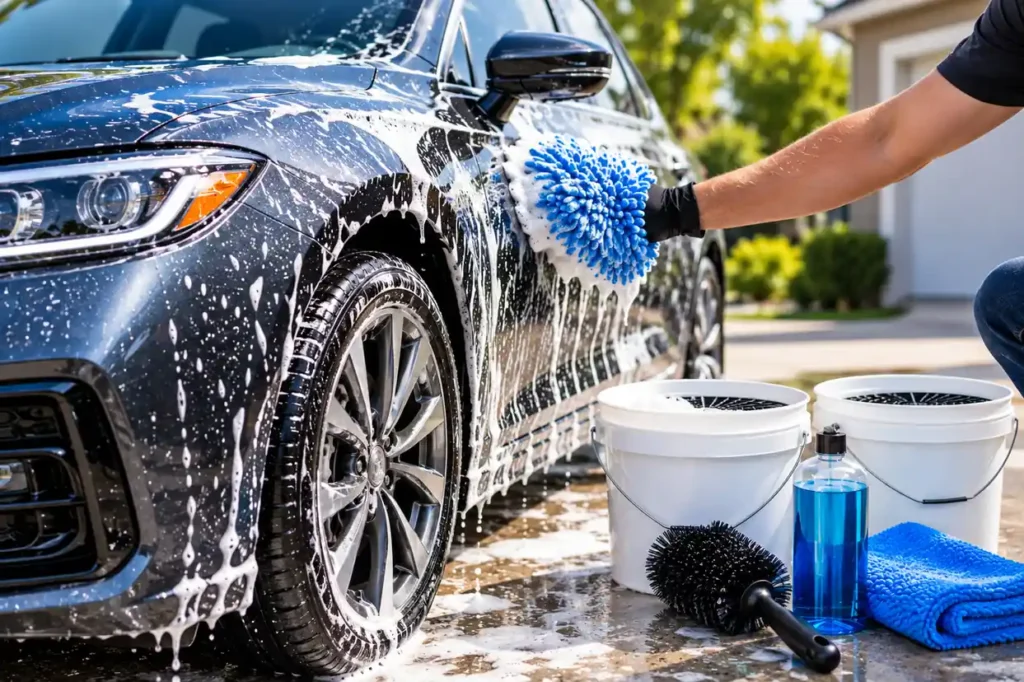
- Two wash buckets with grit guards: Use one for your wash solution and one for rinsing the mitt. This helps reduce the chance of transferring loose debris back onto the paint.
- Microfiber wash mitt: Use a dedicated mitt for painted surfaces and keep it separate from wheel-cleaning tools.
- Dedicated wheel brush and wheel towels: Keep wheel-cleaning tools separate because brake dust and road grime can be abrasive.
- Automotive car wash soap: Choose a product made for vehicle finishes instead of a household cleaner. Automotive wash soap is generally formulated to clean without unnecessarily stripping existing protection.
- Clay bar or clay mitt with suitable lubricant: Use these only when bonded contaminants remain after washing.
- Microfiber drying towels: Keep enough clean towels available so you do not need to reuse a dirty or saturated towel.
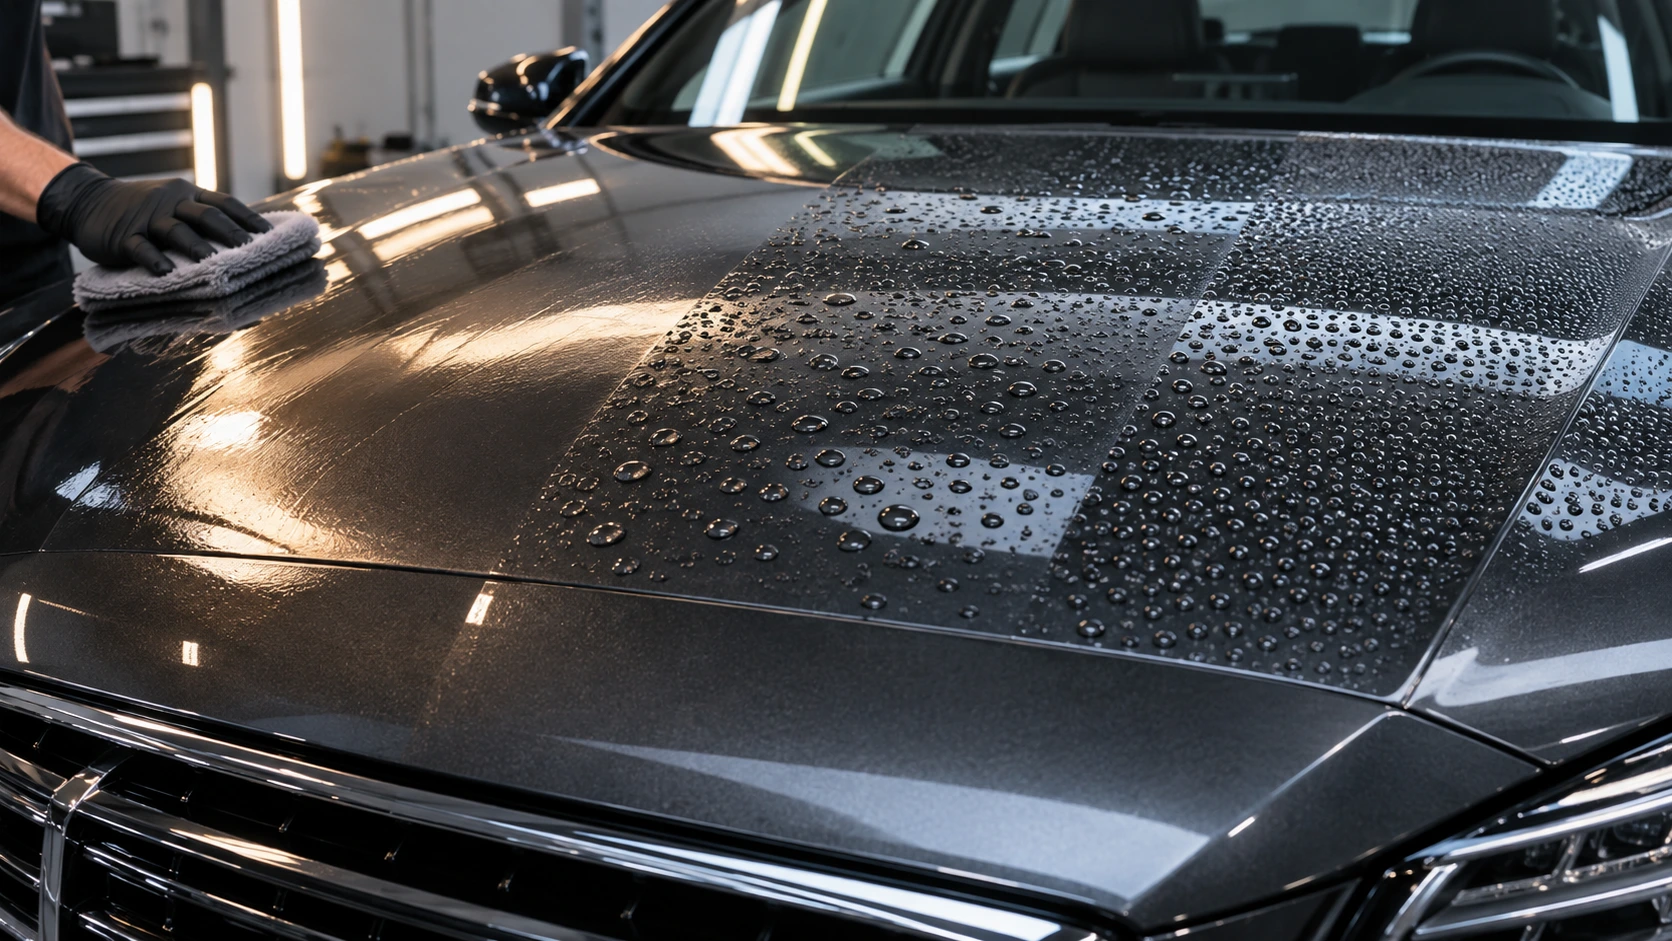
- Wax, paint sealant, or spray protection: Choose one protection product and follow its application instructions.
- Separate microfiber towels for paint, glass, and interior work: Use separate towels to reduce cross contamination between surfaces.
Interior Supplies
- Vacuum with crevice and brush attachments
- Interior cleaner appropriate for the surfaces being cleaned
- Microfiber towels
- Soft detailing brushes
- Glass cleaner formulated for automotive glass
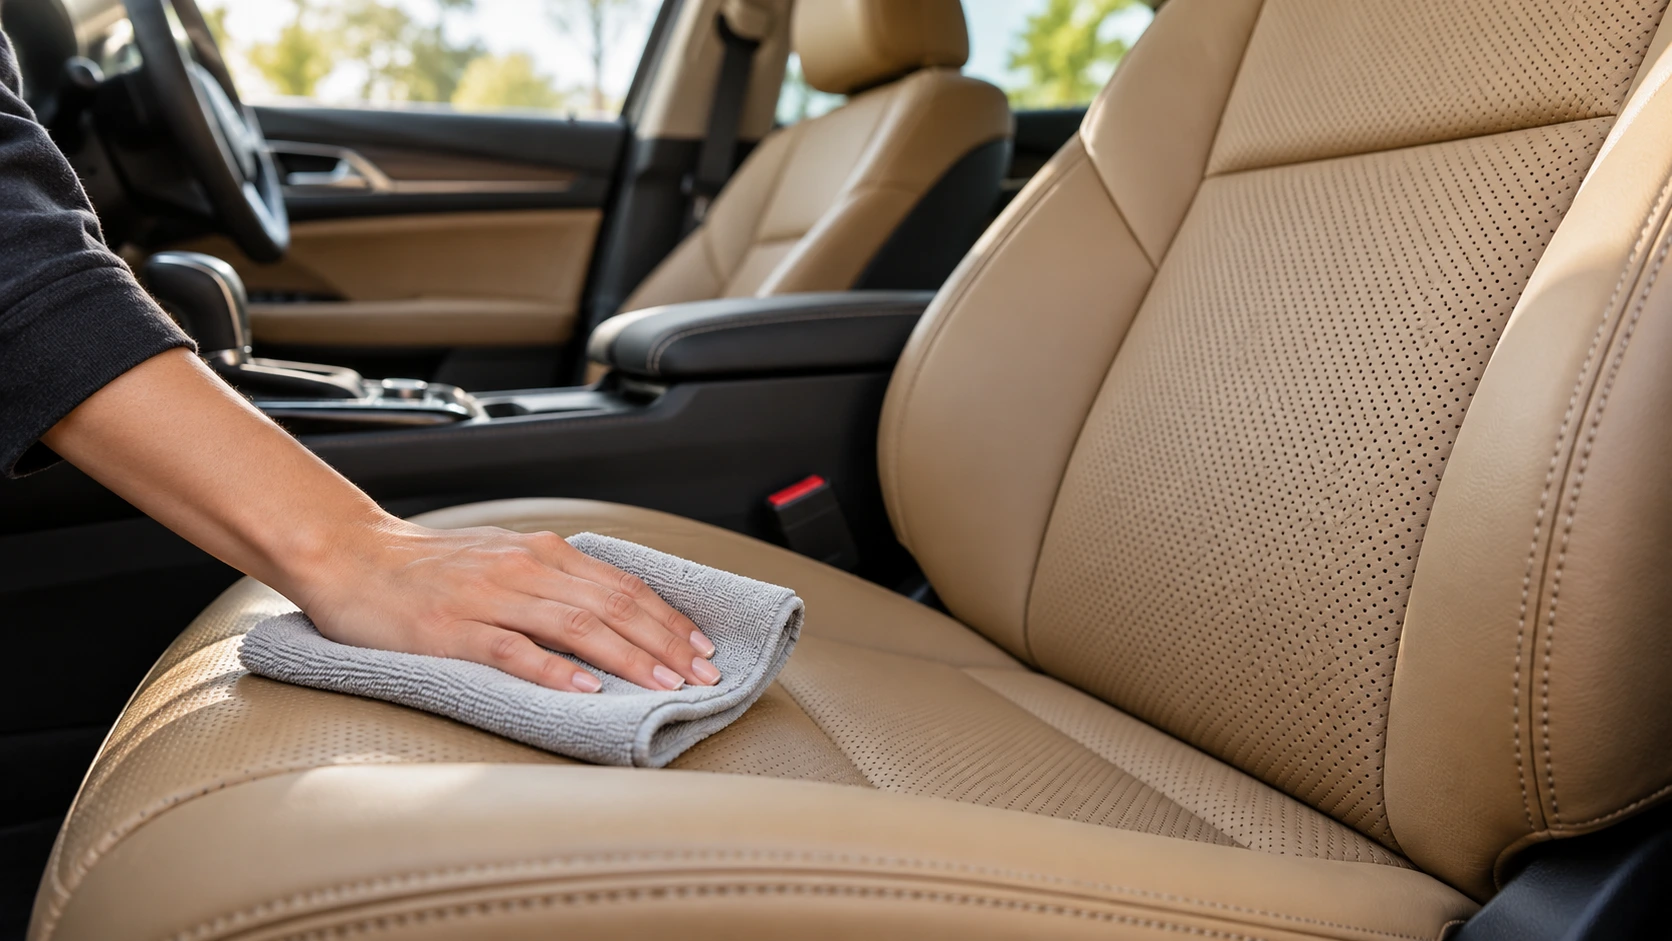
- Leather cleaner or conditioner when appropriate for the vehicle’s leather surfaces
- Fabric or upholstery cleaner when needed
You do not need a professional detailing cart full of chemicals for a first detail. A small collection of appropriate products and clean microfiber towels is enough to cover most routine interior and exterior work.
Stage One: Wash and Decontaminate the Exterior
The first stage removes loose dirt before you attempt to touch or protect the paint. Washing removes loose contamination, while clay is used later when contamination remains bonded to the surface. 3M and Meguiar’s both describe clay as a way to remove bonded surface contaminants that normal washing may leave behind.
1. Work in the Shade When Possible
Choose a shaded work area and avoid starting with a hot vehicle. Your goal is to keep the panels cool enough that soap and cleaning products do not dry before you can rinse them.
An overcast day can work well, while a shaded driveway can also be suitable. The important consideration is controlling the surface temperature and preventing products from drying prematurely.
2. Rinse the Vehicle Thoroughly
Rinse the exterior before washing to remove loose dirt and reduce the amount of debris that must be moved across the paint with a mitt.
Pay attention to:
- Wheel wells
- Lower body panels
- Rocker panels
- Areas behind the wheels
- Panel gaps
3. Clean the Wheels With Dedicated Tools
Clean the wheels before washing the painted body if practical.
Use tools reserved for the wheels and select a wheel cleaner that is appropriate for the specific wheel finish. If you are unsure what type of wheel finish you have, check the vehicle or wheel manufacturer’s guidance before using a strong cleaner.
Never use the same brush or mitt on heavily soiled wheels and painted body panels.
4. Wash the Body From Top to Bottom
Use your automotive wash solution and microfiber mitt to work from the cleaner upper sections toward the dirtier lower panels.
Use light pressure rather than aggressively scrubbing the paint.
A two-bucket setup can help separate wash solution from rinse water, but technique still matters. A dirty mitt, excessive pressure, or dragging abrasive debris across the surface can create defects regardless of how many buckets you use.
5. Rinse the Vehicle Completely
Rinse away the soap before it dries.
Check areas that commonly retain residue, including:
- Grilles
- Mirrors
- Door handles
- Trim
- Emblems
- Panel gaps
6. Dry With Clean Microfiber Towels
Use clean, appropriate drying towels and avoid using a towel that has fallen onto the ground or picked up visible debris.
Do not allow water to sit unnecessarily in:
- Mirrors
- Grilles
- Door handles
- Trim gaps
- Emblems
Opening the doors and hatch after the main drying pass can also reveal water trapped around seals and jambs.
7. Check the Paint for Bonded Contamination
Once the vehicle is clean and dry, lightly feel the paint with clean fingertips.
If the surface feels rough or gritty despite being clean, bonded contamination may remain. Meguiar’s specifically recommends checking for this roughness after washing, while 3M describes clay as a method for removing contaminants that remain on automotive finishes after washing.
8. Clay Only Where It Is Needed
If bonded contamination remains, use a suitable clay product with the lubricant specified by the manufacturer.
Work a small section at a time with light pressure. Keep the surface adequately lubricated and follow the product’s instructions.
Clay is not a paint-correction product. It removes above-surface contamination; it does not remove swirl marks or scratches. Meguiar’s explicitly distinguishes clay from polishing for this reason.
After claying, wipe or rinse the surface according to the product instructions and inspect the finish before moving to protection.
Stage Two: Inspect, Correct, and Protect the Paint
Paint correction is optional for a beginner. The objective of a first detail should not be to remove every visible defect.
Inspect the Paint Before Polishing
Look at the vehicle under good lighting for:
- Swirl marks
- Light scratches
- Oxidation
- Dullness
- Water-spot etching
- Remaining contamination
It is important to distinguish between above-surface contamination and below-surface paint defects. Clay addresses the former. Scratches, swirls, and similar defects require a different correction process.
Skip Aggressive Paint Correction on Your First Detail
If you are unfamiliar with machine polishing, do not make aggressive correction your first project.
A beginner can get useful results simply by:
- Washing correctly.
- Removing bonded contamination when necessary.
- Applying appropriate paint protection.
If you later decide to learn polishing, start with a mild system and learn how pad, polish, machine speed, pressure, and working time affect the finish.
Apply Paint Protection
Once the paint is clean and properly prepared, apply your chosen:
- Wax
- Paint sealant
- Spray coating
- Other compatible protection product
Follow the product’s specific instructions for:
- Surface preparation
- Application amount
- Working area
- Dwell or curing time
- Removal or buffing
- Weather conditions
Do not assume every wax, sealant, or ceramic spray should be applied in exactly the same way.
After application, inspect panel gaps, emblems, textured trim, and edges for leftover product residue. Removing residue before it dries helps prevent visible streaks, white marks, and uneven finish around detailed areas.
Stage Three: Deep-Clean the Interior
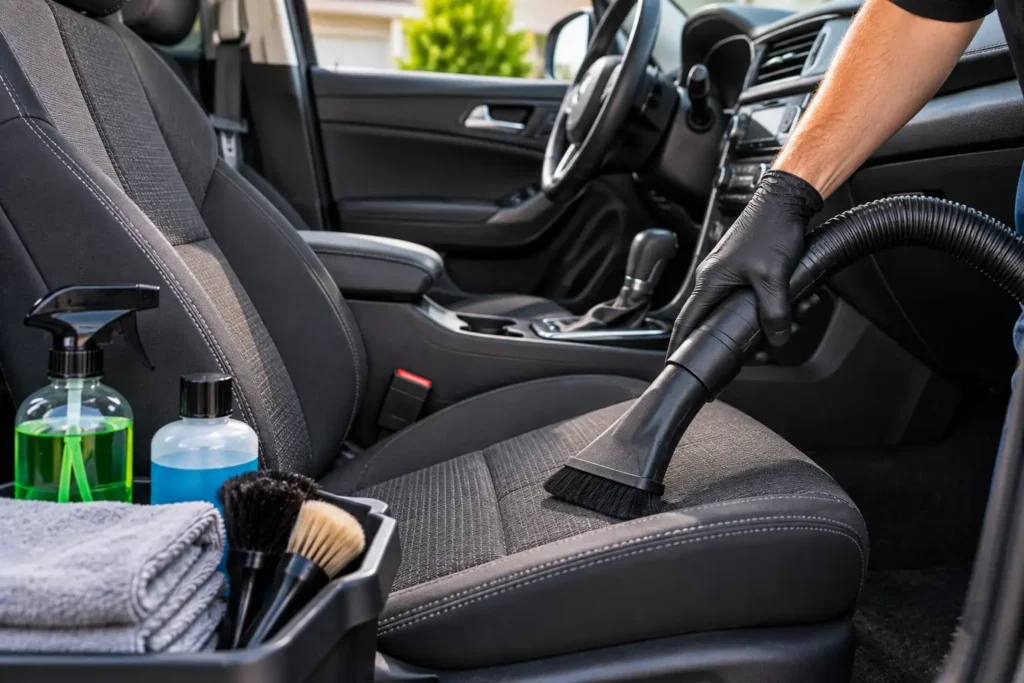
A thorough interior detail starts with removing loose debris before applying cleaners. This sequence helps prevent dust, crumbs, and dirt from spreading across cleaned surfaces and makes it easier to clean the dashboard, seats, carpets, and storage areas effectively.
1. Remove Trash and Personal Items
Before cleaning the car interior, remove all trash and personal belongings from the cabin and cargo area. Clearing these items gives you full access to surfaces that are often missed during a quick interior clean.
Take everything out of:
- Door pockets
- Center console
- Cup holders
- Seat-back pockets
- Cargo areas
- Floor areas
This gives you access to surfaces that are otherwise easy to overlook.
2. Remove the Floor Mats
Remove the floor mats before vacuuming and cleaning the rest of the interior. Cleaning mats outside the vehicle helps prevent loosened dirt and moisture from returning to the carpet.
Take the mats outside the vehicle before cleaning them.
Shake or vacuum loose debris first, then clean according to the material and the cleaner manufacturer’s directions.
3. Vacuum the Interior Thoroughly
Vacuuming is one of the most important steps in interior detailing because it removes loose dirt, dust, crumbs, and pet hair before wet cleaning begins. Focus on both visible areas and hidden spaces where debris collects.
Work through:
- Seats
- Carpets
- Floor mats
- Door pockets
- Seat tracks
- Center console
- Under the seats
- Cargo area
Use a crevice attachment around seat rails and other narrow spaces.
For carpet and fabric, vacuuming removes loose debris before wet cleaning. CDC cleaning guidance similarly distinguishes removal of loose soil from subsequent cleaning of surfaces.
4. Clean Hard Interior Surfaces
Use an interior cleaner that matches the material you are cleaning. Wipe hard surfaces gently to remove dust, fingerprints, oils, and everyday grime without leaving an overly glossy or slippery finish.
Use a cleaner appropriate for the material and wipe:
- Dashboard
- Door panels
- Center console
- Steering-wheel surfaces where appropriate
- Cup holders
- Switch panels
- Plastic trim
Do not assume one cleaner is suitable for every interior material.
Always follow the vehicle and product manufacturer’s guidance, particularly for sensitive finishes.
5. Clean Cup Holders and Small Compartments
Cup holders, storage compartments, and door pockets often hold concentrated dirt because they collect crumbs, dust, spilled drinks, and sticky residue. Cleaning these areas can make the interior look noticeably fresher even when the rest of the cabin is only lightly soiled.
Use a small detailing brush or microfiber towel to loosen debris before wiping it away.
6. Treat Leather Only With Suitable Products
Leather seats and trim should be cleaned with products intended for the specific material. Using the wrong cleaner or dressing can leave an unwanted finish or affect the surface, so check the vehicle and product manufacturer’s recommendations first.
If the vehicle has genuine leather, use a product specifically appropriate for that material and follow the vehicle manufacturer’s recommendations.
Do not automatically apply a generic interior dressing to leather, suede-like materials, or other specialty surfaces.
7. Clean Fabric and Upholstery as Needed
For stained seats, carpets, or fabric panels, use a cleaner designed for the specific upholstery material. Test the product in a hidden area first when possible, and avoid applying more moisture than the material can reasonably dry.
If seats or carpets have stains, use a cleaner designed for the specific material.
Avoid soaking interior surfaces unnecessarily. Excess moisture can create additional drying and odor problems.
8. Perform a Final Vacuum
A final vacuum pass removes dust and debris that may have fallen onto the seats, carpets, or floor while you cleaned other surfaces. This last step helps leave the cabin looking finished rather than simply wiped down.
After wiping the interior, loose debris may have fallen onto the floor or seats.
A final vacuum pass helps collect anything that was displaced during cleaning.
Stage Four: Clean the Glass, Trim, and Tires
The finishing stage removes the small defects that become especially noticeable after the main cleaning is complete.
Clean Interior and Exterior Glass
Use an automotive glass cleaner and clean microfiber towels.
Work methodically so you can tell whether a streak is on the inside or outside of the glass.
For interior glass, avoid getting unnecessary cleaner onto dashboards, screens, or other nearby surfaces.
Clean Exterior Trim and Plastic
Remove dirt from exterior plastic and trim before applying any dressing.
If you use a trim protectant, select one intended for the specific material and follow its application instructions.
The goal should be a clean, even appearance rather than an excessively glossy surface.
Apply Tire Dressing if Desired
Tire dressing is optional.
If you use one, apply it evenly and remove excess product according to the manufacturer’s instructions. Excess dressing can migrate onto nearby bodywork during driving.
Perform a Final Walkaround
Inspect the vehicle from several angles and under good lighting.
Look for:
- Water streaks
- Missed dirt
- Wax or sealant residue
- Glass streaks
- Tire dressing on body panels
- Dust around trim
- Water trapped around mirrors or emblems
Correct these small issues before you consider the detail complete.
How Long Does a Beginner Car Detail Take?
There is no reliable single time for a complete detail because the duration depends heavily on vehicle size, contamination level, interior condition, equipment, and whether paint correction is included.
A lightly soiled compact car can take substantially less time than a large SUV with neglected wheels, stained upholstery, and bonded paint contamination.
For a first attempt, it is better to plan for several hours rather than trying to finish as quickly as possible.
You also do not have to complete everything in one session.
A practical approach is:
- Session 1: Wash, wheels, drying, and paint decontamination.
- Session 2: Paint protection and interior cleaning.
- Session 3 if needed: Glass, trim, tires, and final inspection.
Breaking the work into sessions can make the process easier to manage while you learn the techniques.
What Should Beginners Skip on Their First Detail?
A first detail does not need to include every advanced detailing service.
Aggressive Paint Correction
Leave heavy compounding and aggressive machine polishing for a later project unless you have learned the technique and understand the risks.
Rotary-Polisher Correction
A rotary polisher can be useful in experienced hands, but there is little reason for a beginner to start with an aggressive correction process.
Engine-Bay Detailing
Engine compartments contain electrical components, connectors, sensitive materials, and vehicle-specific considerations. Learn the appropriate procedure for your vehicle before introducing water or chemicals.
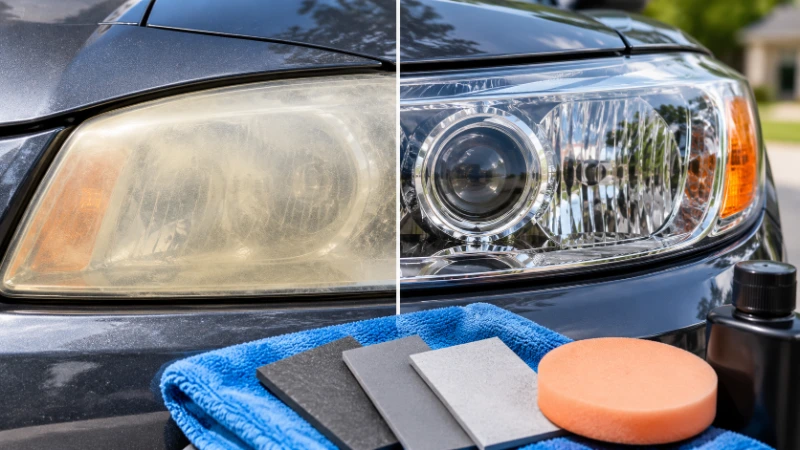
Headlight Restoration
Headlight restoration is a separate process involving controlled abrasion and refinishing. It is better treated as its own project rather than squeezed into a first full detail.
Professional Ceramic Coating
Do not treat a professional-grade ceramic coating as simply another version of wax.
Many coating systems require careful surface preparation, controlled application, and specific curing conditions. For a first detail, a simpler protection product is generally easier to manage.
What Weather and Timing Conditions Are Best for a First Detail?
A shaded work area and moderate conditions make the process easier because you have more time to work before water or detailing products dry on the surface.
Avoid working on extremely hot panels whenever possible.
If you are working outside, morning, late afternoon, or an overcast period may be easier than the hottest part of a sunny day. The exact timing depends on your local temperature, sunlight, humidity, and the product instructions.
The most important rule is simple: do not let wash chemicals, cleaners, waxes, or other products dry on a surface when the product instructions tell you to remove them sooner.
Frequently Asked Questions
Do I need professional-grade products for my first detail?
No. Consumer-grade car detailing products are sufficient for a beginner’s first detail. Choose products designed for the specific surface you are cleaning, such as automotive soap for paint, interior cleaner for dashboards and plastics, and automotive glass cleaner for windows.
How often should I do a full car detail?
Most vehicles need a full detail when routine washing and interior cleaning no longer restore the desired appearance. The timing depends on driving frequency, parking conditions, climate, interior use, and existing paint protection. Perform maintenance washes and light interior cleaning more often than clay treatment, paint correction, or protection reapplication.
Can I detail my car without a garage?
Yes. You can detail a car in a shaded driveway or another suitable outdoor area. Avoid washing on hot panels or in direct sunlight when products may dry too quickly. Follow local rules for water use and runoff, and keep the vehicle safely parked during interior cleaning.
Is clay bar treatment required every time I wash a car?
No. Use a clay bar only when bonded contaminants remain after washing and the paint feels rough or gritty. If the paint feels smooth and clean, routine washing does not require clay treatment.
Does a clay bar remove scratches and swirl marks?
No. A clay bar removes bonded, above-surface contaminants such as overspray and industrial fallout. It does not remove scratches, swirl marks, oxidation, or paint defects. Those problems require polishing or paint correction.
Should I wax my car immediately after washing?
You can apply wax after washing if the paint is clean, dry, and properly prepared. If the paint feels rough, remove bonded contamination before waxing. Always follow the wax or sealant manufacturer’s instructions for preparation, application, and removal.
Do I need to clean and disinfect my car interior?
Routine cleaning is usually enough for normal maintenance. Disinfection is appropriate when there is a specific reason to reduce pathogens, such as illness exposure. Clean the surface first, then use a disinfectant approved for that material and follow the product label and vehicle manufacturer’s guidance.
Do I need to complete every detailing stage every time I clean my car?
No. A routine maintenance clean may only require washing the exterior, cleaning the wheels, drying the vehicle, vacuuming the interior, and spot-cleaning visible messes. Use clay treatment, paint correction, paint protection, deep upholstery cleaning, and other intensive steps only when the vehicle needs them.
What is the correct order for detailing a car?
The basic order is:
- Clean the wheels.
- Rinse and wash the exterior.
- Dry the vehicle.
- Remove bonded contamination if needed.
- Polish the paint only if correction is necessary.
- Apply wax, sealant, or another protection product.
- Vacuum and clean the interior.
- Clean the glass, trim, and tires.
- Perform a final inspection.
What is the biggest beginner mistake in car detailing?
The biggest beginner mistakes are using dirty tools, applying too much pressure, working on hot panels, and using the same tools on wheels and paint. Use clean microfiber towels, work in the shade, clean from top to bottom, and keep wheel-cleaning tools separate from paint-care tools.
Can I detail my car in direct sunlight?
It is better to detail in the shade or during cooler parts of the day. Direct sunlight and hot panels can cause soap, cleaners, waxes, and sealants to dry too quickly, increasing the risk of streaks and residue. If you must work in sunlight, clean small sections and follow each product’s instructions closely.
How long does a beginner car detail take?
A beginner detail can take several hours, depending on the vehicle’s size, condition, level of contamination, and whether paint correction is included. You can split the work into separate sessions, such as exterior cleaning one day and interior cleaning the next.
What Is the Simplest Beginner Detailing Routine?
If the full checklist feels overwhelming, start with this sequence:
- Clean the wheels.
- Rinse the vehicle.
- Wash the exterior from top to bottom.
- Rinse and dry.
- Check for bonded contamination and clay only if needed.
- Apply a simple paint protection product if desired.
- Remove interior trash and vacuum thoroughly.
- Clean hard interior surfaces and spot-clean fabric or leather as appropriate.
- Clean the glass.
- Finish the trim and tires if needed.
- Inspect the vehicle under good lighting.
That is enough for a strong first detail. Advanced paint correction, engine-bay cleaning, headlight restoration, and professional ceramic coatings can be learned separately once the fundamentals are comfortable.
Bottom Line
A successful first detail is more about sequence and technique than having a large collection of products.
Start by removing loose dirt, then address bonded contamination only when it is actually present. Protect the paint after it is properly prepared, clean the interior according to its materials, and leave advanced correction and specialized procedures for later.
The most useful beginner strategy is to do fewer steps correctly rather than attempt every detailing technique at once.