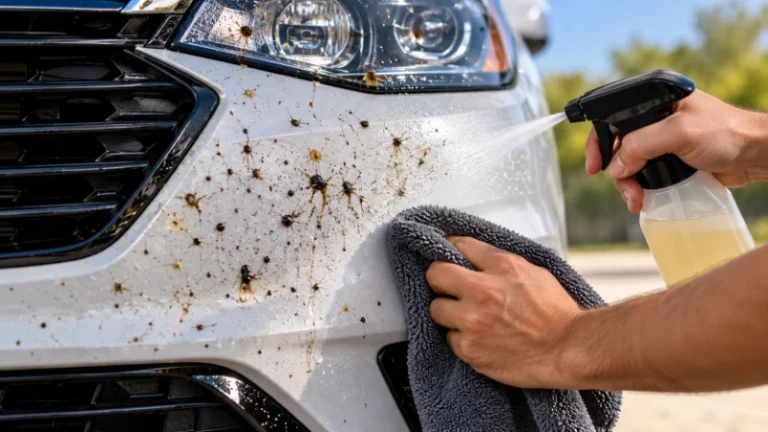
The safest way to remove bugs from your car is to soften the dried residue with water and a paint-safe bug remover before wiping it away with a clean microfiber towel. Scrubbing dried bug splatter directly against the paint can introduce scratches, while leaving insect residue on the surface for too long, particularly in hot weather, can lead to stubborn staining or clear coat etching.
This guide explains how to remove bugs from car paint, bumpers, windshields, and other exterior surfaces using the right products and techniques. It also covers tar removal, common cleaning mistakes, and how to protect your paint after removing stubborn contamination.
Why Is Bug Splatter Difficult to Remove From Car Paint?
Bug splatter becomes difficult to remove because insect remains contain organic material that can dry and adhere to automotive surfaces. Heat and prolonged exposure can make the residue harder to soften and increase the risk of staining or etching the clear coat.
The front bumper, hood, grille, mirrors, and windshield receive the most direct insect impacts during highway driving. These areas often need targeted cleaning even when the rest of the vehicle still looks clean.
Three factors make bug removal more challenging:
- Dried residue: Insect remains harden as moisture evaporates, making them more difficult to remove with an ordinary car wash.
- Heat exposure: Hot paint and direct sunlight can accelerate drying and make the residue more stubborn.
- Improper cleaning: Scrubbing with a dry towel, abrasive pad, or hard tool can scratch the finish while attempting to remove the contamination.
The solution is to loosen the residue chemically or with suitable cleaning products before making contact with the surface.
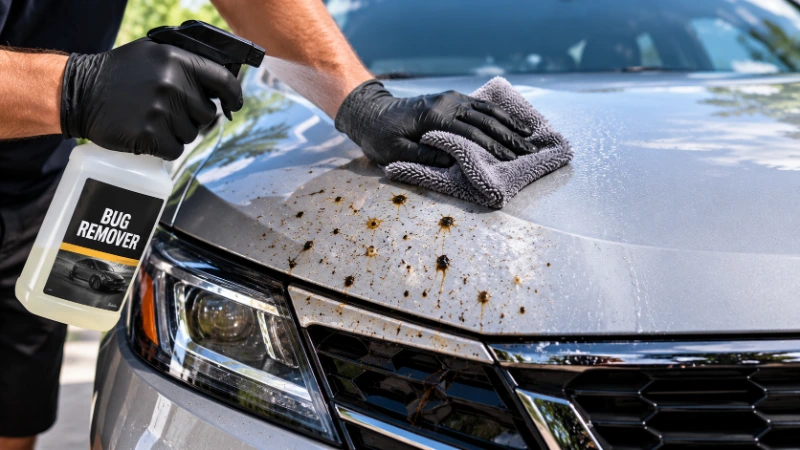
What Do You Need to Remove Bugs From a Car?
You do not need an extensive detailing kit to remove bug splatter safely. A few suitable cleaning supplies are enough for most fresh or moderately dried deposits.
| Cleaning supply | Purpose |
|---|---|
| Clean water or garden hose | Rinses loose dirt and softens residue |
| Automotive bug remover | Helps loosen stubborn insect remains |
| Car wash soap | Cleans the treated area afterward |
| Clean microfiber towels | Gently lift loosened contamination |
| Soft wash mitt or applicator | Helps clean larger affected areas |
A dedicated bug remover is particularly useful when regular car shampoo does not remove dried insect residue.
Choose a product whose label specifically identifies compatibility with automotive paint and the surface being treated. If your vehicle has a ceramic coating, matte paint, or specialty finish, check the product and coating manufacturers’ compatibility instructions before use.
How to Remove Bugs From Car Paint Step by Step
The correct way to remove bugs from car paint is to rinse away loose debris, apply a suitable cleaner, allow it to work for the labeled dwell time, gently lift the residue, and rinse the surface thoroughly.
Follow these steps for the front bumper, hood, mirrors, and other painted exterior panels.
Step 1: Park in the Shade and Let the Paint Cool
Move the vehicle into a shaded area and allow hot exterior panels to cool before applying cleaning chemicals.
A cool surface gives you more control over the cleaning process and reduces the risk of a product drying too quickly.
Avoid cleaning in direct sunlight or applying bug remover to hot paint unless the product specifically allows it.
Step 2: Rinse the Affected Area With Water
Rinse the bug-covered panels with clean water before using a towel or wash mitt.
This removes loose dirt, dust, and other particles that could scratch the paint during wiping.
Pay particular attention to the front bumper, hood, grille surround, and side mirrors. These areas often accumulate a concentrated layer of insect residue after highway driving.
Do not try to wipe away hardened bug splatter during this initial rinse.
Step 3: Apply a Dedicated Bug Remover
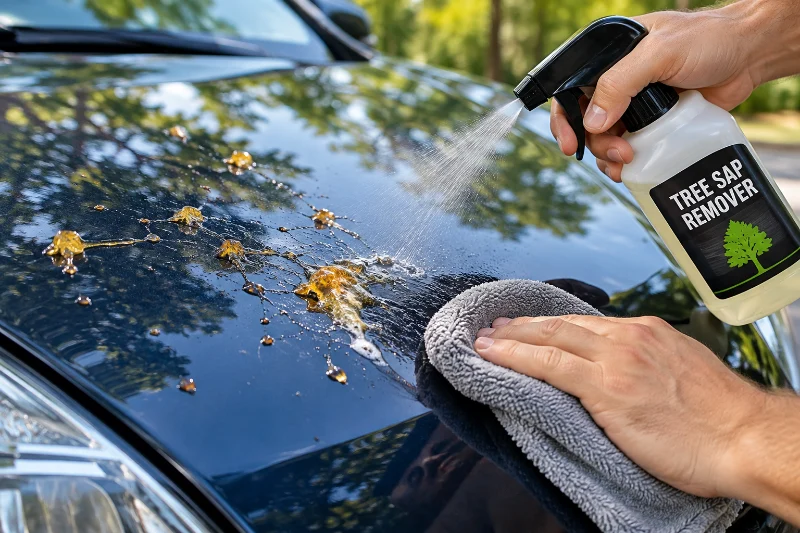
Spray a paint-safe automotive bug remover over the affected area according to the manufacturer’s directions.
Cover the residue adequately without allowing excess product to run onto incompatible trim, unpainted plastic, or other sensitive surfaces.
A dedicated bug remover helps soften or break down the residue so it can be removed with less mechanical effort.
If you do not have a dedicated product, an automotive shampoo solution and a thoroughly wet microfiber towel may help with fresh or lightly dried bug splatter. Avoid using stronger household chemicals as substitutes.
Step 4: Allow the Cleaner to Dwell
Let the bug remover remain on the surface for the time specified on its label.
The dwell period gives the cleaner an opportunity to soften the dried insect material before you wipe it away.
Do not assume that leaving a product on the paint longer will improve its cleaning ability. Excessive dwell time can allow certain formulas to dry or affect existing wax and sealant protection.
If the residue remains stubborn, follow the product’s instructions for another application instead of increasing the dwell time beyond its recommended limits.
Step 5: Gently Wipe Away the Loosened Bug Residue
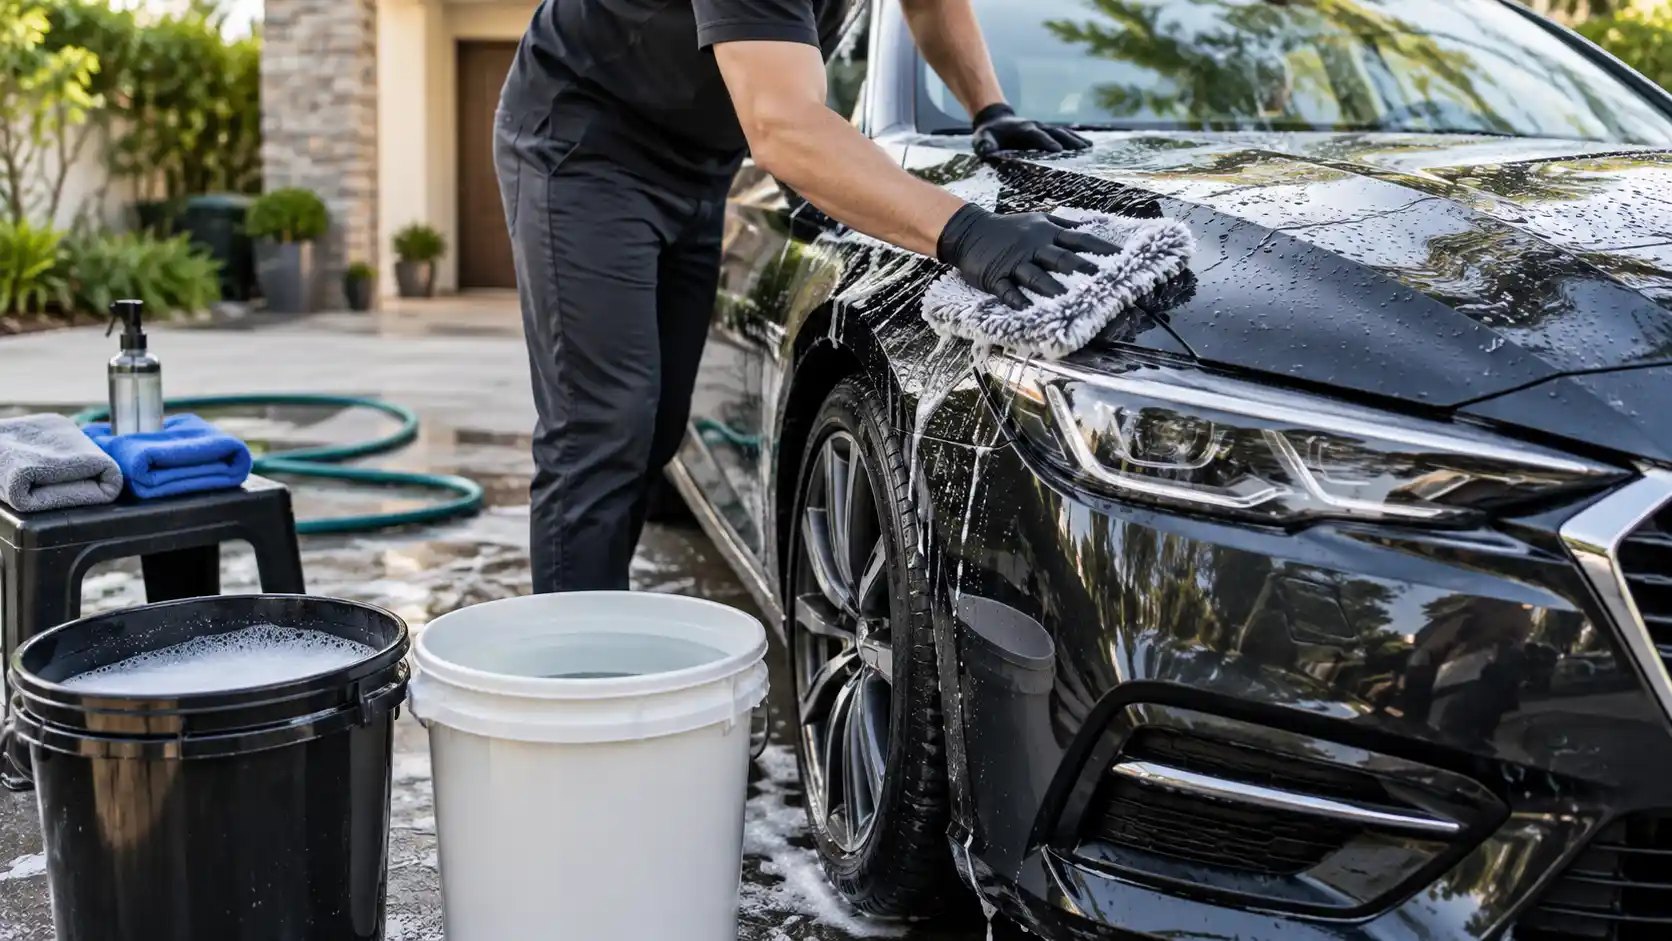
Use a clean, soft microfiber towel or suitable wash mitt to remove the softened contamination.
Work with light pressure and short, controlled passes. Turn the towel to a clean section as it collects dirt and residue.
For larger deposits, use a soft applicator and allow the cleaner to do most of the work.
Never use steel wool, abrasive kitchen pads, metal scrapers, or aggressive dry scrubbing on painted surfaces.
If the residue does not come away easily, stop and repeat the pre-treatment process.
Step 6: Rinse the Surface Thoroughly
Rinse the treated panel with clean water to remove the loosened residue and remaining cleaning solution.
Check the area under good lighting to see whether any visible contamination remains.
If you still see bug splatter, apply another treatment according to the product label rather than scraping or rubbing harder.
Step 7: Wash and Dry the Treated Area
Wash the treated panel with automotive car wash soap and a clean wash mitt if additional cleaning is needed.
Rinse the panel and dry it with a clean microfiber drying towel using gentle contact.
Inspect the surface after drying. If the paint is clean but a faint mark remains, the mark may be staining or etching rather than leftover insect material.
Cleaning removes contamination, but it cannot necessarily reverse damage that has already occurred in the clear coat.
How to Remove Dried Bug Splatter That Will Not Come Off
Dried bug splatter that remains after an initial cleaning attempt usually needs additional softening rather than stronger scrubbing.
Start by repeating the cleaning process with a suitable bug remover. Allow the product to work for the labeled time, then gently wipe the softened material away.
For particularly stubborn deposits:
- Reapply the cleaner as directed by the manufacturer.
- Use a clean microfiber towel for each treatment.
- Avoid letting the product dry on the surface.
- Check whether the remaining mark is actual residue or paint damage.
If the paint feels rough or the contamination remains bonded after appropriate chemical treatment, professional detailing or paint decontamination may be necessary.
Clay bar treatment can help remove certain bonded contaminants, but it is not the first step for ordinary bug splatter. Clay must be used with suitable lubrication and technique because improper use can introduce marring.
If the mark remains after the surface is clean, light polishing may help with certain forms of clear coat etching. More severe damage may require professional paint correction, and polishing should not be used indiscriminately on every affected area.
How to Remove Bugs From a Car Windshield and Headlights
Bug removal from glass and headlights requires attention to the surface material because windshield glass and plastic headlight lenses have different compatibility requirements.
Removing Bugs From the Windshield
For bug splatter on a windshield:
- Rinse the glass with clean water to remove loose debris.
- Apply an automotive glass cleaner or bug remover specifically approved for glass.
- Allow the cleaner to work according to its instructions.
- Gently wipe the softened residue with a clean microfiber towel.
- Rinse or clean the glass as directed, then dry it with a suitable glass towel.
Avoid scraping contaminated glass with an unapproved blade or abrasive pad. Specialty glass tools should only be used when the glass and tool manufacturers permit them.
For stubborn windshield contamination, follow the vehicle and glass product manufacturers’ recommendations rather than applying a paint-specific solvent without checking compatibility.
Removing Bugs From Headlights
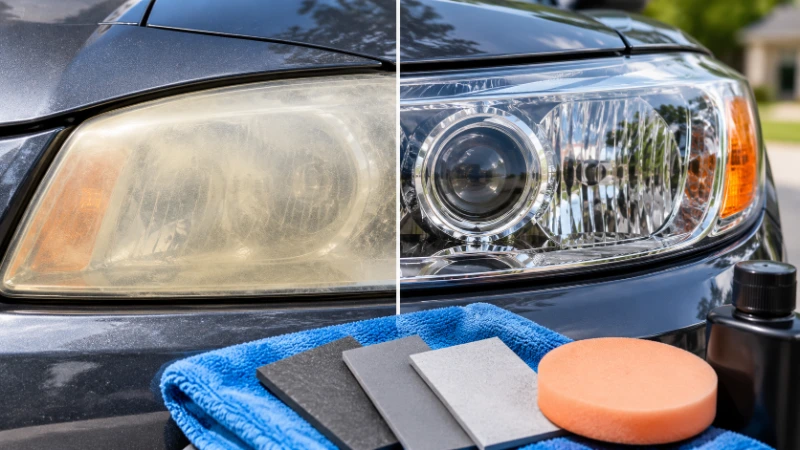
Most modern headlight lenses are made from plastic and may have protective coatings.
Use a mild automotive cleaner or bug remover explicitly approved for the lens material. Apply it according to the label and wipe gently with a clean microfiber towel.
Avoid abrasive pads, harsh solvents, and aggressive polishing unless the headlight manufacturer or an appropriate restoration procedure permits them.
If the lens has existing haze, peeling, or damaged coating, ordinary bug removal will not restore its original clarity.
How to Remove Tar From Car Paint Safely
Tar is a petroleum-based road contaminant that can leave dark, sticky spots on lower body panels, behind the wheels, and along rocker panels.
The safest way to remove tar is to use a dedicated tar remover formulated for the affected surface rather than trying to dissolve it with household solvents or scrape it away.
Follow this process:
- Rinse the area to remove loose grit and road debris.
- Apply a paint-safe tar remover directly to the affected spots as directed on the label.
- Allow the product to soften the tar for the recommended dwell time.
- Gently lift the residue using a clean microfiber towel.
- Repeat the treatment if necessary, without scraping or increasing pressure.
- Wash and rinse the treated area to remove remaining product.
Tar on textured plastic trim and unpainted cladding requires additional care because some solvent-based products can discolor or affect those materials.
Always verify compatibility with the specific trim or surface, and test an inconspicuous area when appropriate.
For a broader understanding of bonded contamination and surface preparation, see our guide to exterior car care and paint protection.
What Should You Avoid When Removing Bugs From Your Car?
Several common shortcuts can cause more damage than the original bug splatter.
| Avoid | Why |
|---|---|
| Dry wiping dried bugs | Trapped grit and hardened residue can scratch the paint |
| Steel wool or abrasive pads | Can mar or damage automotive finishes |
| Metal scrapers or knives | Can scratch paint, trim, or glass |
| Acetone or strong household solvents | May affect paint protection, plastics, or coatings |
| Excessive scrubbing | Increases the risk of visible marring |
| Leaving cleaner on beyond its instructions | May affect wax, sealants, or sensitive finishes |
Do not use dish soap, rubbing alcohol, or other household products as universal substitutes for an automotive bug remover. Their suitability depends on the formula, surface, and exposure, and they may unnecessarily affect existing paint protection.
For regular washing, use an automotive shampoo appropriate for your vehicle’s finish. Our guide to car wash soap pH and paint safety explains how different cleaning formulas affect automotive surfaces and protection.
How Soon Should You Remove Bug Splatter From Your Car?
Remove bug splatter as soon as reasonably practical, especially after highway driving in warm weather.
Fresh residue is generally easier to soften and remove than insect material that has dried and remained on the paint for an extended period.
There is no universally safe number of days that bug splatter can remain on a vehicle. The risk depends on the residue, paint condition, weather, temperature, and protective coating.
A practical approach is to inspect the front of the vehicle after long drives and spot-clean visible contamination before the next routine wash.
If you cannot clean the vehicle immediately, parking in shade and avoiding further heat exposure can help limit drying. A water rinse may also help with fresh residue, but it does not replace proper cleaning.
How to Prevent Bug Splatter From Sticking to Car Paint
You cannot prevent every insect impact, but a few maintenance habits can make cleanup easier.
- Apply a suitable wax, paint sealant, or compatible ceramic coating to help maintain a protective layer on the paint.
- Inspect the front bumper, hood, mirrors, and windshield after highway trips.
- Keep clean microfiber towels and a suitable automotive cleaner available for routine detailing.
- Wash the vehicle regularly so bug residue and road grime do not accumulate.
- Remove fresh contamination before it has prolonged exposure to heat and sunlight.
Paint protection can make routine cleaning easier, but it does not make the vehicle immune to bug splatter, staining, or clear coat damage.
For more information on cleaning and maintaining exterior surfaces, see our complete exterior car care guide.
Frequently Asked Questions
What is the easiest way to remove bugs from a car?
The easiest method is to rinse the affected area, apply a paint-safe bug remover, let it dwell according to the label, and gently wipe away the softened residue with a clean microfiber towel.
Can I remove bugs from my car with just water?
Water can help remove fresh bug splatter and soften dried residue, but it may not be sufficient for stubborn contamination. A suitable automotive bug remover or car wash solution can help loosen material that water alone does not remove.
Can bug splatter permanently damage car paint?
Yes. Prolonged exposure to insect residue, especially in hot weather, can result in staining or clear coat etching. The severity depends on the paint, environmental conditions, and how long the contamination remains.
Is a bug and tar remover safe for ceramic-coated cars?
Compatibility depends on the specific cleaner and ceramic coating. Check both manufacturers’ instructions before use, and avoid products that are not approved for your coating.
Can I use a clay bar to remove stubborn bug splatter?
A clay bar may help remove certain bonded contaminants after normal cleaning and chemical treatment. Use appropriate lubrication and follow the clay manufacturer’s directions. Clay is not a substitute for softening heavy bug residue first.
Does bug remover remove wax or paint sealant?
Some bug removers can weaken or remove existing wax or sealant, particularly with repeated use or unsuitable application. Check the product label and consider refreshing protection if the treated area no longer performs as expected.
How do I remove bugs from my car without scratching it?
Rinse first, use a suitable cleaner to soften the residue, and wipe gently with a clean microfiber towel. Never dry-scrub hardened bug splatter or use abrasive tools on painted surfaces.
Remove Bug Splatter Before It Damages Your Paint
The key to safely removing bugs from your car is to soften the contamination before touching it with a towel or wash mitt. A suitable bug remover, gentle wiping, and thorough rinsing can handle many ordinary deposits without unnecessary abrasion.
For stubborn bug splatter or tar, repeat the appropriate treatment rather than scrubbing harder. If a mark remains after the contamination is removed, inspect the paint for staining or etching before attempting polishing or other corrective work.
Prompt cleaning and regular paint protection make it easier to maintain your vehicle’s exterior while reducing the risk of avoidable damage.