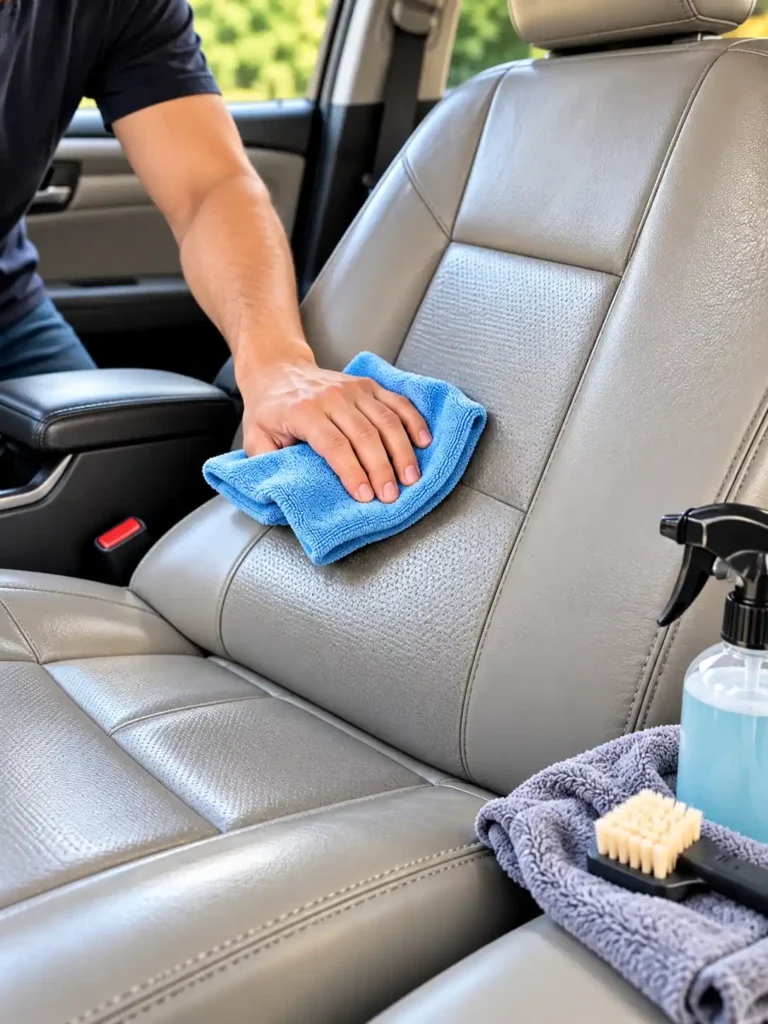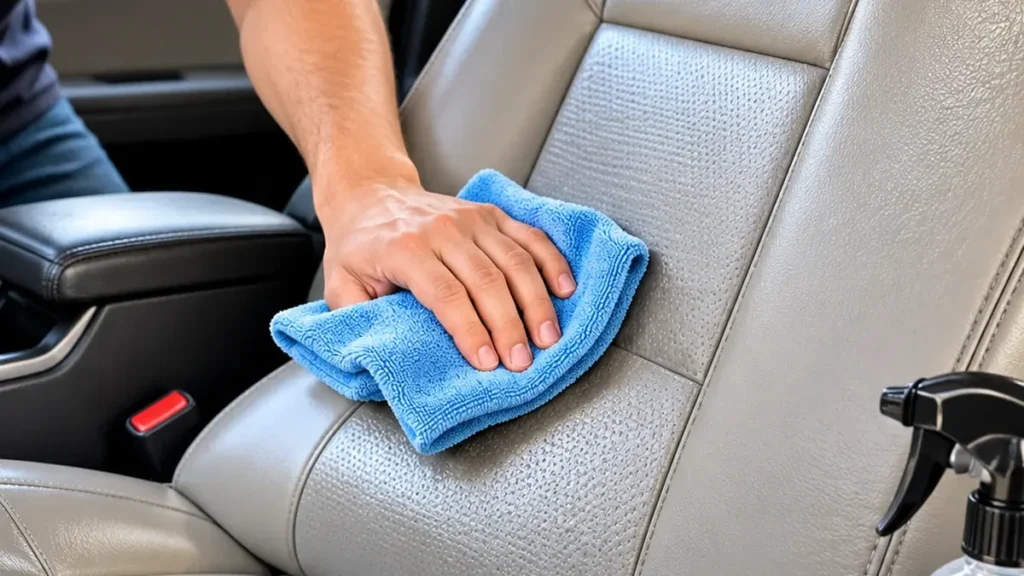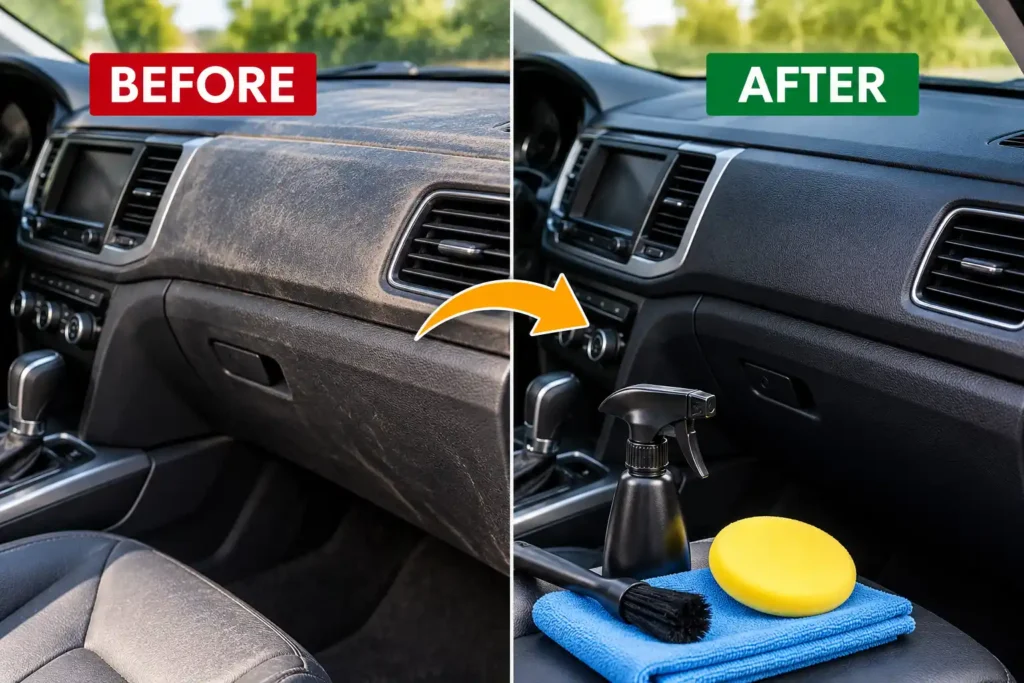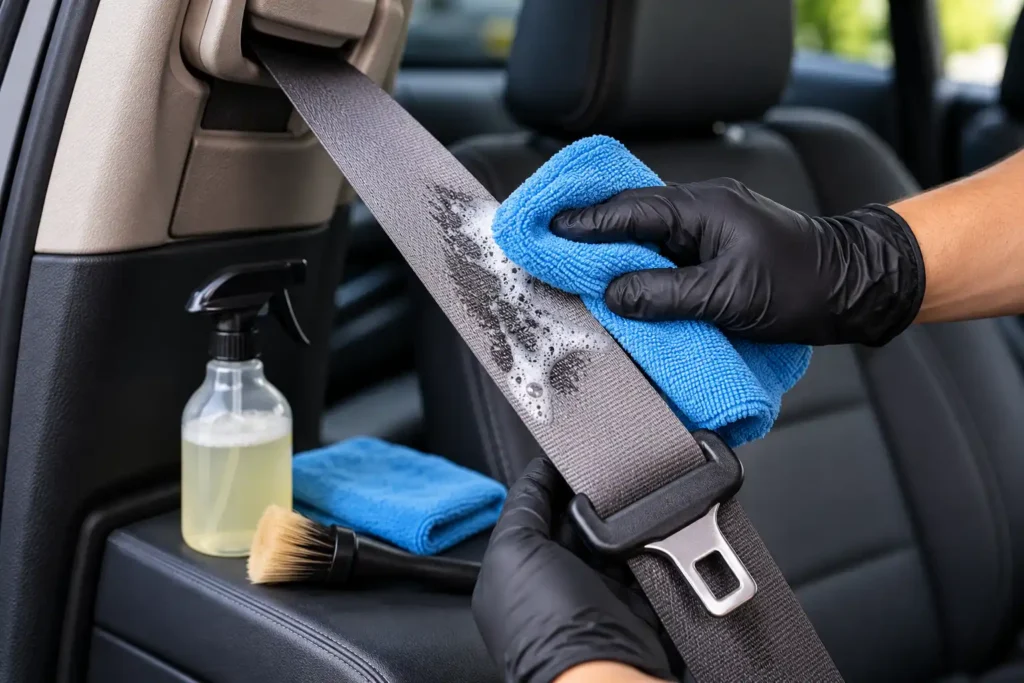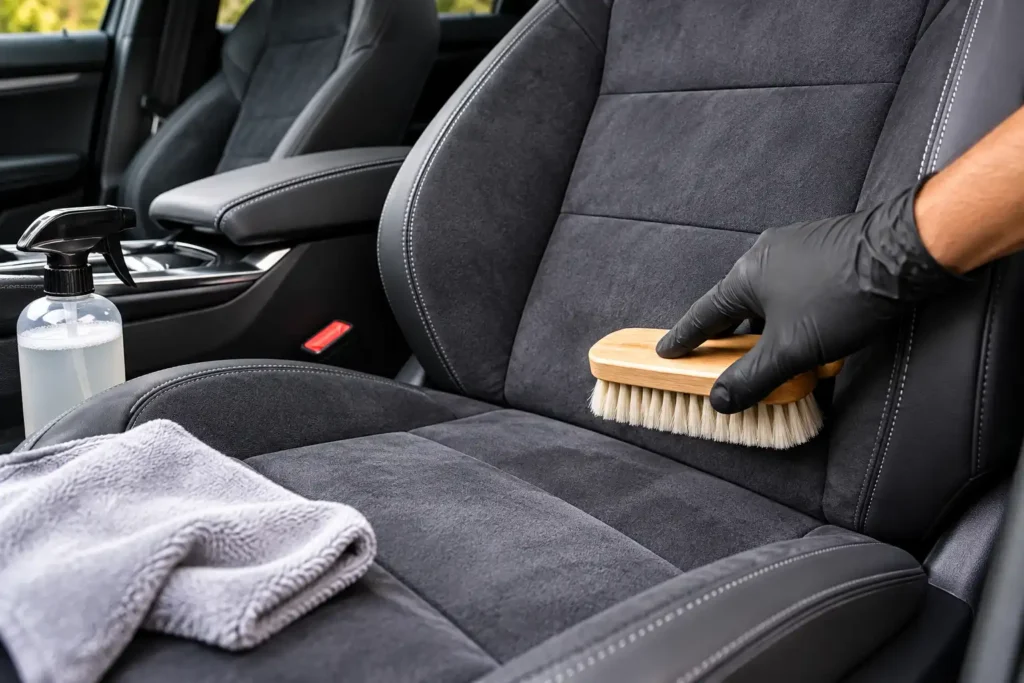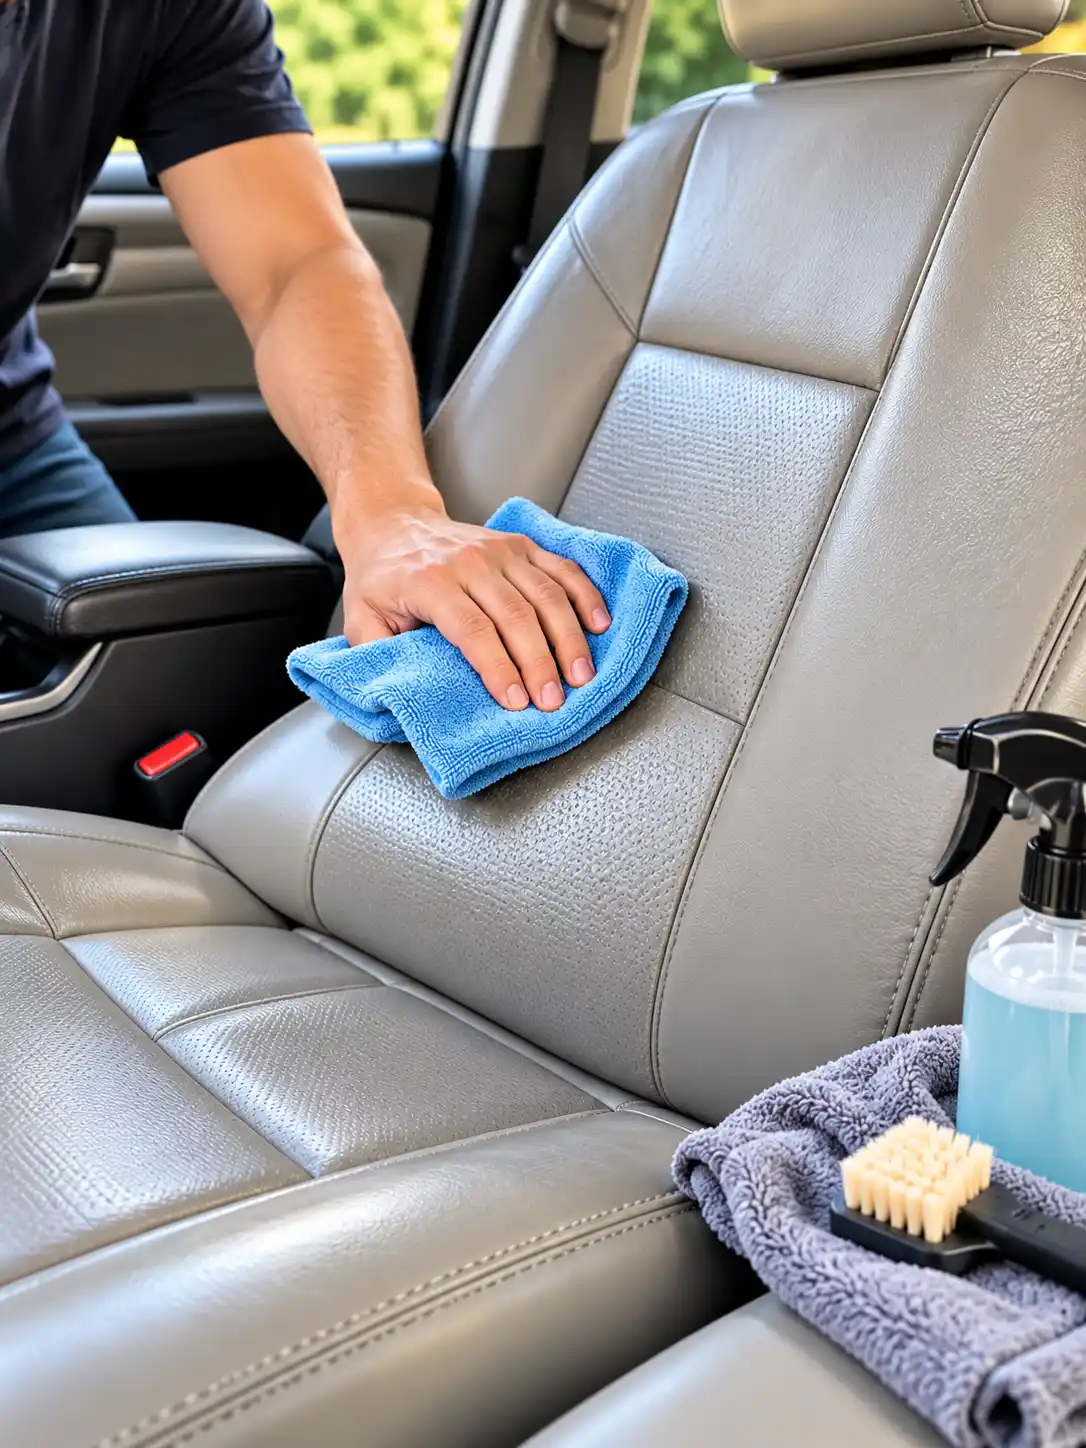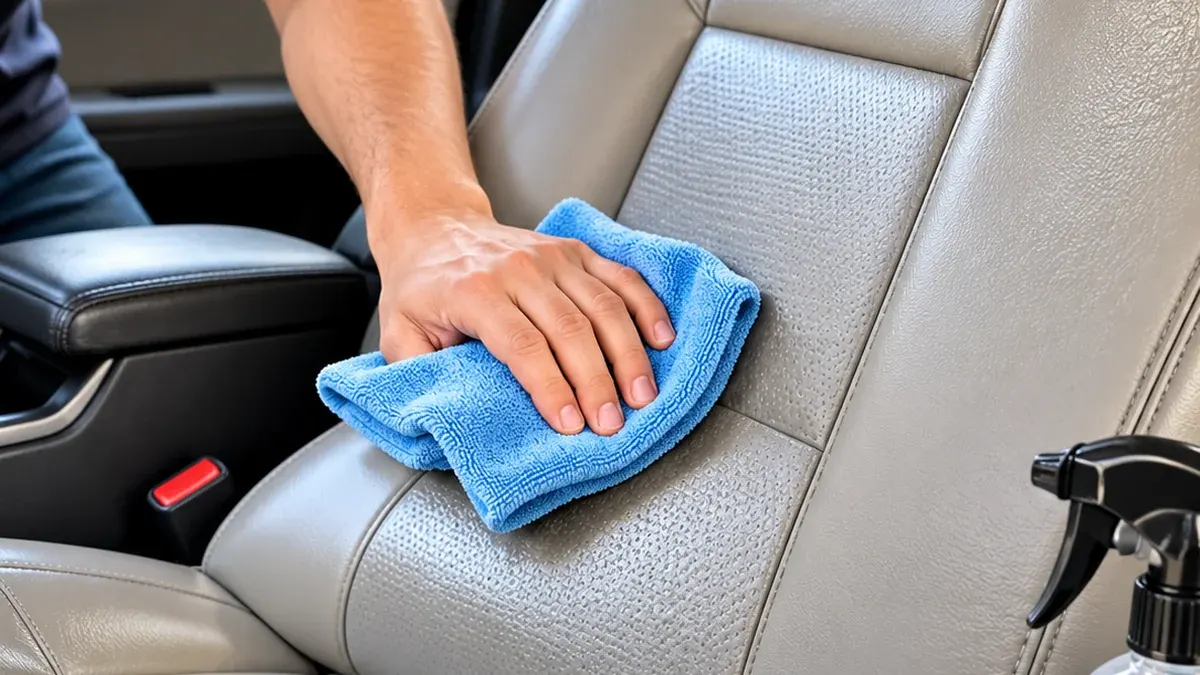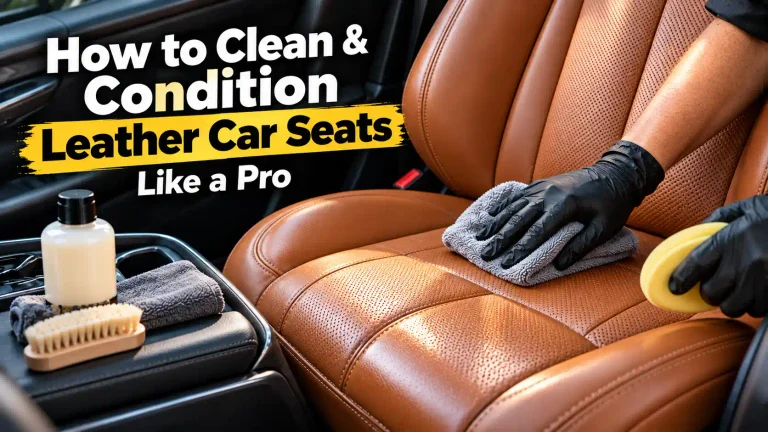
Learning how to clean and condition leather car seats like a pro is mainly about using the correct products, controlling moisture, cleaning without excessive friction, and conditioning only when the leather and its finish are compatible with the product. A professional-looking result does not require soaking the seats or using large amounts of conditioner. The process starts with vacuuming and surface cleaning, followed by proper drying and, when appropriate, a thin and even application of leather conditioner.
Leather car seats are exposed to dust, dirt, body oils, spills, friction, heat, and sunlight every day. Over time, these factors can contribute to discoloration, surface wear, stiffness, and cracking. A consistent leather car seat cleaning and conditioning routine can help maintain the appearance and condition of the interior.
This guide explains how to clean and condition leather car seats step by step, how to prepare leather before conditioning, how to apply conditioner like a professional detailer, how often to maintain the seats, how to prevent cracking, and which common mistakes can damage automotive leather.
What Is the Best Way to Clean and Condition Leather Car Seats?
The best leather car seat care routine starts with removing loose dirt, identifying the seat material, cleaning the surface with an appropriate product, removing residue, allowing the leather to dry, and then applying a compatible conditioner when the material and manufacturer instructions call for one. This controlled approach prevents excessive moisture and product buildup while keeping the leather surface clean and maintained.
A professional leather-care routine should focus on the condition and construction of the actual seat rather than applying the same product to every vehicle.
The Basic Professional Leather Care Process
The process can be summarized as:
- Vacuum the seats thoroughly.
- Identify the leather or synthetic material.
- Check the vehicle owner’s manual.
- Test the cleaner in an inconspicuous area.
- Clean small sections at a time.
- Remove all cleaner residue.
- Allow the surface to dry completely.
- Test the conditioner.
- Apply a thin, even layer when appropriate.
- Remove excess conditioner according to the product instructions.
Toyota’s current owner guidance similarly begins leather cleaning with vacuuming, uses a dampened cloth with an appropriate diluted detergent, removes detergent residue, and recommends drying the leather in a shaded and ventilated area.
How Do You Clean Leather Car Seats Like a Professional?
Professional leather cleaning is primarily about control. Use the correct cleaner, work in manageable sections, avoid excessive liquid, and remove residue before moving to another area. This approach makes it easier to see which areas actually need additional attention without repeatedly scrubbing the entire seat.
The cleaner should be compatible with the specific material and finish. For example, Toyota provides separate cleaning procedures for leather and synthetic leather areas in its owner information.
Step 1: Test the Leather Cleaner
Before cleaning the entire seat, apply a small amount of the selected cleaner to an inconspicuous area.
Allow it to dry and check for:
• Discoloration
• Finish changes
• Stickiness
• Unusual gloss
• Surface damage
If the product reacts badly, do not continue using it on the visible areas.
Step 2: Apply Cleaner in a Controlled Amount
Apply an appropriate amount of cleaner according to the product instructions.
For many cleaning systems, putting the product onto a microfiber cloth or applicator provides better control than flooding the seat directly.
Avoid excessive moisture around:
• Perforations
• Stitching
• Seat controls
• Electrical components
• Seams
Step 3: Clean Small Sections
Work on one small section at a time.
Use gentle pressure and avoid aggressive scrubbing.
Pay particular attention to high-contact areas such as:
• Driver’s seat bolster
• Seat cushion
• Steering-side edge
• Armrest
• Headrest
Step 4: Remove Cleaner Residue
After cleaning a section, remove remaining product and loosened dirt according to the cleaner’s instructions.
Do not allow unnecessary cleaner residue to remain on the surface.
Toyota’s owner guidance specifically instructs users to thoroughly remove remaining detergent and then remove remaining moisture with a dry, soft cloth.
Step 5: Let the Leather Dry
Allow the cleaned leather to dry naturally.
A shaded, ventilated area is preferable to direct heat.
Do not use a hair dryer, heat gun, or other concentrated heat source simply to speed up the process.
Why Does Leather Crack Over Time?
Leather cracking usually develops gradually as the material and its protective finish experience repeated flexing, abrasion, contamination, heat, sunlight, and environmental exposure. High-contact areas such as seat bolsters and the driver’s seat can show wear sooner because they experience repeated friction and movement.
The important point is that cleaning and conditioning are only part of leather protection. Reducing unnecessary heat, UV exposure, contamination, and abrasion also contributes to long-term automotive leather maintenance.
Where Does Leather Usually Start Cracking?
Early wear commonly becomes visible around:
• Driver’s seat bolsters
• Seat cushion edges
• Entry and exit areas
• Seat-back creases
• Headrests
• Armrests
• Frequently contacted areas
Inspect these areas regularly because early surface wear is easier to manage than severe cracking or peeling.
Does Heat and Sunlight Affect Leather Seats?
Yes, prolonged exposure to heat and sunlight can contribute to deterioration of vehicle interior materials. Parking in shade, using a windshield sunshade, and limiting unnecessary direct sunlight can reduce environmental stress on the interior.
A leather conditioner should not be viewed as a substitute for basic UV and heat protection.
How Should You Prepare Leather Car Seats Before Cleaning?
Preparing the seats properly is one of the biggest differences between a quick wipe-down and a professional-quality leather cleaning process. Loose sand, dust, crumbs, and other debris should be removed before liquid cleaner is introduced because rubbing abrasive particles across the surface can create unnecessary friction.
The vehicle manufacturer’s cleaning instructions should also be checked before choosing a cleaner because leather, coated leather, synthetic leather, and other interior materials can have different care requirements.
Vacuum the Seats First
Use a vacuum with a soft brush or crevice attachment to remove loose dirt from:
• Seat cushions
• Seat backs
• Bolsters
• Seams
• Stitching
• Gaps between cushions
• Perforated areas
Take extra care around perforations and stitching.
Identify the Seat Material
Do not assume that every seat marketed as a “leather interior” is made from the same material.
A vehicle can contain:
• Genuine leather
• Coated leather
• Synthetic leather
• Leatherette
• Vinyl
• A combination of materials
The owner’s manual or manufacturer documentation is a better source for identification than judging the material only by appearance.
How Long Should Leather Car Seats Dry Before Conditioning?
Leather should be dry before applying a conditioner unless the specific product instructions say otherwise. Rather than relying on a universal 15- or 20-minute rule, check the entire treated surface and follow the cleaner and conditioner manufacturer’s instructions.
Drying time can vary depending on how much moisture was used, the material, cabin temperature, humidity, airflow, and ventilation.
How Can You Tell When Leather Is Dry?
The surface should no longer feel damp or visibly wet.
Check:
• Seat cushions
• Seat bolsters
• Seams
• Creases
• Perforated areas
Do not apply conditioner simply because a fixed number of minutes has passed.
Why Should You Avoid Direct Heat?
Direct heat can unnecessarily stress interior materials and may contribute to drying or deterioration.
Natural airflow in a shaded and ventilated environment is the safer general approach. Toyota’s owner instructions specifically recommend allowing leather to dry in a shaded and ventilated area.
How Do You Apply Leather Conditioner Like a Pro?
Applying leather conditioner professionally is about using the correct product in a controlled amount rather than saturating the seat. The conditioner should be compatible with the specific leather and finish, and the product instructions should determine how much to use and how long it should remain on the surface.
More conditioner does not automatically provide better protection.
Step 1: Choose a Compatible Conditioner
Before buying a conditioner, determine whether your seat is:
• Genuine leather
• Coated leather
• Synthetic leather
• Leatherette
• Vinyl
A product designed for one material may not be appropriate for another.
Step 2: Test the Conditioner
Apply a small amount to an inconspicuous area.
Check the surface after the product has been absorbed or wiped according to its instructions.
Step 3: Apply a Thin Layer
Apply a small amount to a clean microfiber cloth or applicator.
Work in small sections and distribute the product evenly.
Avoid pouring conditioner directly onto the seat.
Step 4: Pay Attention to High-Wear Areas
Give additional attention to areas that experience repeated contact, such as:
• Driver’s seat bolster
• Seat cushion
• Armrests
• Headrests
• Entry and exit areas
However, avoid applying excessive product simply because an area looks dry.
Step 5: Remove Excess Product
If the conditioner instructions call for buffing or removing excess product, use a clean microfiber cloth and follow those instructions.
The finished surface should not be excessively greasy or slippery.
How Often Should You Clean and Condition Leather Car Seats?
There is no single conditioning interval that applies to every vehicle. Cleaning frequency depends on use, contamination, passengers, climate, sunlight, and the material itself, while conditioning frequency should follow the vehicle and product manufacturer’s recommendations rather than an arbitrary universal schedule.
The most important maintenance principle is consistency. Regular inspection and timely cleaning are preferable to waiting until the leather becomes heavily contaminated or visibly damaged.
How Often Should You Clean Leather Seats?
Clean the seats when dirt, spills, body oils, or other contamination becomes noticeable.
High-use vehicles may need more frequent cleaning than vehicles driven occasionally.
How Often Should You Condition Leather Seats?
If the leather and manufacturer-approved product call for conditioning, follow the recommended schedule on the product or in the vehicle documentation.
Do not automatically condition every three months or six months simply because a generic schedule says so.
Does Climate Change Leather Maintenance?
Yes. Strong sunlight, high cabin temperatures, low humidity, and frequent outdoor parking can increase the environmental stress placed on vehicle interiors.
In these conditions, inspecting the seats more frequently is sensible.
What Causes Leather Car Seats to Dry Out and Crack?
Leather seat deterioration is influenced by more than cleaning frequency. Repeated friction, contamination, sunlight, heat, improper chemicals, excessive moisture, and unsuitable maintenance products can all contribute to surface deterioration.
Understanding these factors allows you to prevent problems instead of trying to repair them after they become severe.
UV Exposure
Long-term sunlight exposure can contribute to fading and deterioration of interior materials.
A windshield sunshade and shaded parking can help reduce direct solar exposure.
Heat
High cabin temperatures can increase the stress placed on interior materials, especially when the vehicle is repeatedly exposed to strong sunlight.
Friction
Repeated entry, exit, and movement across the driver’s seat can wear the surface over time.
Incorrect Cleaning Products
Harsh or incompatible chemicals can damage the surface finish.
Excessive Moisture
Overwetting seats can introduce unnecessary moisture into seams, perforations, and other areas.
Can Leather Conditioner Prevent Cracking?
A compatible conditioner can be part of a leather maintenance routine, but it should not be presented as a guaranteed way to prevent cracking. Leather condition depends on the material, protective coating, product compatibility, environmental exposure, and overall maintenance.
Conditioning works best as one part of a broader leather-care strategy that also includes cleaning, UV protection, controlled moisture, and reducing unnecessary friction.
What Conditioner Cannot Do
Conditioner cannot reliably repair:
• Deep cracks
• Missing material
• Tears
• Severe peeling
• Structural damage
Once significant damage develops, professional leather repair or upholstery work may be necessary.
What Are the Most Common Leather Conditioning Mistakes?
Many leather-care problems come from using too much product or applying the right product in the wrong way. A professional approach is generally more conservative: use the minimum effective amount, work systematically, and follow the product and vehicle instructions.
Applying Too Much Conditioner
Excess conditioner can leave a greasy surface and attract dirt.
Conditioning Dirty Leather
Applying conditioner over dirt and body oils can trap contamination against the surface.
Always clean the leather first.
Skipping the Spot Test
Even a product marketed for leather may not be suitable for every automotive leather finish.
Using the Wrong Product
A product designed for untreated leather may not be appropriate for coated leather, synthetic leather, or vinyl.
Using Heat to Speed Up Absorption
Do not use concentrated heat to force conditioner into the seat.
Allow the product to work according to its instructions.
Is Dish Soap Safe for Cleaning Leather Car Seats?
Dish soap should not be treated as a universal leather cleaner. Dish detergents are designed to remove grease and oils from dishes, while automotive leather and its protective finishes can have different cleaning requirements.
For vehicle interiors, use a product recommended for the specific material or follow the vehicle manufacturer’s cleaning instructions.
What Should You Use Instead?
Use an automotive leather cleaner or another cleaning solution specifically approved for your seat material.
For example, Toyota’s owner guidance specifies a diluted neutral detergent for certain leather surfaces and a separate procedure for synthetic leather.
Can You Clean and Condition Cracked Leather Car Seats?
Cleaning and conditioning can help maintain leather that is dry or showing early surface wear, but they cannot reliably restore leather once significant cracking, peeling, or missing material has developed.
The earlier you identify deterioration, the more options you generally have for maintenance and repair.
What If the Leather Is Only Dry?
If the surface is dry or slightly stiff but not structurally damaged, first clean it appropriately and then determine whether a compatible conditioner is recommended for that material.
What If the Leather Is Already Cracked?
Deep cracks and damaged surfaces may require professional leather repair, color restoration, filler, or upholstery replacement.
Do not expect additional conditioner to rebuild missing or damaged material.
Does the Type of Leather Affect Conditioning?
Yes. The construction and finish of automotive seating material can affect which products are appropriate. Genuine leather, coated leather, synthetic leather, vinyl, and leatherette should not automatically be treated as interchangeable materials.
This is why identifying the actual seat material is an important part of professional leather car seat care.
Genuine Leather
Genuine leather is produced from animal hide and can have different protective finishes.
The correct maintenance method depends on the particular finish and manufacturer recommendations.
Coated Leather
Many automotive leather surfaces include protective coatings. Because the coating changes how products interact with the surface, traditional conditioning assumptions may not always apply.
Synthetic Leather and Leatherette
Synthetic materials can have different cleaning requirements from genuine leather.
Check the vehicle documentation and product label before applying a leather conditioner.
Can a Seat Cover Help Prevent Leather Damage?
A suitable seat cover can reduce direct contact, abrasion, spill exposure, and some sunlight exposure, but it should not replace routine inspection and maintenance.
Leather beneath a cover can still accumulate dirt, moisture, body oils, and wear.
How to Use Seat Covers Safely
Remove the cover periodically and inspect the underlying seat.
Check for:
• Moisture
• Dirt buildup
• Friction marks
• Discoloration
• Early cracking
• Surface wear
This allows problems to be identified before they become more severe.
How Can You Protect Leather Car Seats From Sun and Heat?
Long-term interior protection involves more than applying conditioner. Reducing direct sunlight and excessive heat can help minimize environmental stress on leather and other interior materials.
Use a Windshield Sunshade
A windshield sunshade can reduce direct sunlight entering the cabin when the vehicle is parked.
Park in the Shade
Whenever practical, choose covered or shaded parking instead of leaving the vehicle in direct sunlight for extended periods.
Protect High-Exposure Areas
Pay particular attention to dashboards, steering wheels, seat bolsters, and other surfaces that receive significant sunlight or repeated contact.
What Is a Professional Leather Car Seat Cleaning and Conditioning Routine?
A professional-style routine is systematic rather than product-heavy. The objective is to remove contamination safely, protect the material from unnecessary stress, and use conditioning products only when they are appropriate for the specific surface.
Complete Step-by-Step Routine
- Remove personal items from the vehicle.
- Vacuum the seats thoroughly.
- Clean seams and crevices.
- Identify the seat material.
- Read the vehicle manufacturer’s care instructions.
- Select a compatible cleaner.
- Spot-test the cleaner.
- Clean small sections at a time.
- Use gentle pressure.
- Remove cleaner residue.
- Allow the leather to dry naturally.
- Spot-test the conditioner if conditioning is appropriate.
- Apply a thin layer of compatible conditioner.
- Remove excess product according to the instructions.
- Inspect the finished surface.
- Protect the vehicle from unnecessary sunlight and heat.
This process gives you a more controlled result than simply spraying cleaner and conditioner across the entire seat.
Frequently Asked Questions About Cleaning and Conditioning Leather Car Seats
These questions cover the main search intents around cleaning, conditioning, cracking, drying, product selection, and long-term leather seat maintenance. The answers are designed to address the practical decisions car owners make before and after cleaning their vehicle interiors.
How do you clean and condition leather car seats like a pro?
Vacuum the seats, identify the material, test a suitable cleaner, clean small sections gently, remove residue, allow the surface to dry, and then apply a compatible conditioner in a thin and even layer if the leather and manufacturer instructions call for conditioning.
How often should you condition leather car seats?
There is no universal interval for every vehicle. Follow the vehicle manufacturer’s and conditioner manufacturer’s recommendations and adjust inspection and maintenance based on vehicle use, climate, sunlight, and the condition of the leather.
Can you condition leather without cleaning it first?
It is better to clean the surface first when contamination is present. Applying conditioner over dirt, dust, and body oils can leave contamination on the surface and reduce the quality of the finished result.
Can leather conditioner stop leather from cracking?
Conditioning can be part of a leather maintenance routine, but it cannot guarantee that automotive leather will never crack. Sunlight, heat, friction, material type, surface coatings, and improper cleaning can also affect leather condition.
How long should leather seats dry before conditioning?
Do not rely on a fixed number of minutes. The surface should be dry according to the cleaner and conditioner instructions before conditioning. Check the entire treated area, including seams and creases.
Can I use dish soap on leather car seats?
Dish soap is not a universal leather cleaner. Use a cleaner approved for the specific automotive leather or follow the vehicle manufacturer’s recommended cleaning procedure.
Can I use a microfiber cloth to clean leather car seats?
Yes. A clean microfiber or lint-free cloth can be useful for applying cleaner, removing residue, and distributing compatible conditioner. Use gentle pressure and avoid rubbing abrasive dirt across the surface.
Should I condition leatherette car seats?
Not automatically. Leatherette and synthetic leather can require different care from genuine leather. Check the vehicle documentation and product instructions before applying conditioner.
Can cracked leather car seats be repaired?
Some cracking can be professionally repaired depending on the severity. Deep cracking, peeling, tears, and missing material may require more extensive leather repair or upholstery work.
Does sunlight cause leather car seats to crack?
Long-term sunlight and heat exposure can contribute to deterioration of automotive interior materials. Reducing direct sunlight with shade or a windshield sunshade can help reduce environmental exposure.
Final Thoughts: How to Clean and Condition Leather Car Seats Like a Pro
Learning how to clean and condition leather car seats like a pro is less about using more products and more about using the correct process. Vacuum first, identify the material, choose a compatible cleaner, work gently in small sections, remove residue, allow the surface to dry, and condition only when the leather and product instructions support it.
The most important mistake to avoid is treating every automotive “leather” seat as if it were the same material. Genuine leather, coated leather, synthetic leather, leatherette, and vinyl can have different care requirements.
Regular inspection, sensible cleaning, appropriate conditioning, and protection from excessive sunlight and heat give your leather seats a much better chance of staying clean and in good condition over the long term.