To clean a car with a car cleaning kit, wash the outside first and the inside second. Start with the wheels, then wash the paint from the roof down with a pH-neutral shampoo and a microfiber mitt. Dry with clean towels, vacuum the cabin, wipe the surfaces, and clean the glass last.
A good wash does more than make the car look nice. It removes dirt, brake dust, road salt and bird droppings that slowly harm paint, wheels, glass and trim. This guide shows what a kit should include, the exact order to follow, how often to clean, and the mistakes that cause swirls and scratches.
What Is in a Car Cleaning Kit?
A car cleaning kit is a set of products and tools made for washing and caring for a vehicle. Most kits have a car shampoo, a wash mitt, microfiber towels, a wheel cleaner, a glass cleaner and an interior cleaner. Bigger kits add wax, sealant, brushes and a drying towel.
Exterior Essentials
The exterior tools are a pH-neutral car shampoo, a microfiber wash mitt, two buckets, a wheel brush, a drying towel and a wax or sealant. These few items handle most basic paint care. Two buckets and a mitt matter most, because they keep grit away from the paint.
You also need a good tire cleaner for brown, dull sidewalls. Pick a product made for rubber, and use a separate brush for the tires so brake dust never touches your paint mitt.
Interior Essentials
The interior tools are a vacuum with a crevice tool, a soft detailing brush, a gentle all-purpose interior cleaner, clean microfiber towels and a glass cleaner. These cover dust, crumbs, sticky dash spots and foggy windows. Keep one towel only for glass.
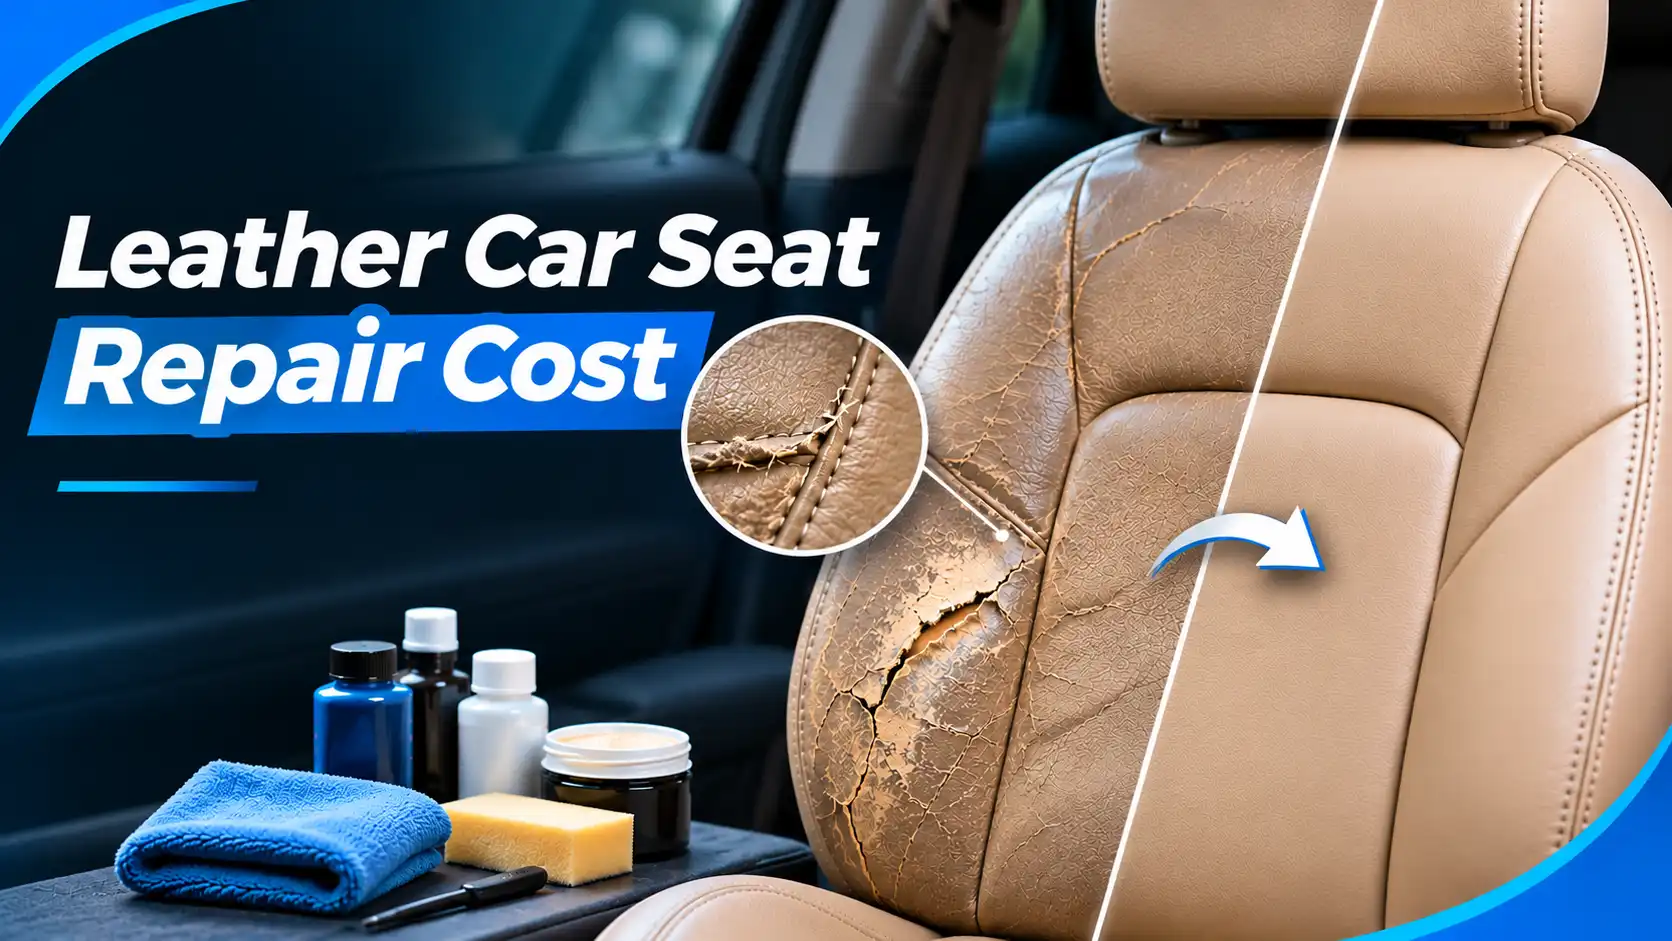
If your seats are leather, add a dedicated leather cleaner or conditioner, since each does a different job. Fabric seats need only a fabric-safe cleaner and a soft brush.
How to Clean a Car’s Exterior With a Cleaning Kit, Step by Step
Wash the exterior in this order: shade and rinse, wheels, paint, dry, then protect. The order matters because the dirtiest parts come first, and the clean paint comes last. This keeps brake dust and grit from landing on a panel you already washed.
Step 1: Park in the Shade and Rinse Off Loose Dirt
Park the car in the shade and rinse it with a hose from top to bottom. Hot sun dries soap and water too fast and leaves spots on the paint. A good rinse lifts loose sand and dust, so your mitt does not drag them across the surface.
Let the panels feel cool to the touch before you start. If the car has been driving in the sun, wait a few minutes.
Step 2: Clean the Wheels and Tires First
Clean the wheels and tires before you touch the paint. Wheels hold the heaviest brake dust and road grime. If you wash them last, that mess can splash onto paint you just cleaned.
Spray the wheel cleaner, let it sit for the time on the label, and scrub the faces and barrels with the wheel brush. Rinse well. Then spray your tire cleaner on the sidewalls, scrub, and rinse again. Use a separate mitt or brush for this step and never reuse it on the paint.
Step 3: Wash the Paint With the Two-Bucket Method
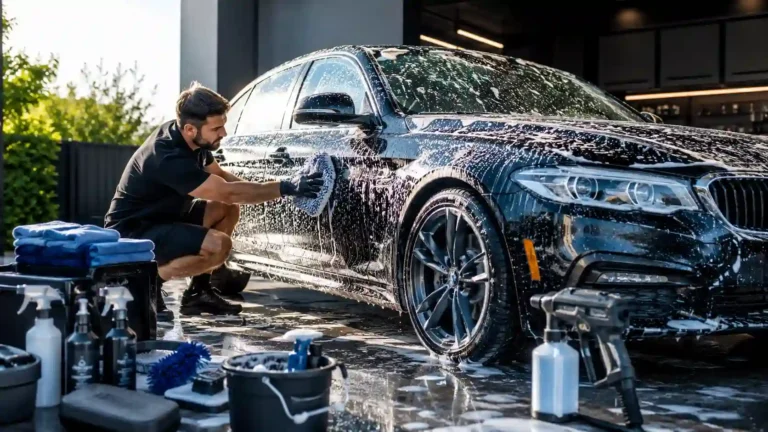
Wash the paint with two buckets: one with soapy water and one with plain rinse water. Dip the mitt in the soap, wash one panel, then rinse the mitt in the clean bucket before you reload it. This keeps dirt out of your soap and off your paint.
Start at the roof and work down, one panel at a time. Use straight, overlapping strokes instead of circles, because straight lines leave less visible marks. Use a real car wash soap that is pH-neutral. Dish soap can strip wax and dry out trim, so keep it in the kitchen. Wash the lowest panels, such as the rocker panels and bumpers, last, since they are the dirtiest.
Step 4: Rinse and Dry With Microfiber Towels
Rinse all the soap off from the top down, then dry the car right away with clean microfiber towels. Water left to air dry leaves spots, especially on dark paint and in hard-water areas. Drying is as important as washing.
Lay a large drying towel flat on a panel and pat or drag it gently. Do not press hard. Switch to a fresh dry towel when the first one gets wet. Dry the door jambs, mirrors and trunk edges too, so water does not run out later.
Step 5: Protect the Paint With Wax or Sealant
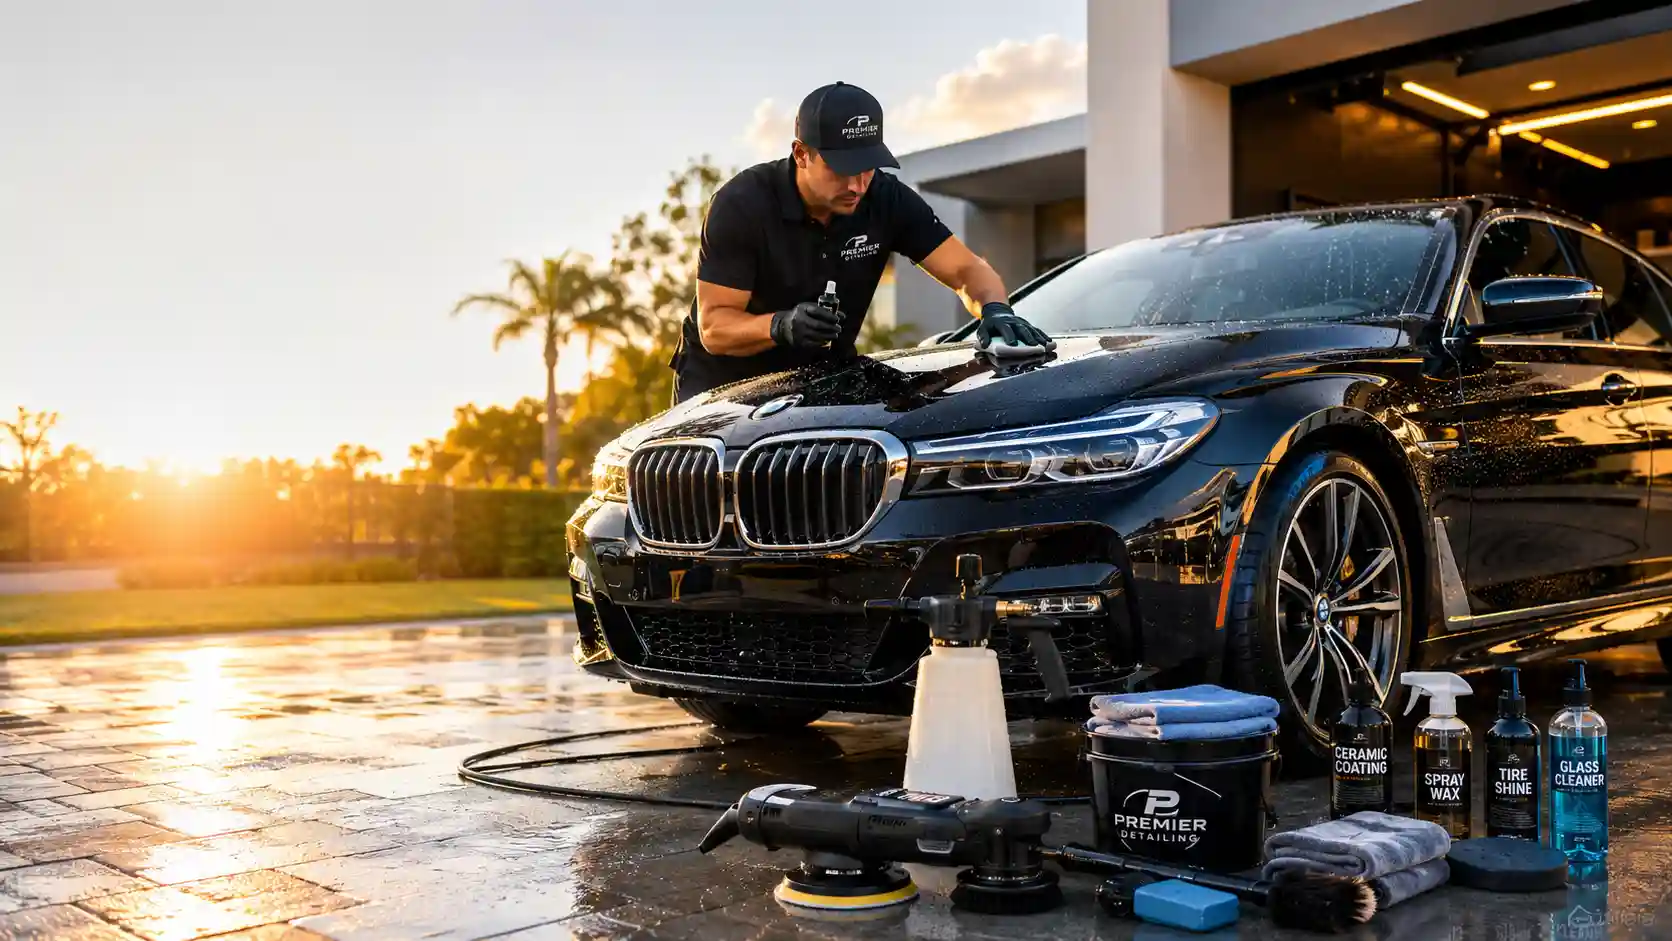
Finish the exterior by adding wax or a sealant to clean, dry paint. This thin layer helps water bead off, makes the next wash easier, and shields the paint from sun and dirt. Apply it in thin coats, and follow the product label for cure time.
A spray wax is the fastest option for beginners. A paste wax or sealant takes longer but can last longer. Never apply protection to dirty paint, because you will seal the dirt in.
How to Clean a Car’s Interior With a Cleaning Kit, Step by Step
Clean the interior from top to bottom and dry to wet: remove trash, vacuum, wipe the hard surfaces, clean the seats, and finish with the glass. Working this way keeps dust from falling onto areas you just wiped. Do the interior after the exterior so you do not track wet dirt inside.
Step 1: Remove Trash and Vacuum
Take out all trash, floor mats and loose items first. Then vacuum the seats, the carpet, the pockets and the trunk. Move the front seats all the way back and forward so you can reach under them.
Use the crevice tool for the seams between the seats and the console. Shake out or vacuum the floor mats outside the car, then put them back after the floor is clean.
Step 2: Clean the Dashboard, Console and Vents
Spray the interior cleaner onto a microfiber towel, not straight onto the dash, then wipe the dashboard, door panels and center console. Spraying the towel keeps liquid out of buttons and screens and stops streaks on shiny trim.
Use the soft detailing brush on air vents, gaps around buttons and the gear shifter. The brush loosens dust that a towel cannot reach. Wipe with a second dry towel to pick up what the brush lifted. Many cabin surfaces are soft plastic or coated trim, so avoid harsh sprays and strong solvents.
Step 3: Clean the Seats (Leather or Fabric)
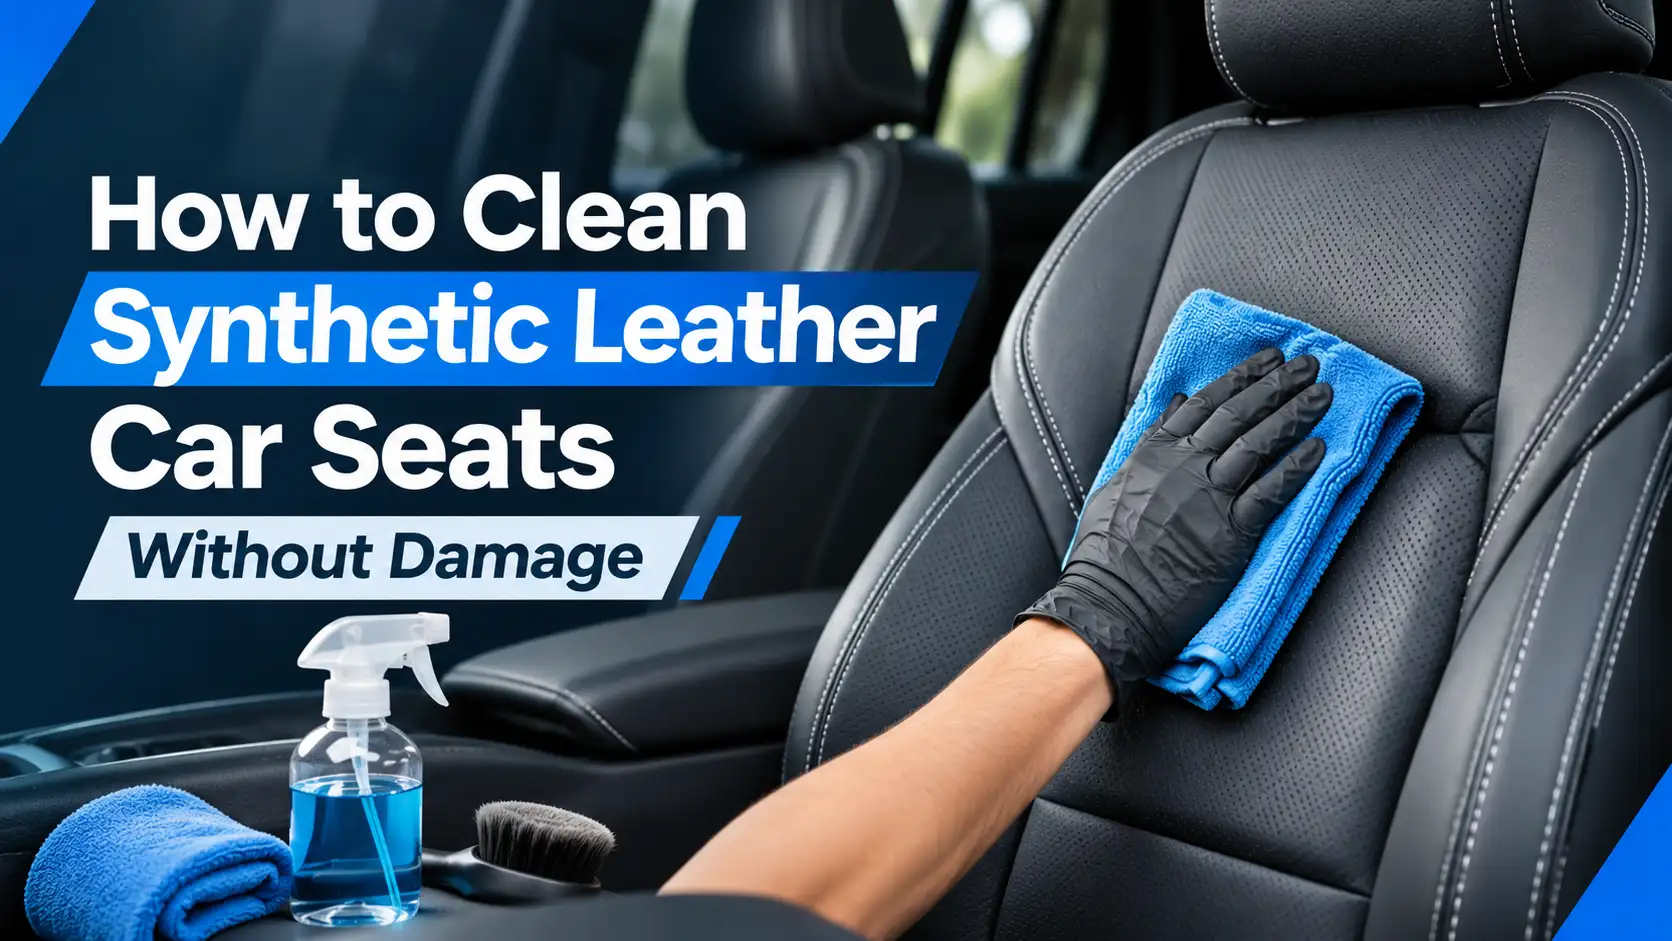
Match the cleaner to the seat material. Leather needs a leather-safe cleaner, then a conditioner if you want to keep it soft. Fabric seats need a fabric cleaner and a soft brush to lift stains without soaking the cushion.
For leather, wipe a small area, then dry it right away. For fabric, spray lightly, agitate gently with the brush and blot with a clean towel. Let the seats air dry with the windows cracked open so no damp smell forms.
Step 4: Clean the Glass Last
Clean the inside and outside glass at the end, using a glass cleaner and a dedicated microfiber towel. Glass goes last because dust and cleaner overspray from other steps can land on it. A clean window also helps you see better, especially in low sun and rain.
Spray the cleaner on the towel, wipe in one direction, then buff dry with a second towel. Do the inside of the windshield with care, since film from the dashboard often collects there. If you see streaks, our guide shows how to clean the windows without streaks.
How Often Should You Clean Your Car?
Wash the outside every one to two weeks, and clean the interior about once a month. Wash more often in winter, near the coast, or after long trips, because road salt, bugs and bird droppings can harm paint if they sit for days.
A deeper clean with wax or a sealant is usually enough every three or four months. If your car sits outside under trees, check it more often and spot-clean sap and droppings quickly. If you park in a garage and drive little, you can stretch the schedule a bit.
Which Car Cleaning Kit Should You Buy?
Buy a beginner kit if you want the basics, or a complete kit if you plan to wax, clean leather and detail the interior. A beginner kit should have shampoo, a mitt, towels and a wheel cleaner. A full kit adds wax, brushes and interior products.
For a first kit, choose the pieces that protect your paint: a pH-neutral shampoo, a microfiber mitt and a soft drying towel. You can add extras later. If you want to compare real products side by side, see our list of the best car cleaning kits. Skip kits that rely on rough sponges or thin, low-quality towels, since those can scratch the finish.
What Mistakes Ruin a Home Car Wash?
The biggest mistakes are using dish soap, using dirty or rough towels, washing in direct sun, and skipping the lower body and undercarriage. Each one either strips protection or drags grit across the paint, which leaves swirl marks.
Other common errors include using one bucket the whole time, using the same mitt on wheels and paint, and using a household cleaner on a surface it was not made for. Fix these by following the order above and keeping a separate set of tools for wheels. Also rinse the lower panels and wheel wells well, because salt and mud collect there.
How Do You Maintain Your Car Cleaning Kit?
Rinse your tools after each wash, wash the towels, and store everything dry. Clean tools protect your car, and dirty ones scratch it. A little care also makes the kit last longer.
Wash microfiber towels in a gentle detergent without fabric softener, since softener clogs the fibers. Let them air dry or tumble on low heat. Rinse the buckets and brushes, close every bottle tightly, and store the kit in a cool, dry spot away from direct sun. Replace any towel or mitt that feels stiff, worn or gritty.
Frequently Asked Questions
Is ceramic coating better than wax?
Ceramic coating usually lasts longer and resists water and dirt better than wax, but it costs more and takes more prep. Wax is cheaper, easy to apply and fine for regular use. If you wash at home and want simple protection, wax or a spray sealant is a good start. Choose ceramic if you want a longer-lasting layer and are ready to prep the paint carefully.
What is the difference between car washing and detailing?
Washing removes surface dirt. Detailing is a deeper process that cleans, restores and protects the paint and interior. A wash takes less time and covers the basics. Detailing can include claying, polishing, waxing and deep interior cleaning. Most owners do regular washes and a deeper detail a few times a year.
Do I need a pressure washer to clean my car at home?
No, a regular garden hose works fine for a home wash. A pressure washer can rinse faster and uses less water, according to some makers, but it is optional. If you use one, keep a safe distance from the paint and avoid aiming it at loose trim, seals or damaged paint.
Conclusion
A clean car comes down to the right tools and the right order. Wash the wheels first, use two buckets and a mitt on the paint, dry with clean microfiber, then vacuum and wipe the interior and finish with the glass. Add wax or sealant to protect the work.
Stick to a simple routine, keep your kit clean, and avoid shortcuts like dish soap. Over time, you will keep the paint, glass and cabin in better shape and spend less on repairs.