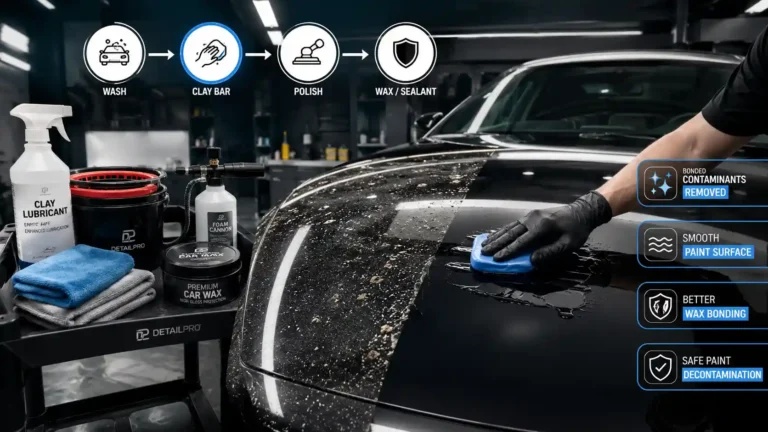
A clay bar is one of the most effective car detailing tools for restoring a smooth, clean paint surface by removing bonded contaminants that regular car washing cannot eliminate. Over time, industrial fallout, brake dust, rail dust, tree sap, road tar, and overspray become embedded in your vehicle’s clear coat, leaving the paint feeling rough and reducing its shine. Left untreated, these contaminants can interfere with wax, paint sealants, and ceramic coatings, preventing them from bonding properly and shortening their lifespan.
This comprehensive guide explains what a clay bar is, what it does, how it works, when to use it, and how to clay bar your car safely step by step. You’ll also learn the common mistakes to avoid, the best lubricants to use, how often your vehicle needs clay bar treatment, and whether alternatives like clay mitts or clay towels are worth considering. Whether you’re new to car detailing or looking to achieve a professional-quality finish at home, this guide will help you safely decontaminate your paint and keep your vehicle looking its best.
What Does a Clay Bar Actually Do to Your Paint?
Clay bar treatment works by physically lifting bonded contaminants off the clear coat’s surface, using a lubricated clay compound that grabs onto particles too small or too firmly attached for soap and water to remove. Regular washing cleans loose dirt and grime sitting on top of the paint, but it can’t address contamination that has chemically bonded to the clear coat itself.
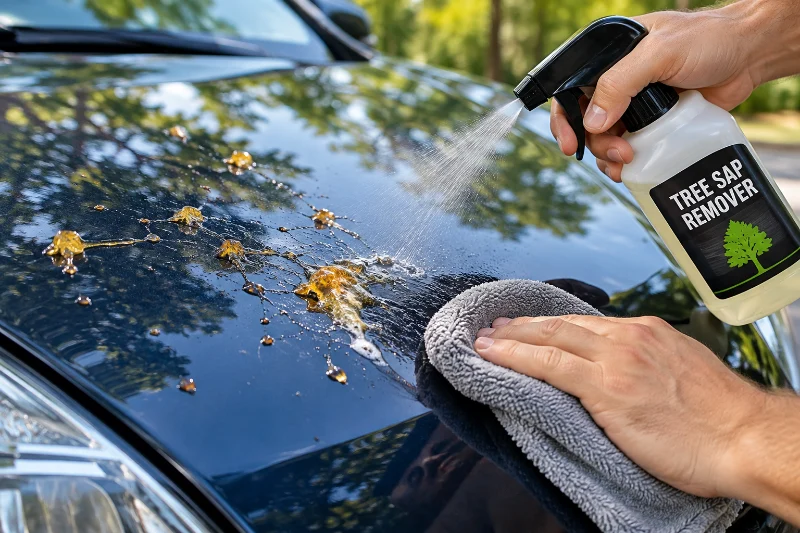
This bonded layer builds up from sources like industrial pollution, rail dust near train tracks, tree sap, and brake dust that’s cooked onto the surface by heat cycles. Over time, this buildup makes paint feel gritty to the touch and can interfere with how evenly wax or sealant bonds afterward.
How Is Clay Bar Treatment Different From Washing or Polishing?
Washing removes loose surface dirt, clay bar treatment removes bonded contaminants sitting on top of the clear coat, and polishing removes a microscopic layer of the clear coat itself to correct swirl marks and light scratches. Each step addresses a different problem, and skipping clay before polishing can actually drag bonded contaminants across the paint during the polishing process, causing new marring.
Understanding this sequence matters because these three steps are commonly confused as interchangeable, when they’re actually complementary stages of a complete paint care routine. Clay bar treatment sits specifically between washing and any polishing or waxing step, never replacing either.
How Do You Clay Bar Your Car Step by Step?
Clay bar treatment is most effective when performed in the correct order. Following these steps helps remove bonded contaminants safely while reducing the risk of scratches or paint marring. Always work in a shaded area on cool paint and use plenty of lubricant throughout the process.
Step 1: Wash and Dry the Car Thoroughly
Start by giving your vehicle a complete wash using a pH-neutral car shampoo to remove loose dirt, dust, and road grime. Rinse thoroughly and dry the surface with a clean microfiber drying towel. Never use a clay bar on a dirty vehicle, as remaining debris can become trapped in the clay and scratch the paint.
Step 2: Prepare the Clay Bar
Take a small piece of the clay bar and knead it until it becomes soft and flexible. Flatten it into a palm-sized disc that fits comfortably in your hand. Using a smaller piece is safer because if it falls on the ground, you only lose that portion instead of the entire clay bar.
Step 3: Spray Clay Lubricant Generously
Choose a small working area, approximately 2 ft × 2 ft (60 × 60 cm), and spray plenty of clay lubricant over the surface. Proper lubrication allows the clay to glide smoothly across the paint while preventing friction that could cause scratches.
Step 4: Glide the Clay Across the Paint
Move the clay bar back and forth using straight-line motions with very light pressure. Avoid circular motions or pressing hard. As the clay removes bonded contaminants such as brake dust, industrial fallout, rail dust, and tree sap residue, you’ll notice the surface becoming noticeably smoother.
Step 5: Inspect and Fold the Clay Frequently
After each section, inspect the clay bar for dirt and contaminants. If the surface appears dirty, fold and knead the clay to expose a fresh, clean side before continuing. If the clay bar is dropped on the ground, discard it immediately, as trapped grit can severely scratch the paint.
Step 6: Wipe the Surface Clean
Once the section feels perfectly smooth, wipe away any remaining lubricant using a clean microfiber towel. Then move to the next section and repeat the same process until the entire vehicle has been treated.
Step 7: Apply Paint Protection
Clay bar treatment removes old wax and other surface protection along with bonded contaminants. After completing the process, apply a quality wax, paint sealant, or ceramic spray coating to restore protection, enhance gloss, and help keep contaminants from bonding to the paint again.
What Lubricant Should You Use With a Clay Bar?
Clay lubricant is essential, not optional, since running clay across dry paint causes scratching rather than safe contaminant removal. Dedicated clay lubricant sprays are formulated specifically for this purpose and are the safest, most reliable option.
A diluted car wash soap and water mixture in a spray bottle can work as a substitute in a pinch, though it doesn’t glide as smoothly as a dedicated lubricant and increases the chance of the clay dragging rather than sliding. Never attempt to clay bar a car using only water or, worse, no lubricant at all, since this is one of the more common ways people accidentally scratch their own paint during this process.
How Often Does a Car Actually Need Clay Bar Treatment?
Most vehicles benefit from clay bar treatment two to four times a year, though this varies significantly based on environment and driving conditions. Vehicles parked near industrial areas, railroad tracks, or under trees that drop sap accumulate bonded contamination faster and may need more frequent treatment.
The feel test is more reliable than a fixed schedule: running a clean hand over freshly washed paint and feeling for grittiness tells you directly whether contamination has built up enough to warrant clay treatment, regardless of how much time has passed since the last session. Over-claying isn’t typically harmful, but it’s also unnecessary if the paint already feels smooth.
What Are Common Mistakes When Using a Clay Bar for the First Time?
Even though clay bar treatment is beginner-friendly, improper technique can leave fine scratches, paint marring, or reduce the effectiveness of the decontamination process. Most problems are easy to avoid by using the right tools, plenty of lubricant, and following proper detailing practices. Here are the most common mistakes to avoid:
- Using a clay bar without enough lubricant: Never use a clay bar on a dry surface. Insufficient lubrication increases friction, which can scratch or mar the clear coat instead of safely removing bonded contaminants.
- Using a dirty or dropped clay bar: If the clay bar falls on the ground, throw it away immediately. It can pick up sand and grit that may severely scratch your vehicle’s paint.
- Applying too much pressure: Let the clay glide gently over the paint using light pressure. Pressing too hard won’t remove contaminants faster and can create fine swirl marks or marring.
- Not folding the clay regularly: As the clay collects brake dust, industrial fallout, and other contaminants, fold and knead it frequently to expose a clean surface. This prevents trapped debris from being dragged across the paint.
- Working on a dirty vehicle: Always wash and dry your car before using a clay bar. Loose dirt left on the paint can become trapped in the clay and cause scratches.
- Working in direct sunlight: Hot paint causes lubricant to evaporate quickly, increasing the risk of friction. For the safest results, clay bar your vehicle in the shade on a cool surface.
- Skipping wax or paint protection afterward: Clay bar treatment removes old wax and surface protection along with bonded contaminants. Finish by applying a quality wax, paint sealant, or ceramic spray coating to protect the freshly cleaned paint and maintain its shine.
Are There Alternatives to a Traditional Clay Bar?
Clay mitts and clay-infused synthetic towels have become popular alternatives to the traditional clay bar, offering similar decontamination results with a slightly different handling experience. A clay mitt covers more surface area per pass and is generally easier for beginners to control, since it wraps around the hand rather than requiring the folding and reshaping a traditional bar needs.
Clay discs used with a dual-action polisher are another option, mechanizing the process and covering large panels faster than hand claying, though they require more upfront tool investment. Any of these alternatives accomplish the same core task of lifting bonded contaminants, so the choice mostly comes down to personal preference, budget, and how large a vehicle you’re working on.
Does Clay Bar Treatment Remove Wax or Ceramic Coating?
Yes, clay bar treatment strips away existing wax, sealant, or even light ceramic coating maintenance layers along with the contaminants it lifts, since the clay’s mild abrasive action doesn’t distinguish between bonded dirt and a protective topcoat. This is expected and normal, which is why reapplying wax or sealant immediately after claying is a required final step rather than an optional one.
For vehicles with a full ceramic coating applied by a professional, it’s worth checking the coating’s specific care instructions before claying, since some coatings recommend gentler decontamination methods or specific clay-safe products to avoid affecting the coating’s durability. Most standard consumer wax and sealant products, by contrast, are simply expected to be reapplied after every clay session without any special consideration.
Conclusion
A clay bar treatment is one of the most effective ways to restore a smooth, contaminant-free paint surface before applying wax, sealant, or ceramic protection. While regular washing removes loose dirt, it cannot eliminate bonded contaminants like industrial fallout, rail dust, tree sap residue, and embedded brake dust that gradually reduce your vehicle’s gloss and protection.
By washing the vehicle first, using plenty of clay lubricant, working with light pressure, and applying fresh paint protection afterward, you can safely improve paint smoothness, increase shine, and help wax or sealant last longer. Whether you choose a traditional clay bar, clay mitt, or synthetic clay towel, performing paint decontamination whenever the surface feels rough not simply on a fixed schedule will keep your vehicle looking its best while preserving the clear coat for years to come.
FAQ
Is clay bar treatment safe for all types of car paint?
Yes. Clay bar treatment is safe for nearly all modern automotive paint and clear coat finishes when used with proper lubrication and light pressure. The clay removes bonded contaminants without damaging healthy paint. Most scratches caused during claying happen because of user mistakes, such as using too much pressure, insufficient lubricant, or continuing to use clay after dropping it on the ground.
Can you use a clay bar on glass, headlights, and chrome?
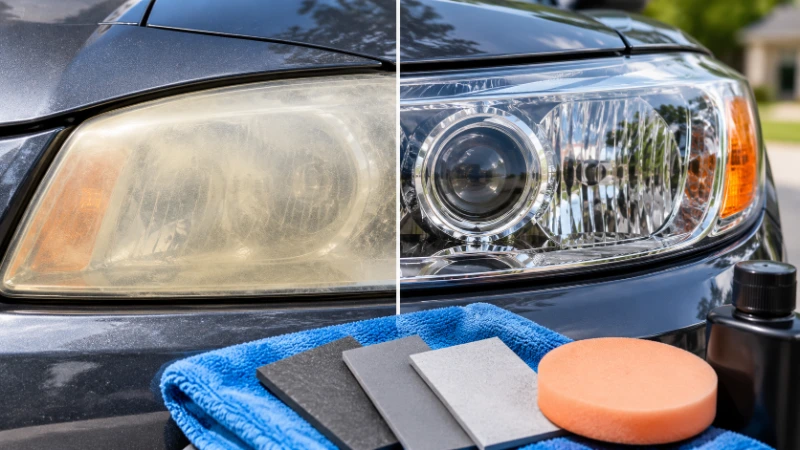
Yes. A clay bar can safely be used on automotive glass, headlights, chrome trim, and smooth painted surfaces to remove bonded contaminants like water spots, industrial fallout, brake dust, and road film. Many detailers recommend using a separate piece of clay for glass and wheels to prevent transferring abrasive particles onto painted panels.
How long does it take to clay bar an entire vehicle?
Most cars can be fully clay barred in 30 to 60 minutes, depending on vehicle size and contamination levels. Larger SUVs, trucks, or heavily contaminated vehicles may take longer because the clay must be folded frequently and additional lubricant may be needed to maintain smooth movement across the paint.
Should you wax or seal your car after using a clay bar?
Yes. Applying wax, paint sealant, or ceramic spray protection after claying is highly recommended because clay removes existing protective layers along with bonded contaminants. Reapplying protection restores gloss, improves water beading, and helps prevent new contaminants from bonding to the paint.
Can a clay bar remove scratches, swirl marks, or oxidation?
No. A clay bar only removes contaminants that sit on top of the paint surface. It does not repair scratches, swirl marks, oxidation, water-spot etching, or faded paint. Those defects require paint polishing or paint correction using an appropriate polishing compound and machine or hand applicator.
How do I know if my car needs a clay bar treatment?
The easiest way is the touch test. After washing and drying your vehicle, gently run your fingertips across the paint. If the surface feels rough, gritty, or similar to fine sandpaper, bonded contaminants are present and the paint will likely benefit from clay bar treatment. If the paint feels perfectly smooth, claying is usually unnecessary.
Can I clay bar a ceramic-coated car?
Yes, but only when necessary. A clay bar can be used on ceramic-coated vehicles to remove stubborn bonded contamination, although frequent claying may slightly reduce the coating’s performance over time. Many coating manufacturers recommend using fine-grade clay or synthetic decontamination tools with plenty of lubricant and following the coating maintenance guidelines.
Which is better: a traditional clay bar or a clay mitt?
Neither is universally better it depends on your needs. A traditional clay bar provides excellent precision and is often preferred for heavily contaminated paint. A clay mitt or clay towel covers larger areas more quickly, is reusable, and is generally easier for beginners. Both remove bonded contaminants effectively when used correctly.