A cabin air filter is one of the most overlooked maintenance items on a vehicle, yet it plays an important role in keeping the air inside your car clean and your heating and air conditioning system working efficiently. Over time, the filter collects dust, pollen, dirt, leaves, and other airborne contaminants, gradually restricting airflow through the HVAC system. A clogged filter can lead to weak airflow, unpleasant odors, foggy windows, and reduced heating or cooling performance. Fortunately, replacing a cabin air filter is one of the easiest DIY car maintenance tasks and usually takes less than 15 minutes with little or no tools. Whether you’re replacing it for the first time or following your vehicle’s regular maintenance schedule, this guide explains everything you need to know from identifying the symptoms of a dirty filter and locating it in your vehicle to choosing the right replacement and installing it correctly for cleaner cabin air.
What Does a Cabin Air Filter Actually Do?
A cabin air filter cleans the air entering the vehicle’s interior through the heating, ventilation, and air conditioning system, trapping dust, pollen, road debris, and other airborne particles before they reach the cabin. This is a completely separate component from the engine air filter, which protects the engine itself rather than the air passengers breathe.
Many newer cabin filters also include an activated carbon layer designed to reduce odors from exhaust fumes, road dust, and other environmental sources. A clean cabin filter directly affects both air quality inside the car and how efficiently the HVAC system moves air through the vents.
What Are the Signs Your Cabin Air Filter Needs Replacing?
A clogged cabin air filter produces several noticeable symptoms that point directly to this specific component.
- Reduced airflow from the vents, even at the highest fan setting – a clogged filter restricts how much air the blower motor can push through.
- Musty or unpleasant odors when the air conditioning or heat is running – trapped debris and moisture in a dirty filter can develop odor over time.
- Excessive noise from the blower motor – the motor works harder to push air through a clogged filter, which can create a noticeably louder fan sound.
- Visible dust or debris accumulating faster than usual on interior surfaces – suggests the filter isn’t effectively trapping particles anymore.
- Fogging on the interior of the windshield that clears slowly – reduced airflow can affect how quickly the defrost system clears condensation.
Most of these symptoms develop gradually, so a filter that’s slowly losing effectiveness might not trigger an obvious single moment of failure the way some other components do.
Where Is the Cabin Air Filter Located?
Cabin air filter location varies by vehicle, but it typically falls into one of two common spots. The following are the most frequent locations across different makes and models:
- Behind the glove box – the most common location on many sedans and smaller vehicles, accessed by removing or dropping down the glove box.
- Under the hood, near the base of the windshield – common on some trucks, SUVs, and certain European models, accessed through a small cover in the cowl area.
- Under the dashboard on the passenger side – found on some vehicles, requiring you to reach up underneath the dash rather than through the glove box.
Checking your owner’s manual for the exact location on your specific model saves time compared to searching blindly, since the access method differs enough between these three general locations to matter.
What Tools Do You Need to Replace a Cabin Air Filter?
Most cabin air filter replacements require no tools at all, since the housing typically uses simple tabs, clips, or a friction-fit cover. A few vehicles use a small screw or two to secure the access panel, in which case a basic screwdriver is all that’s needed.
Having a vacuum or a can of compressed air on hand is optional but helpful for cleaning out the housing itself, since dust and debris often accumulate in the compartment around the filter over time.
How Do You Replace a Cabin Air Filter Step by Step?
Replacing a cabin air filter is a simple DIY maintenance task that usually takes 5–15 minutes. Follow these steps to ensure the new filter is installed correctly.
Step 1: Locate the Cabin Air Filter Housing
Find the cabin air filter housing using your owner’s manual if you’re unsure of its location. On most vehicles, it’s located:
- Behind the glove box
- Under the dashboard on the passenger side
- Under the hood near the base of the windshield (cowl area)
Step 2: Open the Access Panel
Access the filter by removing or lowering the glove box, unclipping the filter cover, or removing the cowl panel, depending on your vehicle’s design. Most models use simple clips or tabs, while a few may require a screwdriver.
Step 3: Remove the Old Cabin Air Filter
Carefully slide the old filter out of its housing. Before removing it completely, note the airflow arrow printed on the filter frame. You can also take a quick photo to remember the correct installation direction.
Step 4: Clean the Filter Housing
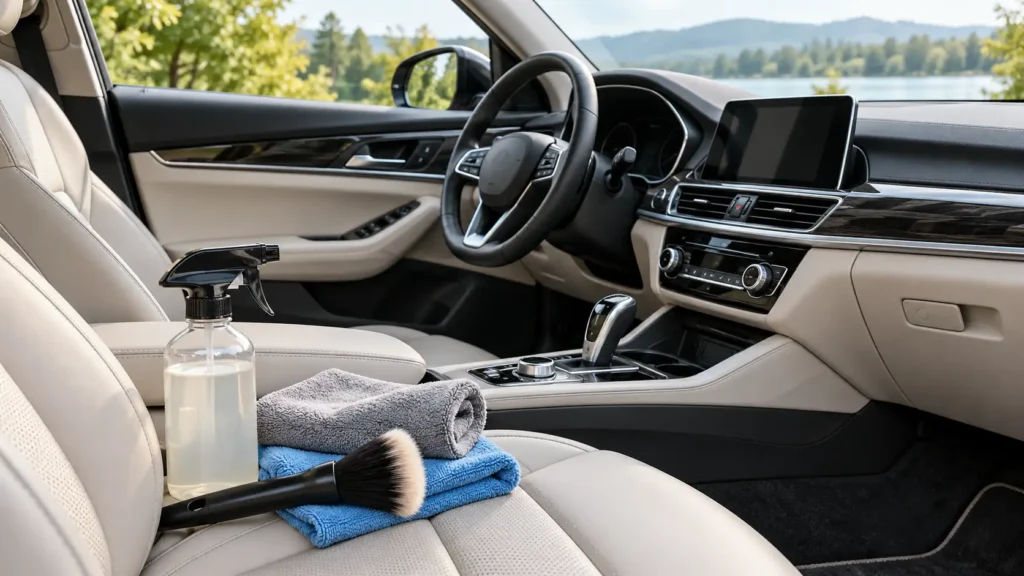
Use a vacuum, soft brush, or clean cloth to remove dust, leaves, and debris from inside the filter housing. Cleaning the compartment helps improve airflow and prevents dirt from entering the new filter.
Step 5: Install the New Cabin Air Filter
Insert the new filter into the housing, making sure the airflow arrow points in the same direction as the old filter. The filter should slide in smoothly without being forced.
Step 6: Reinstall the Access Cover
Replace the filter cover, close the access panel, or reinstall the glove box securely. Ensure all clips or screws are properly fastened before finishing.
Step 7: Test the HVAC System
Start the vehicle and turn on the heater or air conditioner. Check that air flows normally through the vents and listen for any unusual noises. If airflow feels stronger and the system operates quietly, the replacement was successful.
How Often Should You Replace a Cabin Air Filter?
Most manufacturers recommend replacing the cabin air filter every 12,000 to 15,000 miles, or roughly once a year for typical driving patterns. Drivers in areas with heavy pollen, significant dust, or urban pollution often benefit from replacing it more frequently, since these environments load the filter with particles faster than average conditions.
Checking the filter visually every few months, even between scheduled replacements, is a reasonable habit, since a filter that looks heavily discolored or visibly packed with debris is worth replacing early regardless of the mileage since the last change.
What Type of Cabin Air Filter Should You Choose?
Cabin air filters generally come in a few different tiers, and choosing between them depends mostly on your priorities around air quality and budget. Standard particulate filters handle dust, pollen, and larger debris effectively at the lowest cost, while activated carbon filters add odor-reducing capability for a moderate price increase.
Some manufacturers also offer allergen-specific filters marketed with finer filtration ratings, which can be worth the extra cost for drivers with allergies or sensitivities. Checking that any replacement filter matches your vehicle’s exact part number, rather than assuming a similarly sized filter from a different application will fit properly, ensures a correct seal within the housing.
Can a Dirty Cabin Air Filter Affect More Than Just Air Quality?
Yes, beyond reduced air quality and airflow, a severely neglected cabin air filter can put extra strain on the blower motor, since the motor has to work harder to push air through a clogged filter. Over an extended period, this added strain can shorten the blower motor’s lifespan, turning a $20 filter replacement into a more expensive motor repair if ignored long enough.
A clogged filter can also contribute to increased humidity and slower windshield defogging, which is a safety consideration during wet or cold weather driving. Keeping this filter on a regular replacement schedule protects both comfort and a couple of components that are considerably more expensive to fix than the filter itself.
Conclusion
Replacing a cabin air filter is one of the quickest and most affordable maintenance tasks you can perform, yet it has a noticeable impact on driving comfort, air quality, and HVAC performance. A clean filter helps keep dust, pollen, and pollutants out of the cabin while allowing your heating and air conditioning system to operate efficiently. By replacing the filter every 12,000 to 15,000 miles or sooner if you drive in dusty or high-pollen conditions you can improve airflow, reduce unpleasant odors, protect the blower motor from unnecessary strain, and maintain a healthier interior environment. Spending just a few minutes on this simple DIY job can prevent larger HVAC issues and ensure cleaner, fresher air every time you drive.
Frequently Asked Questions
How do I know when my cabin air filter needs replacing?
The most common signs of a dirty cabin air filter include weak airflow from the vents, unpleasant odors when using the heater or air conditioner, excessive blower motor noise, slow windshield defogging, and increased dust inside the cabin. Most manufacturers recommend replacing it every 12,000–15,000 miles or about once a year.
Can I replace a cabin air filter myself?
Yes. Replacing a cabin air filter is one of the easiest DIY vehicle maintenance jobs. On most vehicles, it takes 5–15 minutes and requires little or no tools. The filter is commonly located behind the glove box, under the dashboard, or beneath the hood near the windshield.
Which direction should a cabin air filter face?
Install the new cabin air filter in the same direction as the old one by following the airflow arrow printed on the filter. Installing it backward won’t damage the vehicle, but it reduces filtration efficiency and airflow performance.
What happens if you don’t replace a cabin air filter?
Ignoring a clogged cabin air filter can reduce HVAC airflow, create unpleasant odors, slow windshield defogging, increase dust inside the cabin, and force the blower motor to work harder. Over time, this additional strain may shorten the blower motor’s lifespan.
Is it better to use a carbon cabin air filter?
Activated carbon cabin air filters are generally a better choice if you frequently drive in heavy traffic or polluted areas. In addition to trapping dust and pollen, they help reduce odors, exhaust fumes, and harmful airborne pollutants entering the vehicle.
How long does it take to replace a cabin air filter?
Most cabin air filter replacements take between 5 and 15 minutes, depending on the vehicle’s design. Many vehicles allow the filter to be replaced without using any tools.
Can a dirty cabin air filter make my car smell bad?
Yes. A dirty cabin air filter can trap moisture, dust, mold, and organic debris, leading to musty or unpleasant odors whenever the heating or air conditioning system is running. Replacing the filter often eliminates these smells.
Will replacing the cabin air filter improve AC performance?
Yes. A clean cabin air filter restores proper airflow through the HVAC system, allowing the air conditioner and heater to circulate air more efficiently. While it won’t repair a faulty AC system, it often improves cooling performance if restricted airflow was the problem.
Can I clean a cabin air filter instead of replacing it?
Some reusable cabin air filters can be cleaned according to the manufacturer’s instructions. However, most standard paper filters are designed for one-time use and should be replaced rather than cleaned to maintain proper filtration and airflow.
Does every car have a cabin air filter?
Most vehicles manufactured since the early 2000s include a cabin air filter. However, some older or entry-level models may not have one. Check your owner’s manual to confirm whether your vehicle is equipped with a cabin air filter and where it is located.