Vinyl seats are popular in cars because they are practical, easy to wipe clean, and available in many colors and finishes. However, vinyl upholstery still needs proper care to maintain its appearance. Using harsh chemicals, abrasive cleaning tools, or excessive force can damage the surface and make existing wear more noticeable.
Learning how to clean vinyl seats without cracking them starts with choosing a suitable cleaner, removing loose dirt before wiping, and using gentle cleaning techniques. It is also important to understand that vinyl is not the same as genuine leather, so leather cleaners and conditioners are not automatically suitable for vinyl upholstery.
In this guide, you will learn how to clean vinyl car seats step by step, remove common stains, protect the surface, and recognize when damaged vinyl needs professional attention.
Why Do Vinyl Car Seats Crack?
Vinyl seats can develop cracks, peeling, discoloration, or a rough appearance as they age. Repeated use, friction, environmental exposure, and inappropriate cleaning products can contribute to visible deterioration.
Cleaning cannot reverse every type of material damage, but the correct approach can remove abrasive dirt, limit residue buildup, and help preserve the seat’s existing finish.
1. Excessive Sunlight and Heat Exposure
Prolonged exposure to sunlight and heat can contribute to the aging and deterioration of interior materials. Seats that regularly remain in direct sunlight may also become uncomfortable to touch during hot weather.
Whenever practical, park in a shaded location or use a suitable windshield sunshade. These habits can reduce direct sunlight entering the cabin, although they cannot completely prevent age-related wear.
2. Harsh Cleaning Chemicals
Strong detergents, solvents, bleach, and other incompatible chemicals may discolor or damage some vinyl finishes. Repeatedly using an unsuitable product can make the surface look dull, sticky, or uneven.
Always follow your vehicle manufacturer’s upholstery care instructions. A cleaner marketed for general household use should not automatically be considered safe for automotive vinyl.
3. Abrasive Scrubbing
Aggressive scrubbing can damage the surface finish, especially when a seat already has fine cracks or peeling areas. Stiff brushes, rough scouring pads, and abrasive sponges can make the problem worse.
A soft microfiber cloth and gentle wiping motions are usually sufficient for routine cleaning. Use a soft-bristle brush only when appropriate for your seat material and permitted by the manufacturer’s instructions.
4. Dirt and Grit Left on the Surface
Sand, dust, and other small particles can create additional friction when you slide across the seat or wipe it with a cloth. Removing loose dirt before using a damp cloth helps reduce unnecessary rubbing.
This is why vacuuming is an important first step rather than something to do only when the seats look visibly dirty.
5. Incompatible Conditioners and Interior Dressings
Not every leather conditioner, plastic dressing, or interior protectant is suitable for vinyl seating. Some products can leave a greasy film, change the original finish, or create an unwanted slippery surface.
Use a protectant only when its label specifically identifies vinyl upholstery as a suitable application and your vehicle manufacturer permits it.
What You Need to Clean Vinyl Seats Safely
Before starting, gather the right supplies. You do not need an extensive collection of detailing chemicals to clean most vinyl seats.
You will need:
- A vacuum cleaner with a soft brush attachment.
- Two or three clean microfiber cloths.
- A small container of clean water.
- A mild soap-and-water solution, if permitted by your vehicle’s manual.
- A compatible automotive vinyl upholstery cleaner for more difficult dirt, when needed.
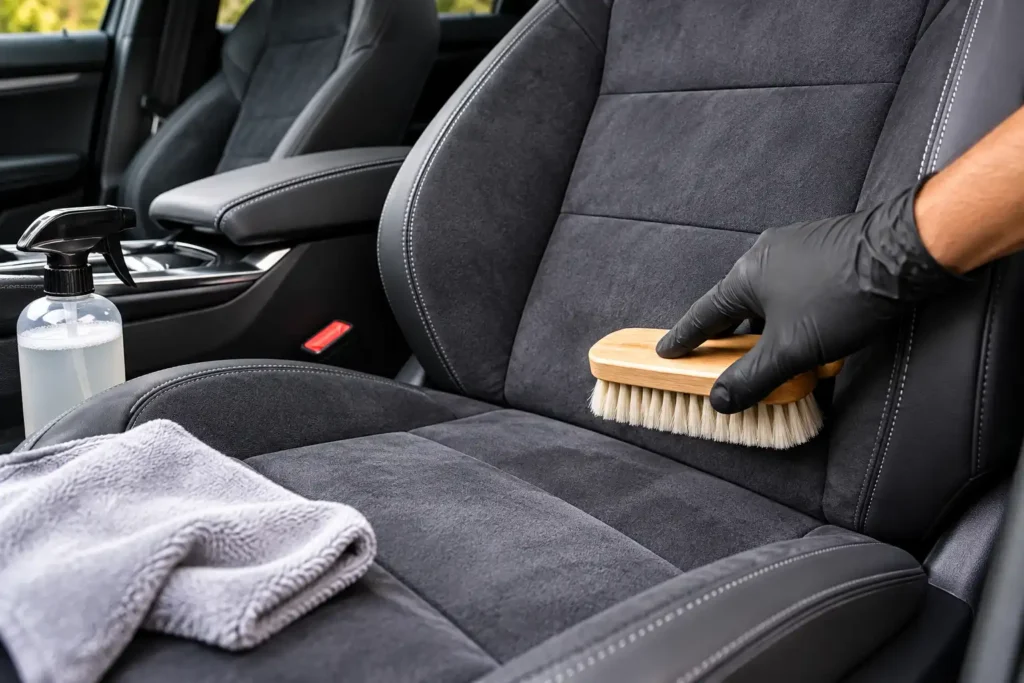
- A soft-bristle detailing brush for suitable textured surfaces.
- A separate dry microfiber towel for removing moisture.
Avoid using abrasive scrubbers, sharp tools, strong solvents, or unapproved chemical mixtures.
Keep in mind that vinyl upholstery, coated leather, and other synthetic seat materials may look similar. Check your owner’s manual before choosing a cleaning product.
How to Clean Vinyl Seats Without Cracking Them: Step-by-Step Guide
The safest way to clean vinyl seats is to work gradually, use minimal moisture, and remove cleaning residue before it dries. Follow these steps for routine maintenance, adjusting the process to suit your vehicle manufacturer’s instructions.
Step 1: Park in a Shaded Area and Let the Seats Cool
Begin by parking your vehicle in a shaded, well-ventilated location. Allow the seats to cool if they are hot from direct sunlight.
Working on a cool surface makes it easier to control the cleaning solution and inspect the finish as you work. Avoid allowing cleaning products to evaporate rapidly on a hot seat.
Inspect the upholstery before cleaning. Look for existing cracks, peeling, loose seams, deep scratches, or damaged areas. If the vinyl is already deteriorating, avoid applying pressure to those sections.
Step 2: Remove Loose Dirt and Debris
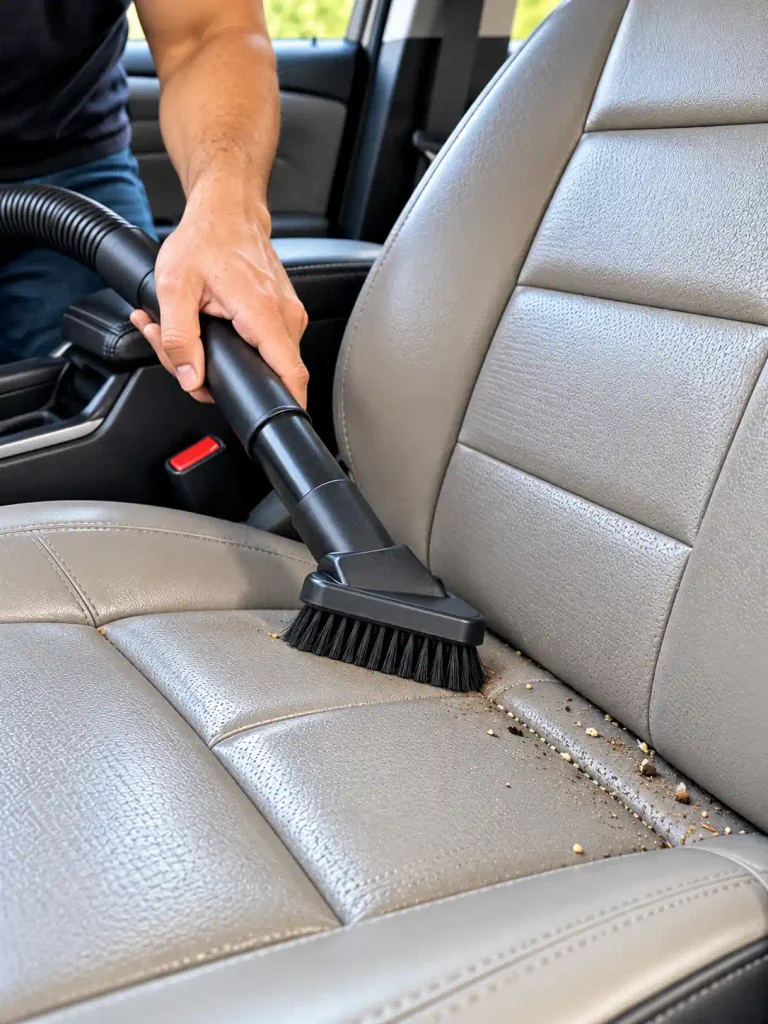
Vacuum the seats before applying any cleaning solution. Pay particular attention to seams, stitching, creases, and the areas between the seat cushion and backrest.
Use a soft brush attachment and move it gently across the surface. Do not press the vacuum nozzle hard against the vinyl or drag a rigid attachment over the upholstery.
If crumbs or grit remain trapped in the seams, loosen them carefully with the soft brush attachment.
Removing loose particles first helps prevent dirt from being dragged across the vinyl during wet cleaning.
Step 3: Test the Cleaning Solution on a Hidden Area
Before cleaning the entire seat, test your chosen solution on a small, inconspicuous area.
Apply a small amount to a clean cloth and gently wipe the test area. Follow the product’s directions and allow the surface to dry enough for you to inspect the result.
Check for discoloration, changes in gloss, stickiness, or other unwanted changes.
If the test area reacts badly, stop using the product. Choose a cleaner approved for your specific upholstery instead.
This precaution is particularly important when cleaning older seats, colored vinyl, or upholstery with an unfamiliar protective coating.
Step 4: Choose a Suitable Vinyl Seat Cleaner
For ordinary dirt, a mild soap-and-water solution may be suitable for many vinyl surfaces. Some vehicle manufacturers recommend this method, while others specify particular cleaning products.
If your owner’s manual allows mild soap and water, use a small amount of suitable mild soap in water rather than creating a concentrated mixture.
For stubborn grime, select an automotive cleaner explicitly labeled as compatible with vinyl upholstery. Follow its dilution, application, and removal instructions.
Do not assume that a product designed for leather, household surfaces, glass, or exterior plastic will work safely on your seats.
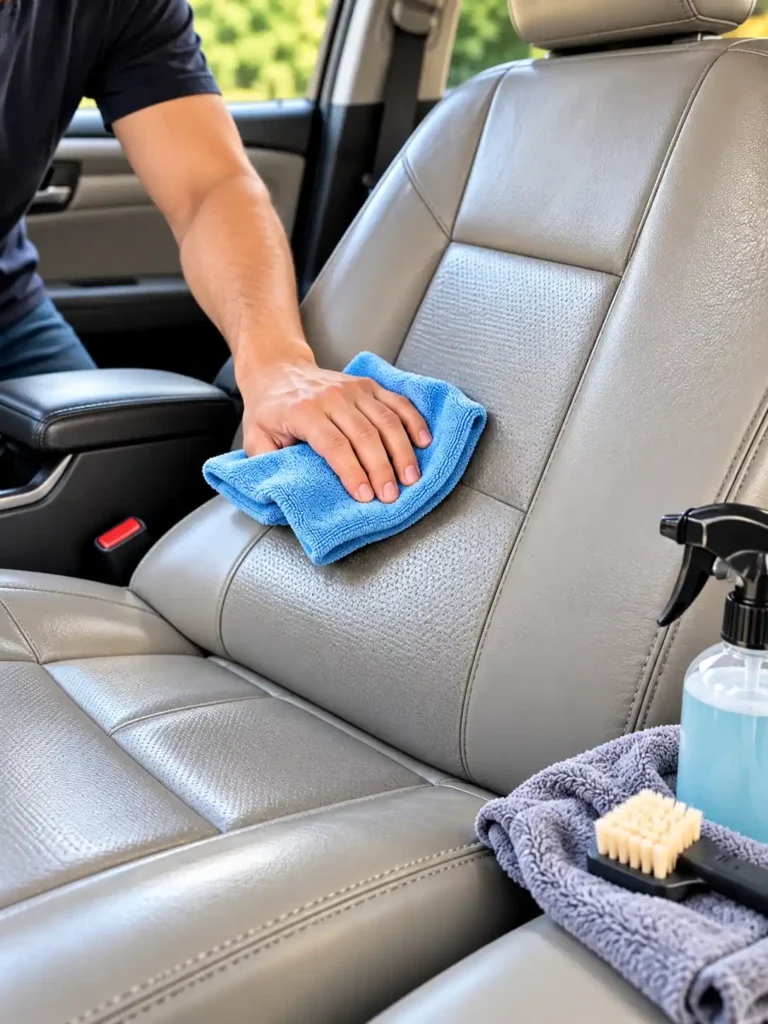
Step 5: Apply the Cleaner to a Microfiber Cloth
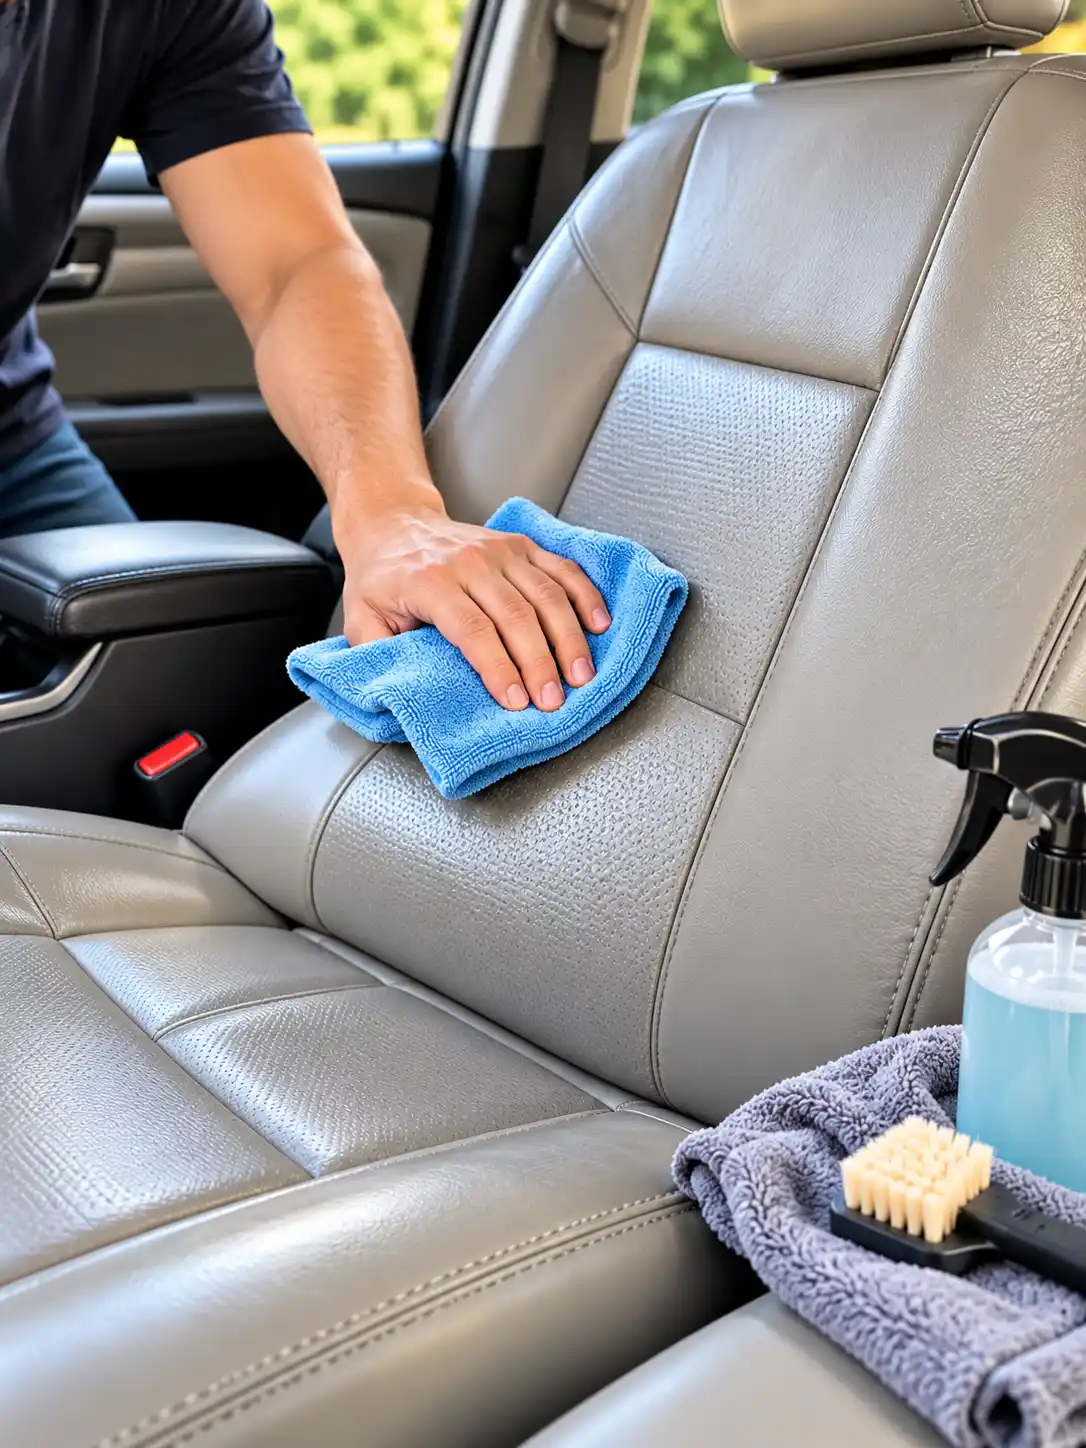
Dampen a clean microfiber cloth with your chosen solution. The cloth should be moist rather than dripping wet.
For a spray cleaner, follow the label instructions. Applying the product to the cloth gives you better control over the amount used when the label permits this method.
Avoid spraying liquid directly onto seat sides containing airbags, electrical controls, heating elements, ventilation openings, or other sensitive components. In particular, vehicle manufacturers warn against allowing unsuitable chemicals to contaminate seat-mounted airbag areas.
Keep moisture away from seams and openings as much as possible.
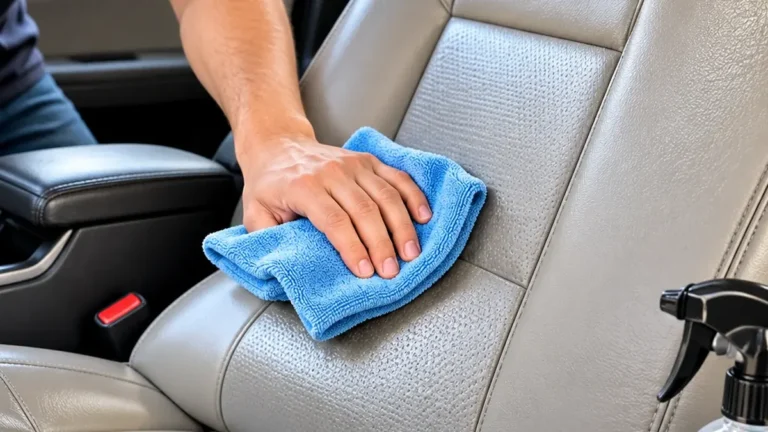
Step 6: Wipe the Vinyl Gently
Clean a small section of the seat at a time using light, controlled strokes. Use a fresh section of the microfiber cloth as dirt transfers onto it.
For ordinary surface dirt, avoid vigorous circular scrubbing or repeated friction over the same spot.
On textured vinyl, move the cloth gently across the surface so it can collect dirt from the raised and recessed areas.
If the seat is heavily soiled, clean it in several light passes instead of attempting to remove all the dirt with one aggressive pass.
The goal is to lift contamination without unnecessarily stressing the surface finish.
Step 7: Clean Seams and Textured Areas Carefully
Dirt can collect around stitched seams, piping, perforations, and textured patterns.
For suitable surfaces, use a clean soft-bristle brush with a small amount of compatible cleaning solution. Work gently and keep liquid from accumulating in the seams.
Do not force bristles into damaged stitching or scrub across loose or peeling vinyl.
For perforated or ventilated seats, follow the manufacturer’s specific instructions. Excess liquid entering the seat can potentially reach internal components, so a damp cloth may be safer than a wet brush.
Step 8: Remove Stubborn Dirt Without Increasing Pressure
If grime remains after the first pass, allow the cleaner to work for the period specified on its label. Then wipe the area again with a clean microfiber cloth.
For compatible textured vinyl, a gentle pass with a soft brush may help loosen remaining dirt.
Avoid trying to force a quick result by pressing harder. If a stain does not respond, identify what caused it and select a compatible spot-cleaning method instead.
Some discoloration is not removable dirt. It may be dye transfer, permanent staining, surface wear, or deterioration of the vinyl itself.
Step 9: Wipe Away Cleaning Residue
After cleaning, use a separate microfiber cloth lightly dampened with clean water, provided this is appropriate for the material and cleaning product.
Wipe the cleaned sections gently to remove remaining soap or cleaner residue. Do not soak the seats.
Leaving excessive cleaning product on the upholstery can create streaks, a tacky feel, or an uneven appearance.
Follow the cleaner’s instructions if it specifies a different residue-removal procedure.
Step 10: Dry the Seats Completely
Use a clean, dry microfiber towel to absorb remaining surface moisture.
Allow the seats to finish drying in a shaded, well-ventilated area before using the vehicle. Pay attention to seams, creases, and other areas where moisture may collect.
Do not use a heat gun or direct high heat to speed up drying. Avoid closing the vehicle for an extended period while the upholstery is still damp if ventilation is needed to help it dry.
Once dry, inspect the surface under good lighting. A properly cleaned seat should be free of removable dirt and excessive cleaner residue without looking unnaturally greasy.
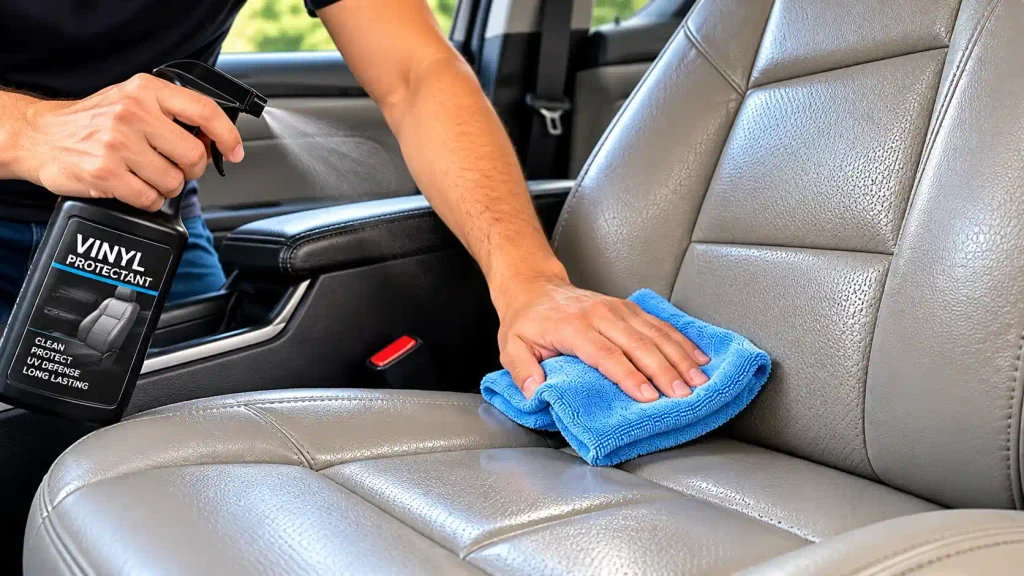
Step 11: Apply a Vinyl Protectant Only When Appropriate
After the seats are clean and dry, decide whether a protective treatment is necessary.
Some vinyl-compatible products are formulated to help protect the surface or maintain its appearance. However, an additional dressing is not automatically required after every cleaning.
Choose a product whose label specifically permits use on automotive vinyl upholstery. Confirm compatibility with your vehicle manufacturer’s instructions and test it on a hidden area first.
Apply only the recommended amount, remove excess product as directed, and allow the surface to dry fully.
Avoid using ordinary leather conditioner, household oils, furniture polish, or a shiny interior dressing simply because the seat looks dry. Vinyl is not genuine leather, and unnecessary products may leave residue or alter the finish.
How to Remove Common Stains From Vinyl Car Seats
Different stains require different approaches. Before using a stronger cleaner, determine whether you are dealing with ordinary dirt, a sticky spill, oil, dye transfer, or actual surface damage.
Food and Beverage Spills
Fresh food and drink spills are generally easier to manage before they dry.
- Blot excess liquid with a clean cloth rather than spreading it across the seat.
- Remove solid food gently without using a sharp object against the vinyl.
- Wipe the remaining residue with a cloth dampened with an approved mild cleaning solution.
- Remove the cleaner according to its instructions.
- Dry the area with a clean microfiber towel.
Do not flood the cushion to remove a small spill. Use only as much moisture as necessary.
Grease and Oil Stains
Grease from food, cosmetics, or other sources can leave a slippery or discolored patch.
First, blot away excess material using a clean cloth. Do not rub it into a larger area.
Next, use an automotive upholstery cleaner specifically approved for your vinyl surface. Follow the application instructions and repeat a gentle cleaning pass if necessary.
Avoid using gasoline, paint thinner, concentrated degreasers, or other harsh solvents. These products may damage the upholstery finish and create additional safety concerns inside the vehicle.
If the mark persists, professional cleaning may be preferable to experimenting with stronger chemicals.
Ink and Dye Transfer
Dark marks from pens, denim, or colored clothing can be difficult to remove from light-colored vinyl seats.
Begin with a gentle cleaning solution and a microfiber cloth. If the mark remains, check whether your automotive vinyl cleaner specifically permits spot treatment for that type of stain.
Test the product on a hidden section before proceeding.
Do not immediately reach for rubbing alcohol, nail polish remover, bleach, or abrasive sponges. Their suitability cannot be assumed for every vinyl formulation or protective coating.
If the mark does not lift without aggressive treatment, stop rather than removing or damaging the surrounding finish.
Sticky Residue and Chewing Gum
For sticky residue, start by gently lifting any loose material without scraping the upholstery.
Place a cloth dampened with an appropriate cleaning solution over the remaining residue for the period permitted by the product instructions. Then wipe gently and remove any cleaner residue.
For chewing gum or similarly stubborn contamination, use a removal method specifically suitable for automotive vinyl. Do not use a knife, metal scraper, or excessive force to peel material from the seat.
If the residue has hardened into a textured or cracked surface, consider professional assistance.
Mold or Mildew
Visible mold or persistent musty odors require more care than ordinary surface dirt. The source may involve moisture trapped in the seat, padding, carpet, or another part of the cabin.
Avoid aggressive dry brushing that can spread contamination. Do not saturate the seat with household chemicals or mix cleaning products.
Check the vehicle manufacturer’s instructions and address the underlying moisture problem. If growth has penetrated the seat padding or returns after cleaning, seek professional automotive cleaning advice.
A surface wipe alone may not resolve contamination inside porous materials.
What Not to Use When Cleaning Vinyl Seats
Choosing the wrong product can do more harm than leaving a small amount of dirt behind. The safest approach is to use the simplest compatible method that effectively removes the contamination.
Avoid Strong Solvents and Unapproved Chemicals
Do not use bleach, paint thinner, gasoline, or other aggressive solvents on vinyl upholstery unless the vehicle manufacturer explicitly specifies an appropriate product for that application.
Also avoid concentrated cleaning mixtures and mixing multiple products together. Chemical combinations may create hazards without improving cleaning performance.
Do Not Scrub With Abrasive Sponges
Scouring pads, rough scrubbers, and abrasive cleaning blocks can affect the texture or coating of the seat.
Use a microfiber cloth first. A soft-bristle brush can be useful for suitable textured surfaces, but the cleaning tool must not scratch or abrade the finish.
Do Not Use Excessive Water
Vinyl is intended to be relatively easy to wipe clean, so deep saturation is usually unnecessary for routine surface maintenance.
Avoid pouring water directly onto the seats, flooding seams, or allowing liquid to enter perforations and openings.
Controlled moisture is easier to remove and reduces the risk of leaving the seating area damp.
Do Not Use Leather Conditioner Automatically
Some seats combine vinyl with genuine leather or other materials, and some aftermarket products cover multiple surfaces. That does not make every conditioner suitable for every component.
Use only a product that specifically identifies your upholstery type as compatible. Follow manufacturer guidance instead of relying on a generic claim that all vehicle seats need conditioning.
Do Not Use High Heat or Aggressive Steam Cleaning
Do not assume a steam cleaner is safe for vinyl upholstery. High heat, moisture, pressure, and the construction of the seat may make this approach unsuitable for some vehicles.
Use the cleaning method approved for your specific seat material. Seek professional advice when ordinary gentle cleaning does not produce a satisfactory result.
How to Prevent Vinyl Car Seats From Cracking Over Time
Regular maintenance is more effective than waiting until the upholstery is heavily soiled or damaged.
Clean Small Spills Promptly
Remove food, grease, beverages, and other contaminants as soon as practical. This makes cleaning easier and reduces the time contaminants remain on the surface.
Use an appropriate cleaning method for each stain rather than rubbing it aggressively.
Remove Dust and Grit Regularly
Vacuum the seats and their creases during routine interior cleaning. Removing loose grit limits the amount of abrasive material on the surface.
A soft attachment is preferable to dragging a rigid vacuum nozzle across the upholstery.
Reduce Direct Sunlight Exposure
Park in a garage or shaded space whenever possible. A properly fitted windshield sunshade can also help reduce direct sunlight entering the cabin.
Sun protection can reduce exposure, but it cannot completely prevent the effects of aging and everyday use.
Avoid Unnecessary Chemicals
If a damp cloth and an approved mild cleaning solution can remove the dirt, stronger chemicals may not be necessary.
Do not use a new cleaner just because it promises a glossy finish. Prioritize material compatibility, gentle application, and complete removal of residue.
Follow a Consistent Cleaning Routine
Inspect your seats regularly and clean them according to the amount of use, visible contamination, and your vehicle manufacturer’s recommendations.
Vehicles used daily, exposed to dusty conditions, or carrying children and pets may need more frequent attention than vehicles used occasionally.
A consistent, gentle routine is preferable to infrequent intensive scrubbing.
What to Do if Your Vinyl Seats Are Already Cracking
If your vinyl seats already have visible cracks, peeling, or missing surface material, cleaning will not restore the lost material.
Start by removing loose dust with a vacuum and cleaning the unaffected areas gently. Avoid forcing water or cleaner into cracks and do not bend damaged sections unnecessarily.
Do not apply a thick dressing to hide the damage. Such products may temporarily change the appearance without repairing the underlying problem.
Depending on the condition, an automotive upholstery professional may recommend a suitable repair, a replacement section, or complete upholstery replacement.
If damage is located near a seat-mounted airbag or another safety-related component, consult an authorized service professional instead of attempting an invasive repair.
How Often Should You Clean Vinyl Seats?
There is no single cleaning schedule that works for every vehicle. The appropriate frequency depends on driving habits, environmental conditions, and the level of contamination.
Use these practical guidelines:
- After spills: Remove fresh contamination as soon as practical.
- During regular interior cleaning: Vacuum and wipe visible dirt from the seats.
- After unusually dirty trips: Inspect creases, seams, and high-contact areas for grit or residue.
- When stains appear: Spot-clean with a compatible product rather than repeatedly scrubbing the entire seat.
Routine inspection also helps you identify early signs of surface deterioration before they become more noticeable.
Frequently Asked Questions About Cleaning Vinyl Car Seats
These frequently asked questions explain which cleaning products are suitable for vinyl car seats, how to prevent cracking, and how to care for old or damaged vinyl upholstery.
Can You Use Dish Soap to Clean Vinyl Car Seats?
Yes, a mild dish soap and water solution may be suitable for some vinyl car seats. Check your vehicle owner’s manual first, use a small amount of mild soap, and wipe gently with a microfiber cloth. Remove any residue with a clean, lightly dampened cloth if permitted by the manufacturer.
Is Vinegar Safe for Cleaning Vinyl Car Seats?
Vinegar is not automatically safe for every vinyl seat finish. Its compatibility depends on the upholstery material and protective coating. For routine cleaning, use a manufacturer-approved vinyl cleaner or a mild soap solution permitted by your vehicle’s care instructions. Test any suitable product on a hidden area before cleaning the entire seat.
Can You Use Leather Conditioner on Vinyl Seats?
No, you should not use leather conditioner on vinyl seats unless the product specifically states that it is suitable for vinyl. Vinyl and genuine leather have different material properties and care requirements. Choose a compatible vinyl protectant only when recommended by the product manufacturer and permitted by your vehicle’s upholstery care instructions.
How Do You Prevent Vinyl Car Seats From Cracking?
To help prevent vinyl car seats from cracking, clean them gently, remove dirt and grit regularly, avoid harsh chemicals, and reduce prolonged exposure to direct sunlight where possible. Use only compatible cleaning and protection products. These steps can help maintain the surface, but they cannot completely prevent age-related wear or environmental damage.
Can You Use a Magic Eraser on Vinyl Car Seats?
A Magic Eraser or other melamine sponge is not the safest first choice for vinyl car seats because its abrasive action may damage certain finishes. Start with a soft microfiber cloth and a compatible vinyl cleaner. Avoid applying excessive pressure, especially on older seats or areas that are already cracked or peeling.
Is Steam Cleaning Safe for Vinyl Car Seats?
Steam cleaning is not suitable for every vinyl car seat. Excessive heat and moisture may damage certain finishes or affect seat components. Check your vehicle manufacturer’s instructions before using a steam cleaner. For routine maintenance, a lightly dampened microfiber cloth and a compatible cleaner are generally a more controlled option.
How Can You Restore the Appearance of Old Vinyl Car Seats?
To improve the appearance of old vinyl car seats, vacuum away loose dirt, clean the surface with a compatible product, and dry it with a clean microfiber towel. A vinyl-safe protectant may be appropriate if the manufacturer permits it. Cleaning can improve surface appearance, but cracked, peeling, or deteriorated vinyl may require professional repair or replacement.
How Can You Tell Whether Car Seats Are Vinyl or Genuine Leather?
Check your vehicle owner’s manual, original specifications, or upholstery information to identify the seat material. Some vehicles combine genuine leather, vinyl, and other synthetic materials on different parts of the same seat. Because these materials can look similar, do not rely on appearance alone when choosing a cleaning product.
Final Thoughts
Learning how to clean vinyl seats without cracking them comes down to careful product selection, controlled moisture, and gentle cleaning techniques. Vacuum loose dirt first, test the cleaning solution, wipe small sections at a time, and remove residue before allowing the seats to dry completely.
Avoid harsh chemicals, abrasive tools, excessive water, and unapproved conditioners. Protect the interior from prolonged direct sunlight where practical, and inspect the upholstery regularly for signs of deterioration.
Most importantly, follow your vehicle manufacturer’s care instructions. A simple, consistent cleaning routine can help maintain the appearance of vinyl seats without introducing unnecessary risks to the surface.