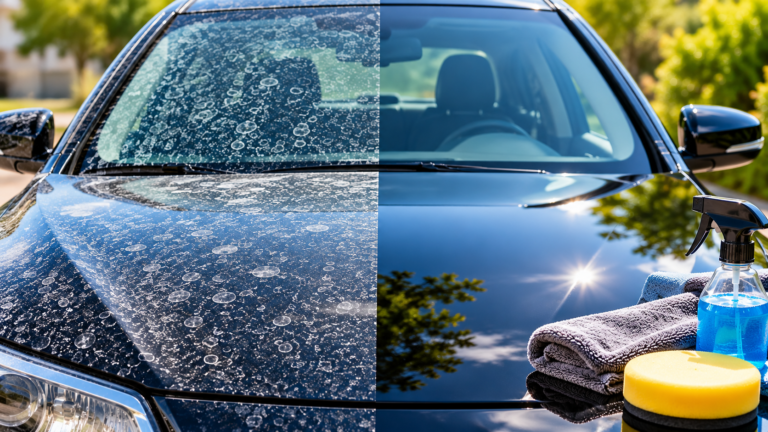
Water spots on car glass and paint can make a freshly washed vehicle look dirty, cloudy, and poorly maintained. These marks commonly appear when water evaporates and leaves behind dissolved minerals, such as calcium and magnesium. Sprinklers, tap water, rainwater runoff, and improper washing and drying techniques can all contribute to water spotting.
Learning how to remove water spots from glass and paint starts with identifying the type of deposit and determining whether it sits on the surface or has etched into the finish. Fresh mineral deposits may respond to careful washing or a suitable water spot remover, while stubborn marks may require specialized treatment. Permanent etching can require professional polishing or paint correction.
In this guide, you will learn how to remove hard water spots from car windows, windshields, mirrors, and painted panels safely. You will also discover which cleaning products to use, which methods to avoid, and how to prevent water spots from returning.
What Causes Water Spots on Car Glass and Paint?
Water spots form when water evaporates and leaves behind minerals or other dissolved contaminants. The appearance and severity of the spots depend on the water source, the condition of the surface, and how long the residue remains.
1. Hard Water From Hoses and Taps
Hard water contains dissolved minerals, particularly calcium and magnesium. When water from a garden hose, tap, or washing system dries on your vehicle, these minerals can remain as white or cloudy spots.
The deposits may become more difficult to remove when they repeatedly accumulate or remain on the surface for an extended period.
2. Sprinkler Overspray
Water from lawn sprinklers and irrigation systems can leave stubborn mineral deposits on parked vehicles. Sprinkler water may contain minerals that become visible after the droplets evaporate.
Cars parked near gardens, buildings, or irrigation systems may develop spots across the windows, roof, hood, and doors.
3. Rainwater and Environmental Contamination
Rainwater can collect airborne dust, pollution, and other contaminants before landing on your vehicle. When the water dries, the remaining residue may create marks on glass and paint.
Rainwater is not necessarily mineral-free, and runoff from roofs or other surfaces can introduce additional contamination.
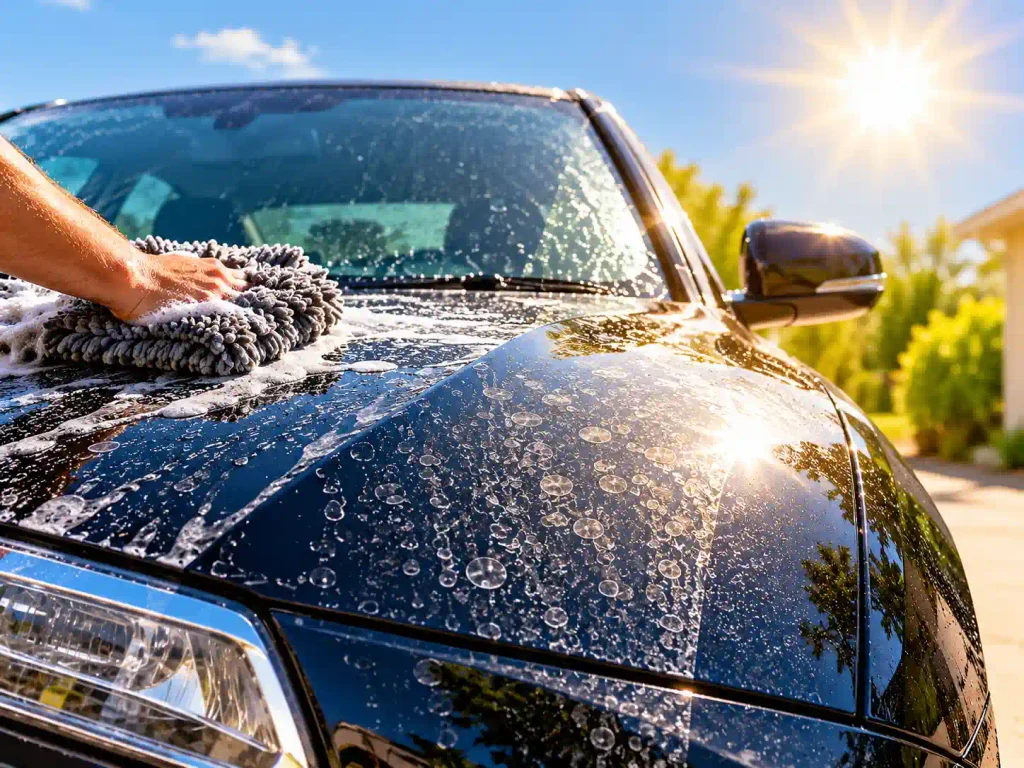
4. Washing a Car in Direct Sunlight
Washing a car in direct sunlight or on hot body panels can cause water to evaporate before you have time to rinse and dry the vehicle.
As the water disappears, minerals remain on the surface. Repeated spotting can make the finish increasingly difficult to maintain.
5. Acidic Contamination and Etching
Some water-related marks are not simply deposits sitting on the surface. Certain acidic contaminants or prolonged exposure to mineral deposits can contribute to etching in automotive clear coat.
Etching creates a mark in the finish rather than a removable layer of residue. Ordinary washing may not eliminate these marks, and more aggressive treatment may be necessary.
How to Identify Different Types of Water Spots
Before choosing a water spot remover, determine whether the marks are loose contamination, bonded mineral deposits, or actual surface damage. This distinction helps prevent unnecessary polishing and protects your vehicle’s finish.
Type 1: Fresh Surface Water Spots
Fresh water spots usually appear as small white rings or dots after the vehicle dries. They may disappear with a proper wash or a compatible water spot removal product.
These marks are generally the best candidates for gentle DIY treatment because the contamination may not have bonded strongly to the surface.
Type 2: Stubborn Mineral Deposits
Stubborn water spots may remain after an ordinary car wash. They can look chalky, cloudy, or sharply outlined on glass and painted panels.
A compatible dedicated water spot remover may help dissolve or loosen these deposits. The product must be suitable for the particular surface, especially if the vehicle has a ceramic coating, paint protection film, or matte finish.
Type 3: Etched Water Spots
Etched water spots remain visible even after the surface has been cleaned and treated with an appropriate mineral remover.
On paint, they may appear as dull rings, cloudy patches, or marks that seem embedded in the clear coat. Glass can also develop stubborn deposits or surface damage that ordinary cleaners cannot remove.
Etching requires a different approach from surface cleaning. Paint correction may be necessary for damaged clear coat, while glass may require specialized polishing or professional assessment.
Do not assume that every stubborn spot is etched. Confirm that removable deposits have been treated properly before considering abrasive correction.
What Do You Need to Remove Water Spots From Glass and Paint?
Gather the correct tools and products before starting. Using clean equipment and surface-compatible cleaners helps reduce the risk of scratching the paint or damaging glass treatments.
Recommended supplies include:
- Automotive car shampoo.
- Clean microfiber wash mitts.
- Separate, clean microfiber towels for drying and wiping.
- A compatible automotive water spot remover.
- An automotive glass cleaner for ordinary dirt and film.
- A glass-specific mineral deposit remover when needed.
- A suitable glass polishing product for marks that require polishing.
- A compatible paint sealant or wax for protecting suitable painted surfaces after treatment.
You may not need every item for light spotting. A proper wash followed by a compatible cleaner may be enough for fresh deposits.
Always read product instructions before use. Some water spot removers are suitable for multiple exterior surfaces, while others are designed only for paint or glass. Products that are safe for glossy clear coat may not be suitable for matte paint or satin finishes.
How to Remove Water Spots From Car Paint Step by Step
Paint requires particular care because the clear coat protects the color layer beneath it. The goal is to remove the mineral deposits without unnecessarily abrading the finish.
Step 1: Park in the Shade and Let the Paint Cool
Move the vehicle to a shaded, well-ventilated location and allow hot panels to cool.
Avoid treating water spots on hot paint because cleaning products may dry too quickly, making them harder to control and remove.
Check the vehicle for existing scratches, peeling clear coat, damaged paint, or other surface defects. If the finish is already deteriorating, obtain professional advice before applying a stronger treatment.
Step 2: Wash the Vehicle Thoroughly
Begin with a normal car wash using a suitable automotive shampoo and clean washing equipment.
Remove loose dirt, road film, dust, and other contamination before treating individual spots. This reduces the chance of dragging abrasive particles across the paint during the removal process.
Follow the shampoo instructions and rinse the vehicle thoroughly.
For related washing advice, connect this section to your CarCareGuy guide about washing and drying a car without leaving marks.
Step 3: Dry the Surface Completely
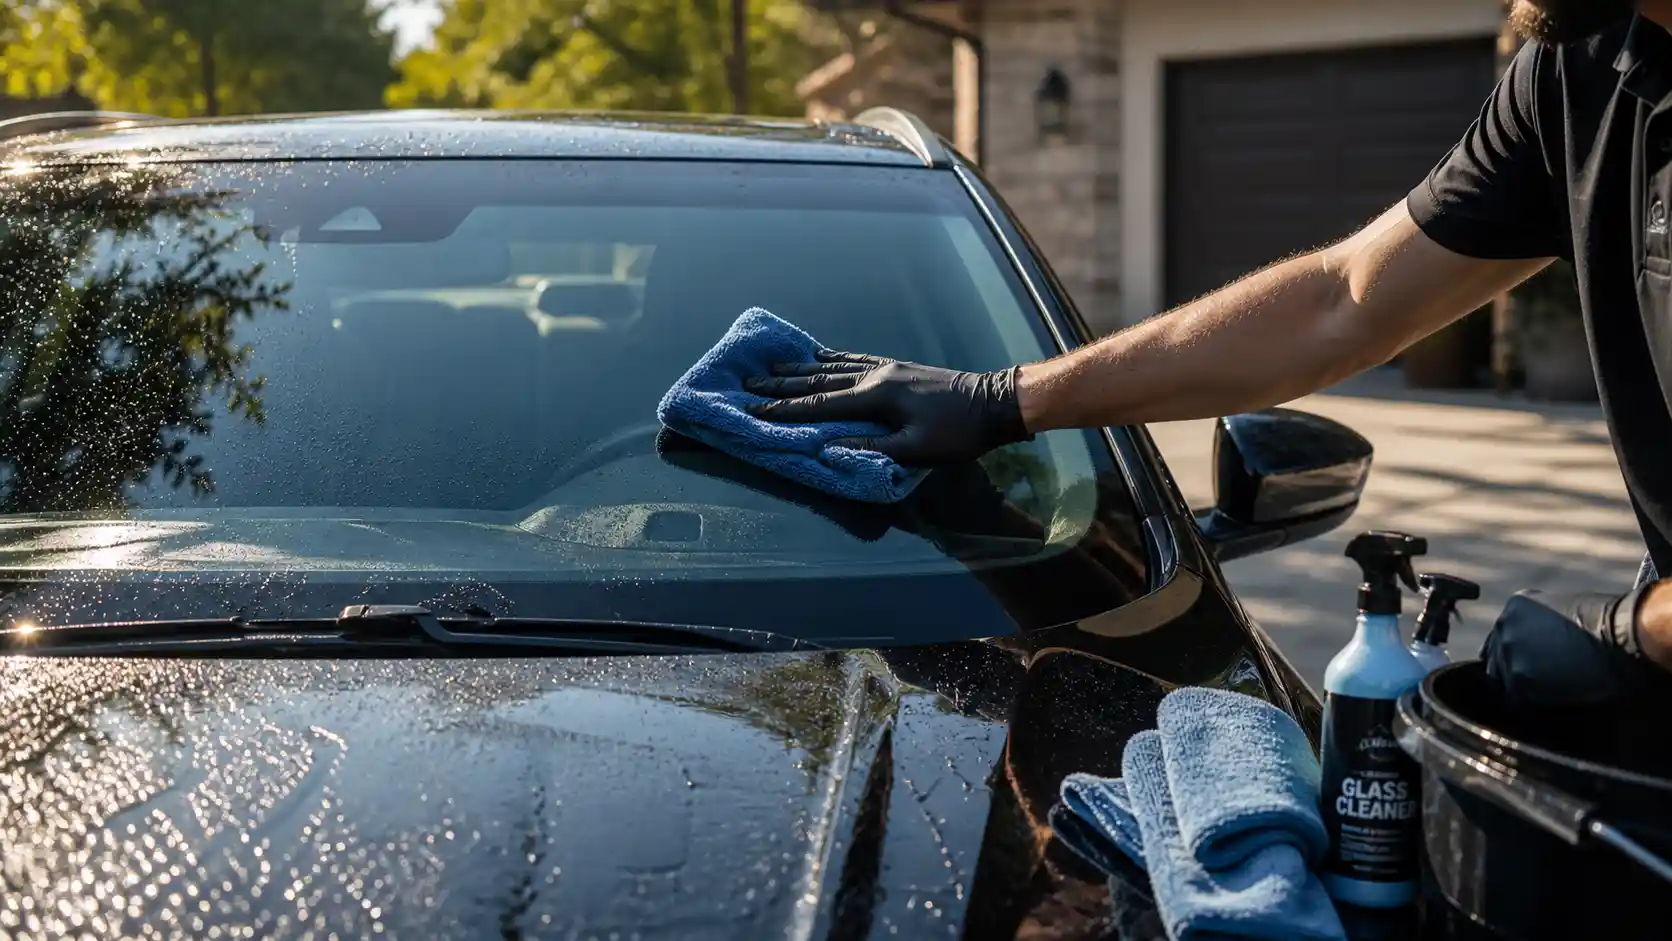
Use a clean, suitable microfiber drying towel to remove remaining water.
Inspect the affected panels under good lighting. Drying the vehicle helps you see which marks remain after ordinary washing and reduces dilution of the treatment product.
Avoid rubbing hard against a spot that still contains visible dirt.
Step 4: Test a Compatible Water Spot Remover
Select an automotive water spot remover that specifically lists your paint type as compatible.
Test it on a small, inconspicuous section according to the manufacturer’s instructions. Check for changes in gloss, color, texture, or other unwanted effects.
If the vehicle has a ceramic coating, paint protection film, vinyl wrap, or matte finish, verify compatibility rather than assuming that a general-purpose product is safe.
Step 5: Apply the Product to a Small Area
Work on one small section at a time. Apply the cleaner using the method specified on the label, such as a suitable microfiber cloth or applicator.
Use the recommended amount and allow the product to work for the specified period. Never let a product dry on the surface unless the manufacturer explicitly directs you to do so.
Avoid spraying cleaner onto hot panels or using it in direct sunlight when the label prohibits those conditions.
Step 6: Remove the Mineral Deposits Gently
Wipe the treated area using light, controlled movements. Allow the cleaner to do its intended job rather than applying excessive pressure.
Use a clean section of the cloth as needed to avoid spreading residue.
If the deposits remain, follow the product instructions to determine whether another application is appropriate. Do not repeatedly scrub the area with increasing force.
Step 7: Rinse or Wipe Away the Residue
Remove all treatment residue using the method specified by the product manufacturer.
Some products require a thorough rinse, while others specify a controlled wipe-down. Follow the instructions carefully, particularly if the product contains acidic ingredients.
Do not mix cleaners or apply another chemical before the first product has been removed as directed.
Step 8: Inspect the Paint Again
Once the area is clean and dry, inspect it under different lighting angles.
If the white deposits have disappeared, the problem was likely removable surface contamination. If dull rings or cloudy marks remain, the paint may be etched or otherwise damaged.
Do not immediately move to aggressive polishing. First confirm that the proper chemical cleaning method has been completed successfully.
Step 9: Consider Paint Correction Only When Necessary
If water spotting has etched into the clear coat, a suitable paint polish or correction process may be required to reduce the visible marks.
Paint correction removes a small amount of clear coat to level the finish around defects. It should therefore be used selectively rather than as a routine cleaning step.
If you do not have experience with paint correction, consult a professional detailer. Aggressive compounds, repeated polishing, or sanding can permanently damage the finish.
Step 10: Apply Suitable Paint Protection
After removing the deposits, consider applying a compatible wax, paint sealant, or coating maintenance product if appropriate for your vehicle’s existing protection.
Follow the product instructions and check compatibility with any existing ceramic coating or paint protection film.
Protection may make future cleaning easier, but it does not make the surface immune to water spots or mineral buildup.
How to Remove Water Spots From Car Glass
Car glass often develops visible mineral rings that remain after ordinary window cleaning. Standard glass cleaner is useful for fingerprints, dust, and road film, but it may not remove firmly bonded mineral deposits.
Use a method appropriate for automotive glass, especially when treating the windshield or windows with an existing hydrophobic coating.
Step 1: Clean the Glass First
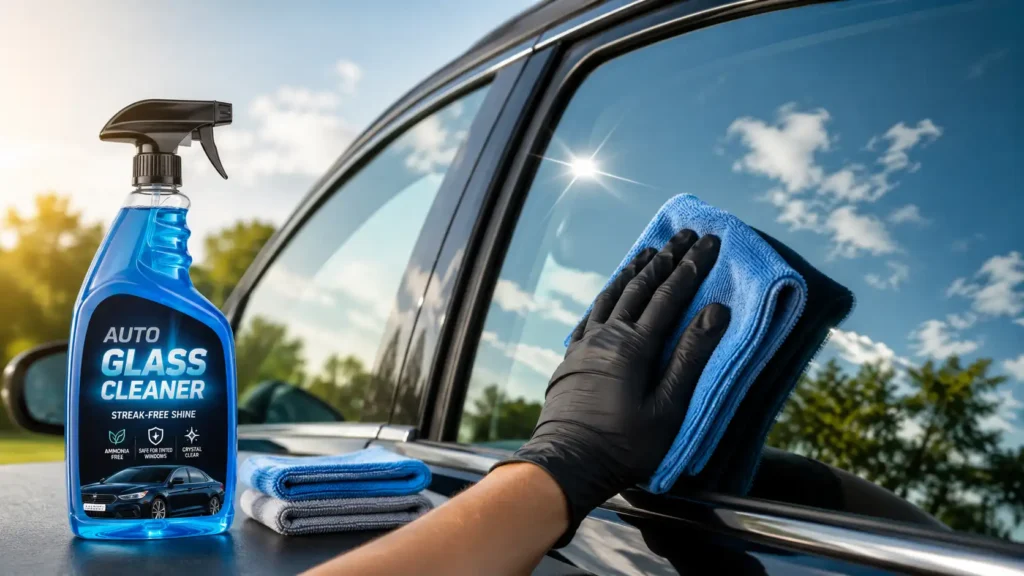
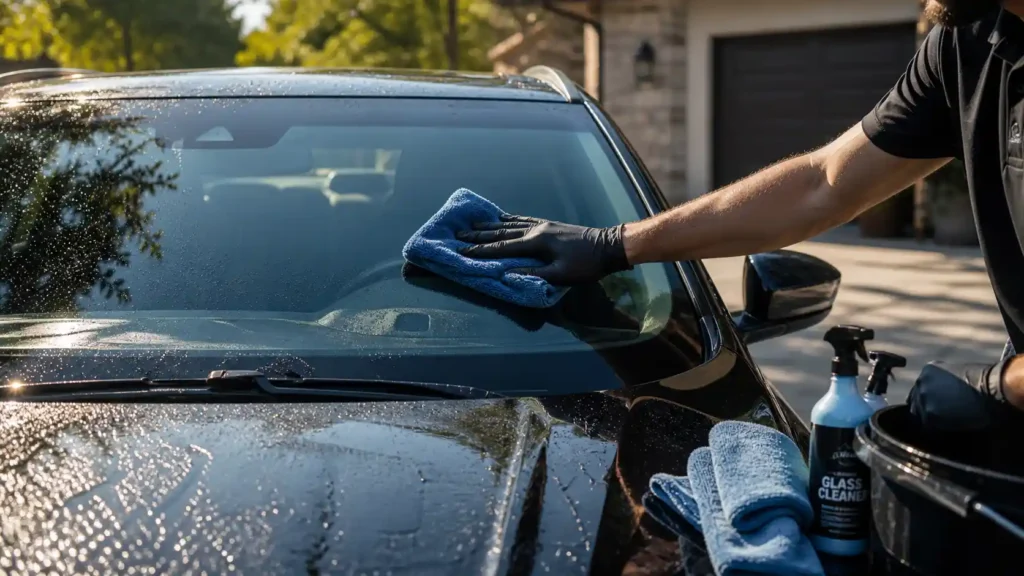
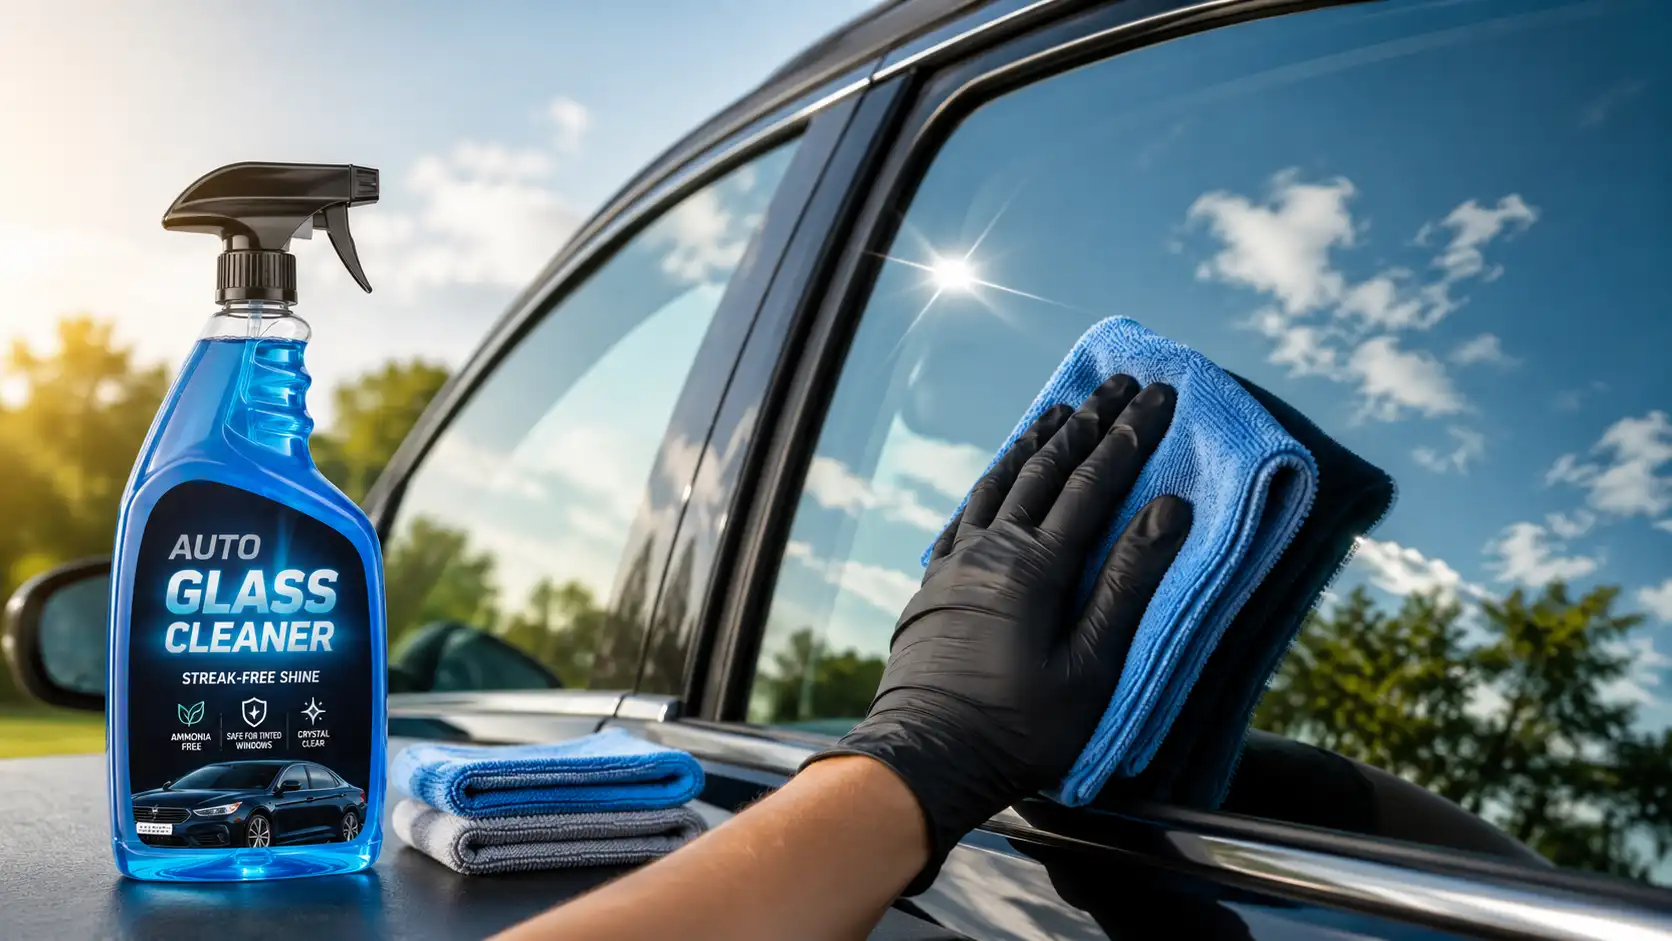
Wash or wipe away loose dirt using an automotive glass cleaner and suitable microfiber towels.
This prevents dust and grit from being dragged across the glass during subsequent treatment.
If the spots remain after cleaning, use a dedicated glass water spot remover that is specifically labeled for the glass surface.
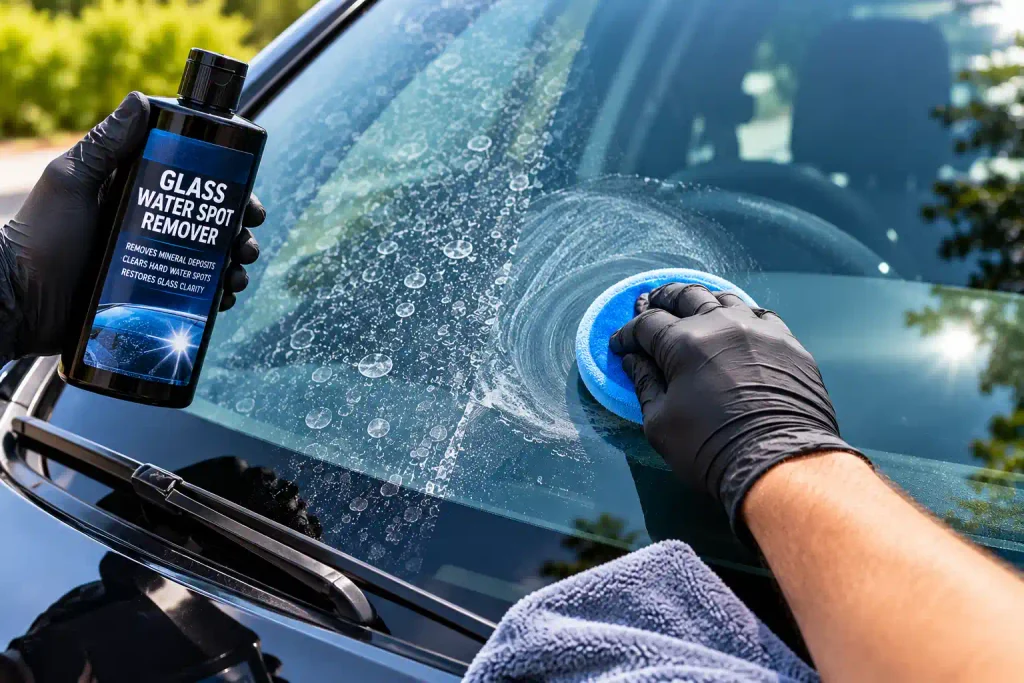
Step 2: Apply a Glass-Specific Water Spot Remover
Follow the product’s instructions for application and contact time. Some products are designed to dissolve mineral deposits, while others combine chemical treatment with gentle polishing.
Use only the recommended applicator and amount of product. Do not let it dry on the glass if the manufacturer prohibits this.
Avoid allowing glass treatment products to run onto paint, plastic trim, rubber seals, or other surfaces unless the product is approved for them.
Step 3: Wipe Away the Residue
Remove the cleaner according to its instructions using a clean microfiber towel or other recommended method.
Inspect the glass from different angles to check whether the spots have disappeared or whether a cloudy ring remains.
For the final glass cleaning step, use a suitable automotive glass cleaner and a clean, lint-free towel if needed.
Step 4: Repeat Only if the Product Allows It
Some mineral deposits may need another treatment. Follow the recommended number of applications and do not compensate for limited results by applying excessive pressure.
If the spots remain after proper chemical treatment, the glass may have stubborn deposits or surface damage that requires polishing or professional evaluation.
Step 5: Use Glass Polish Only When Appropriate
Glass polishing products are different from ordinary glass cleaners. They may contain specialized abrasives or other ingredients intended to treat persistent mineral marks or surface contamination.
Choose a product explicitly approved for automotive glass and follow its instructions carefully.
Avoid using household scouring pads or abrasive products not designed for glass. Incorrect techniques can damage surrounding trim, existing surface treatments, or the glass itself.
If the windshield has severe staining in the driver’s viewing area, consult a qualified automotive glass professional. Do not use an aggressive DIY method that might impair visibility.
How to Remove Water Spots From a Windshield Without Streaks
Water spots on the windshield can interfere with a clear view, particularly when sunlight or oncoming headlights reflect off the glass.
For the best results, separate mineral removal from routine window cleaning.
First, clean the windshield to remove loose dirt and oily film. Next, treat the remaining spots with a compatible automotive glass water spot remover. Follow the application instructions and remove the residue thoroughly.
Once the mineral deposits have been addressed, clean the glass again with an appropriate automotive glass cleaner if necessary.
Inspect the windshield from both inside and outside under different lighting conditions. Streaks remaining on the inside surface may be caused by interior film rather than exterior mineral deposits, so confirm which side needs treatment.
Do not use abrasive polishing techniques where they could interfere with visibility or damage existing windshield treatments. If deposits or damage persist within the driver’s line of sight, seek professional assistance.
Can You Use Vinegar to Remove Water Spots From a Car?
A diluted white vinegar solution may help with some light mineral deposits, but it is not suitable for every automotive surface or water spot.
Its effectiveness depends on the type of deposit and the surface condition. Vinegar may not remove silica-based or heavily etched marks, and its acidity can affect certain protective products or surface finishes.
If you are considering this method, check the vehicle manufacturer’s guidance and the compatibility of the surface first. Never assume that vinegar is safe for matte paint, delicate trim, a ceramic coating, or every type of glass treatment.
For a more controlled approach, use a dedicated water spot remover labeled for the surface you intend to clean.
If an approved DIY method is used, apply it carefully, do not allow it to dry on the surface, and remove the residue as directed. Never mix vinegar with bleach or other cleaning chemicals.
Common Mistakes to Avoid When Removing Water Spots
Choosing a suitable product is only part of the process. Application errors can damage the paint or glass and make the final result worse.
Using Household Abrasive Cleaners
Scouring powders, rough sponges, and unapproved polishing products can scratch surfaces or damage protective finishes.
Use automotive products specifically designed for the material you are treating.
Scrubbing Too Aggressively
Heavy pressure does not necessarily remove mineral deposits more effectively. It may create scratches, haze, or unwanted wear.
Start with a chemical treatment appropriate for the surface and escalate only when necessary.
Applying Products to Hot Panels
Heat and direct sunlight can cause some cleaning products to dry before they are removed. This may leave additional residue or increase the risk of surface damage.
Work in the shade on cool surfaces unless the product specifically allows another application condition.
Using Paint Polish on Glass Without Checking Compatibility
Automotive paint polish and glass polish are not automatically interchangeable. Their abrasives, intended applications, and required techniques may differ.
Choose the right product for the actual surface.
Assuming Every Water Spot Can Be Removed Chemically
Some marks are etched into paint or involve damage to the glass surface. A mineral remover can help with deposits, but it cannot reverse all forms of physical damage.
Identify the problem before applying stronger treatments.
Ignoring Existing Paint Protection
Water spot removers may affect wax, sealants, ceramic coatings, or other protective layers depending on their formulation.
Check compatibility and follow the instructions for reapplying protection when appropriate.
How to Prevent Water Spots From Returning
Removing water spots becomes much easier when you address the conditions that cause them. Consistent washing and drying habits can reduce mineral buildup and protect the vehicle’s appearance.
1. Dry Your Car Immediately After Washing
Do not leave the vehicle to air-dry after washing, particularly in warm weather or when using mineral-rich water.
Use clean microfiber drying towels and work methodically across the vehicle. Pay attention to the roof, hood, glass, mirrors, and trim where water can collect.
2. Wash in the Shade
Wash your vehicle in a shaded area whenever practical. Avoid cleaning hot paint or glass that causes water to evaporate too quickly.
Work one section at a time and rinse the vehicle before the cleaning solution dries.
3. Use Cleaner Rinse Water When Necessary
If your water supply is particularly hard, consider a suitable filtered or deionized final-rinse system.
Distilled or deionized water can reduce mineral residue when used appropriately. Make sure the system is intended for vehicle washing and follow its maintenance instructions.
4. Avoid Sprinkler Overspray
Where possible, park away from lawn sprinklers and irrigation systems. If sprinkler water reaches the vehicle, rinse and dry the affected surfaces promptly when safe and practical.
Repeated exposure can allow deposits to accumulate and become harder to remove.
5. Maintain Suitable Surface Protection
Wax, compatible paint sealants, and ceramic coatings can make surfaces easier to maintain and may help reduce how firmly contaminants adhere.
However, no coating makes a car completely immune to water spots. Follow the product manufacturer’s maintenance requirements and remove deposits before they become persistent.
6. Inspect Your Vehicle Regularly
Check the glass and paint after washing or after exposure to sprinkler water and other known sources of contamination.
Early treatment usually requires less aggressive methods than attempting to remove old, persistent marks.
When Should You Hire a Professional Detailer?
Professional assistance may be appropriate when water spots remain after careful cleaning with a surface-compatible remover.
Consider professional evaluation if your paint has visible etching, severe cloudiness, or a damaged clear coat, or if glass deposits remain despite appropriate treatment.
A professional can determine whether chemical removal, paint correction, glass polishing, or another treatment is suitable. However, not every mark can be completely removed, particularly when the surface has sustained permanent damage.
If windshield spotting affects visibility, prioritize a qualified glass assessment rather than experimenting with more aggressive DIY techniques.
Frequently Asked Questions About Removing Water Spots From Glass and Paint
Find answers to common questions about removing hard water spots from car paint, windows, and windshields, including safe cleaning methods and ways to prevent future mineral deposits.
How Do You Remove Water Spots From Car Paint?
To remove water spots from car paint, wash the vehicle, dry the surface, and apply a compatible automotive water spot remover according to its instructions. Wipe away the residue as directed and inspect the paint. If the marks remain after proper cleaning, they may be etched into the clear coat and require professional paint correction.
How Do You Remove Hard Water Spots From Car Windows?
To remove hard water spots from car windows, clean the glass with an automotive glass cleaner first. Then use a glass-specific water spot remover designed to dissolve mineral deposits. Follow the product instructions and avoid abrasive household cleaning tools. If the spots remain after appropriate treatment, specialized glass polishing or professional assessment may be necessary.
Does Vinegar Remove Water Spots From Car Paint?
Diluted white vinegar may help remove some light mineral deposits, but it is not suitable for every automotive paint finish or protective coating. Vinegar may also be ineffective against etched water spots. A dedicated automotive water spot remover is generally a more controlled option when it is compatible with your vehicle’s finish.
Why Do Water Spots Remain After Washing a Car?
Water spots remain after washing because water can evaporate and leave mineral deposits bonded to the paint or glass. Ordinary car shampoo may not remove stubborn deposits. If a compatible water spot remover does not eliminate the marks, the surface may have etching or other damage that requires specialized treatment.
Can Water Spots Permanently Damage Car Paint?
Yes, water spots can contribute to permanent paint damage when mineral deposits or acidic contaminants etch the clear coat. Fresh surface deposits are usually easier to remove than established etching. Clean water spots promptly, avoid aggressive scrubbing, and consider professional paint correction when marks remain after safe cleaning.
Can a Clay Bar Remove Water Spots From a Car?
A clay bar may remove certain bonded surface contaminants, but it does not repair water spot etching in the clear coat. Using automotive detailing clay with the correct lubricant may also introduce light marring if used incorrectly. Try a compatible water spot remover first, and use clay only when appropriate for the remaining surface contamination.
How Can You Prevent Water Spots on Car Paint and Glass?
Prevent water spots by washing your car in the shade, avoiding hot surfaces, and drying the paint and glass promptly with clean microfiber towels. If your water supply contains high mineral levels, consider a suitable filtered or deionized final rinse. Wax, sealants, and ceramic coatings may make maintenance easier, but they cannot completely prevent water spots.
Final Thoughts
Learning how to remove water spots from glass and paint starts with understanding the difference between surface mineral deposits and permanent etching. Ordinary washing may remove fresh spots, while stubborn deposits often require a compatible automotive water spot remover. Marks that remain after appropriate treatment may need professional correction.
Always work on cool surfaces, use products designed for the material, and avoid unnecessary scrubbing or aggressive polishing. Glass, glossy paint, matte finishes, and coated surfaces do not all respond to the same cleaning method.
To prevent future water spots, dry your vehicle after washing, avoid sprinkler overspray, and maintain suitable surface protection. Acting early helps preserve paint clarity, keep windows cleaner, and reduce the need for more intensive correction.