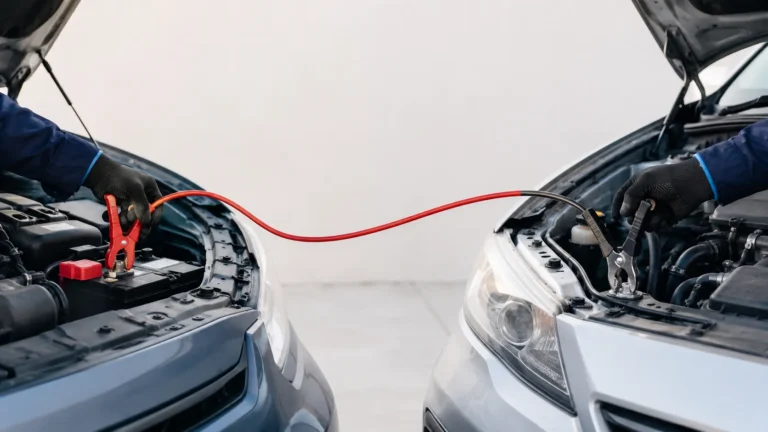
Jump starting a car looks simple, but connecting the cables in the wrong order is one of the more common ways drivers damage a battery or injure themselves. Following the correct sequence, in the correct order, is what actually makes the difference between a safe jump start and a dangerous one.
This guide covers exactly how to position the vehicles, connect the cables safely, start the dead battery, and disconnect everything without causing sparks or damage.
What Do You Need to Jump Start a Car?
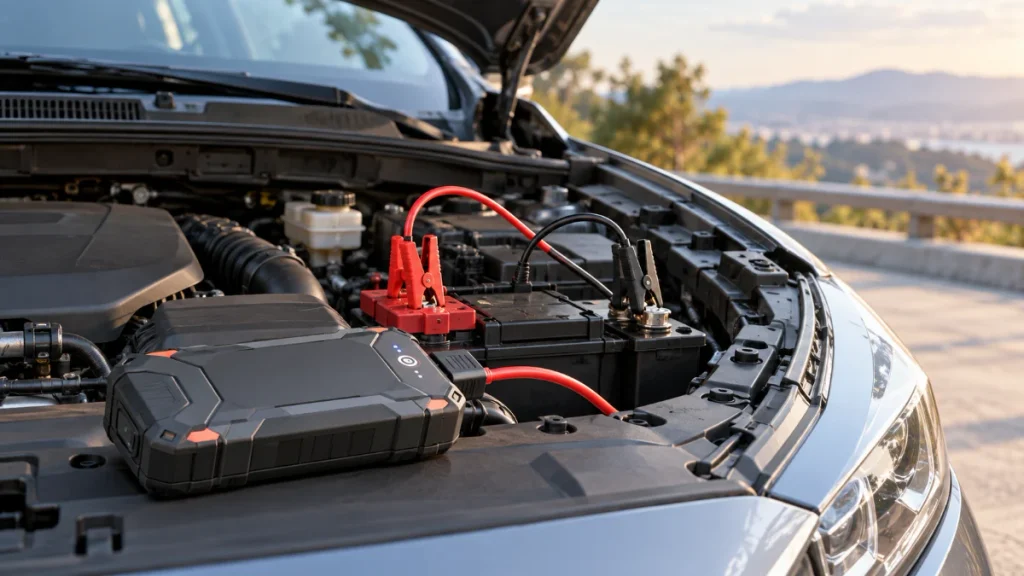
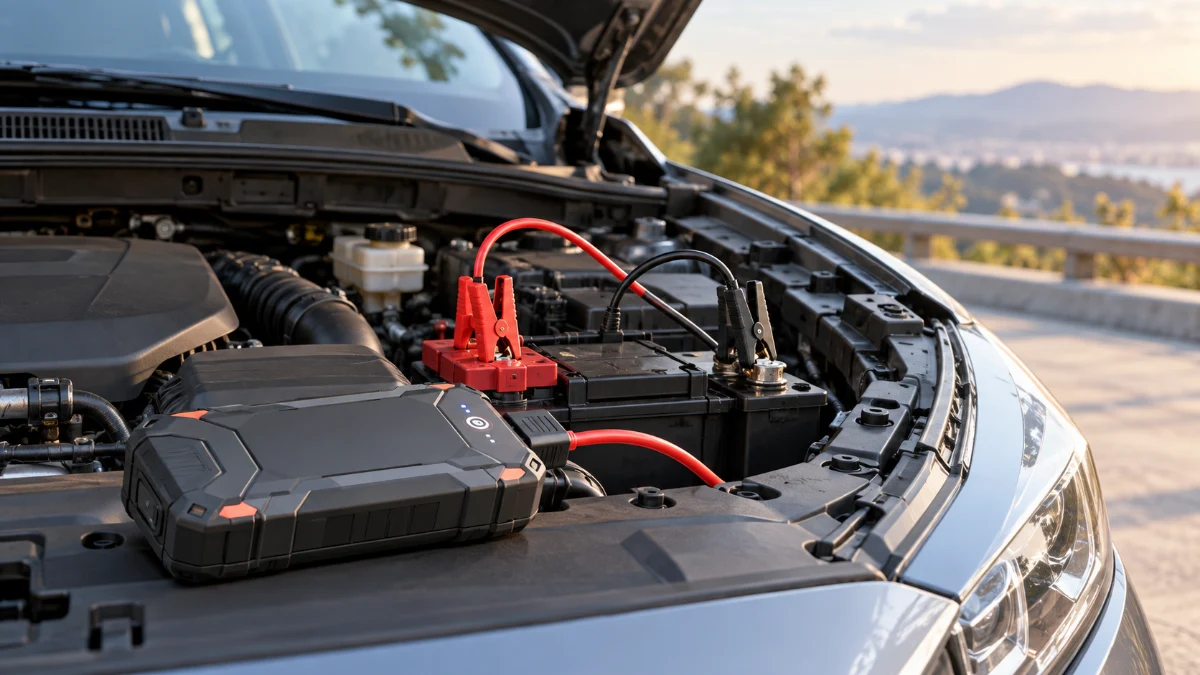
Jump starting a car requires a set of jumper cables and either a second vehicle with a charged battery or a portable jump starter pack. Having a second driver present, if using another vehicle, makes the process smoother, though it’s not strictly required with a portable jump starter.
Both vehicles should be turned off before you begin, with parking brakes engaged on each. Opening both hoods and locating the batteries, including removing any plastic terminal covers if present, sets up the rest of the process.
How Do You Position the Vehicles Correctly?
The vehicle with the working battery needs to be parked close enough to the disabled car that the jumper cables can comfortably reach both batteries without stretching. Vehicles can be positioned side by side or nose to nose, depending on where each battery sits under the hood, but they should never actually touch one another.
Getting the positioning right before connecting any cables avoids the frustration of running out of cable length halfway through the process, especially on vehicles where the battery sits toward the back of the engine bay.
What Is the Correct Order to Connect Jumper Cables?
The correct order is positive to dead battery, positive to good battery, negative to good battery, and negative to unpainted metal on the dead car’s engine, never the dead battery’s negative terminal itself. Jumper cables have red clamps for positive terminals and black clamps for negative or grounding connections, and following this exact sequence matters more than any other part of the process.
- Clamp one red clamp onto the positive terminal of the dead battery
- Clamp the other red clamp onto the positive terminal of the working battery
- Clamp one black clamp onto the negative terminal of the working battery
- Clamp the final black clamp onto an unpainted metal surface on the dead car’s engine block, away from the battery itself
Grounding the final connection away from the dead battery, rather than directly on its negative terminal, reduces the risk of sparking near battery gases that can be flammable.
Why Does the Last Connection Go on the Engine Block Instead of the Battery?
The last connection goes on an unpainted metal surface away from the dead battery specifically to avoid sparking near the battery itself, where hydrogen gas can accumulate during charging. Batteries release small amounts of flammable gas, particularly older or damaged ones, and a spark generated close to the terminal carries a small but real risk of igniting that gas.
Connecting the final clamp to the engine block instead allows any spark from that last connection to occur safely away from the battery, which is why professional guides consistently recommend this specific detail rather than treating all four connections as interchangeable.
How Do You Actually Start the Dead Battery?
Start the vehicle with the working battery first and let it run for about five minutes before attempting to start the disabled car. This allows some charge to transfer through the cables before you ask the dead battery to crank an engine.
After that wait, attempt to start the disabled vehicle. If it doesn’t start immediately, waiting a few additional minutes with the working car still running often allows enough additional charge to build for a successful start on the next attempt, rather than repeatedly cranking a battery that isn’t ready yet.
What Is the Correct Order to Disconnect the Cables?
Disconnect the cables in the exact reverse order they were connected, starting with the ground connection on the engine block and finishing with the positive clamp on the previously dead battery. This means removing the negative clamp from the engine block first, then the negative clamp from the working battery, then the positive clamp from the working battery, and finally the positive clamp from the now-running vehicle.
Reversing the order the same way it went on keeps the process consistent and reduces the chance of an accidental short circuit while removing the clamps.
What Should You Do After a Successful Jump Start?
Drive the previously dead vehicle for at least 20 minutes after a successful jump start to give the alternator time to recharge the battery. A jump start gets the engine running, but it doesn’t fully recharge a battery on its own, and shutting the engine off again too soon can leave you right back where you started.
If the same battery needs jump starting again within a short period, that’s a sign the battery itself may be failing and worth having tested rather than continuing to jump start it repeatedly.
What Safety Precautions Should You Follow?
Removing metal jewelry before starting the process is an important precaution, since rings and watches can arc across battery terminals fast enough to cause serious burns. Turning off everything electrical in both vehicles, including headlights, the radio, climate control, and phone chargers, before making any cable connections reduces electrical load and lowers the risk of a damaging power surge once the connection is made.
Wearing safety glasses is also a reasonable precaution, since battery terminals can occasionally spark or, in rare cases involving a damaged battery, produce a small amount of splashing acid during the process.
Conclusion
Knowing how to jump start a car the right way is a valuable skill that can help you get back on the road safely while avoiding unnecessary damage to your vehicle. Following the correct cable connection order, grounding the final clamp on the engine block, and disconnecting the cables in reverse order greatly reduces the risk of sparks, electrical problems, and battery damage. After a successful jump start, drive for at least 20 minutes to allow the alternator to recharge the battery. If your vehicle frequently needs jump starts, don’t ignore the warning sign have the battery and charging system tested to identify the underlying problem. Using the proper procedure every time helps protect both your vehicle and your safety.
Frequently Asked Questions
Can jump starting a car damage the electronics?
Jump starting a car is generally safe for modern vehicle electronics when the jumper cables are connected in the correct order and both vehicles are turned off before making the connections. Electrical damage usually occurs only if the positive and negative terminals are reversed or the cables are connected incorrectly.
How long should I let the working car run before starting the dead car?
Let the vehicle with the good battery run for about 5 minutes before attempting to start the car with the dead battery. This gives the discharged battery enough time to receive an initial charge. If the engine doesn’t start, wait another few minutes before trying again.
Can I use a portable jump starter instead of another vehicle?
Yes. A portable jump starter is a safe and effective alternative to another vehicle. Connect the jump starter following the manufacturer’s instructions and the same positive-to-positive and negative-to-ground connection sequence used with jumper cables.
Why does the last jumper cable connect to the engine block?
The final black jumper cable should be connected to an unpainted metal part of the engine or chassis instead of the dead battery’s negative terminal. This reduces the risk of sparks near the battery, where hydrogen gas may be present, making the jump-starting process safer.
How long should I drive after jump starting my car?
Drive your vehicle for at least 20 to 30 minutes after a successful jump start. This allows the alternator to recharge the battery. If the battery loses its charge again shortly afterward, it should be tested for possible failure.
What if my car won’t start after a jump start?
If your car still won’t start after several attempts, the battery may be completely failed, the jumper cable connections may be incorrect, or another issue—such as a faulty starter motor, alternator, or ignition system—could be preventing the engine from starting.
Is it safe to jump start a completely dead battery?
Yes, but only if the battery is not damaged. Do not attempt to jump start a battery that is leaking, swollen, cracked, or frozen, as it can be dangerous. In these situations, the battery should be replaced instead of jump started.
Can I jump start a hybrid or electric vehicle?
Many hybrid vehicles have a 12-volt battery that can be jump started according to the manufacturer’s instructions. Fully electric vehicles should only be jump started if the manufacturer specifically allows it, as procedures vary by model.
How do I know if my battery needs replacing instead of another jump start?
A battery that repeatedly needs jump starts, struggles to crank the engine, or is more than three to five years old may be nearing the end of its service life. A battery test can confirm whether replacement is necessary.
What is the correct order to connect jumper cables?
The correct jumper cable order is:
- Red clamp to the dead battery’s positive terminal.
- Red clamp to the good battery’s positive terminal.
- Black clamp to the good battery’s negative terminal.
- Black clamp to an unpainted metal ground on the disabled vehicle.