A flat tire rarely happens at a convenient moment. It shows up during a highway commute, a late night drive home, or a family road trip, and it forces a decision in seconds.
AAA responds to more than 3.5 million calls about flat tires every year in the United States alone. That volume shows just how common this problem really is, and how few drivers feel prepared for it.
This guide walks through exactly what to do the moment a tire goes flat, how to change it safely step by step, and what to do if things don’t go as planned. It also covers the mistakes that turn a routine flat into a dangerous situation, and the gear that makes the whole process faster and safer.
What Should You Do the Moment You Notice a Flat Tire?
The first few seconds after a tire fails matter more than most drivers realize. A sudden blowout pulls the car hard toward the affected side, while a slow leak creates the same pull more gradually.
Keep both hands on the wheel and ease off the accelerator instead of braking hard. Sudden braking can make the car harder to control, especially at highway speeds. Let the vehicle slow naturally while you steer smoothly toward the shoulder or the nearest safe area.
Turn on your hazard lights as soon as you notice a problem, even in daylight. This single action warns other drivers that something is wrong before they get close enough to see the tire itself.
If you’re on a bridge, in a curve, or somewhere with no shoulder, it’s fine to roll slowly on the flat tire for a short distance to reach a safer spot. Ryan Pszczolkowski, tire program manager at Consumer Reports, puts it simply: changing a tire is straightforward in perfect conditions, but knowing when to call for help matters just as much as knowing how to do the job yourself.
Where Is the Safest Place to Pull Over?
Not all roadsides are equal, and picking the wrong spot creates more risk than the flat tire itself.
Look for a flat, firm surface away from moving traffic. A parking lot, rest stop, or wide shoulder works far better than a grassy strip or soft dirt, both of which can cause a jack to sink or tip. Avoid blind curves, hill crests, and narrow shoulders where oncoming traffic has little time to react.
Once you’ve stopped, apply the parking brake immediately. This one habit prevents a surprising number of injuries, since a car that shifts even slightly while jacked up can cause serious harm.
If you’re carrying reflective warning triangles, place them well behind the vehicle, roughly 100 feet on higher speed roads. At highway speeds, a car covers that distance in a couple of seconds, so distance is your real safety margin, not just visibility.
What Tools Do You Need Before You Start?
Most of what you need is already in the car, but a few extras make the job noticeably easier and safer.
Tools That Come With Your Car
Every vehicle ships with a basic tire-changing kit, usually stored in the trunk or under the cargo floor. This typically includes:
- A car jack
- A lug wrench
- A spare tire, either full size or a compact donut
- The owner’s manual, which lists the exact jack points for your specific model
The owner’s manual matters more than it seems. Jack points vary between vehicles, and using the wrong spot can damage the frame or cause the jack to slip.
Extra Gear Worth Keeping in Your Trunk
A few inexpensive additions turn a stressful roadside job into a manageable one:
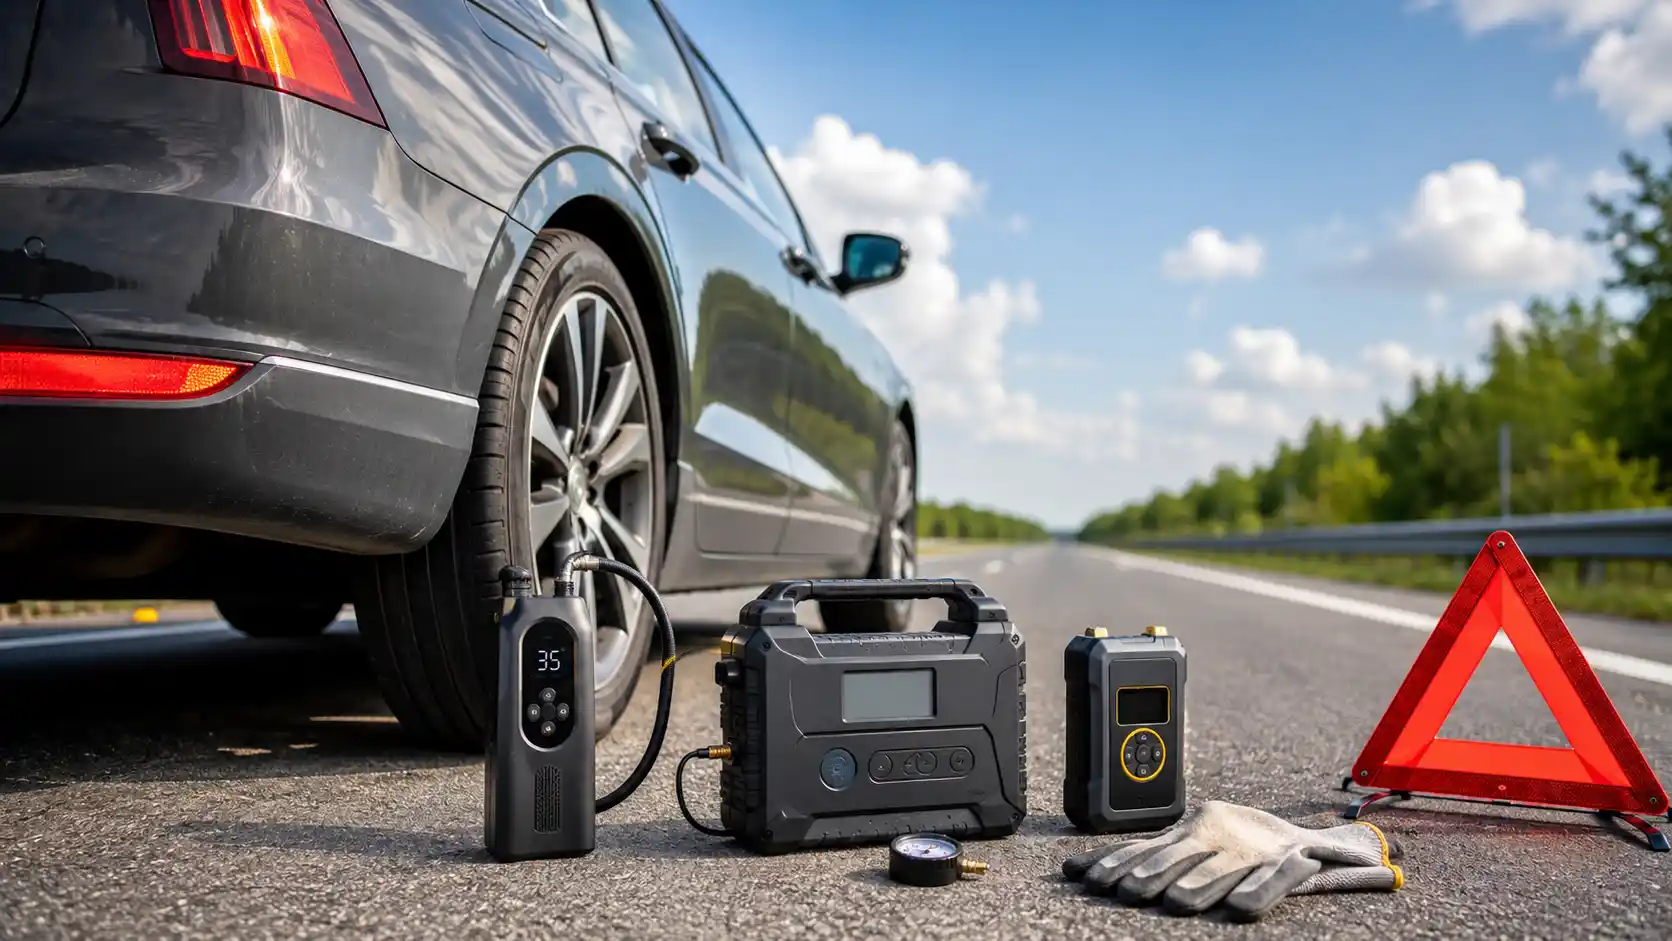
- A tire pressure gauge, to confirm the spare is properly inflated before you rely on it
- A pair of wheel wedges, to keep the car from rolling during the change
- A flashlight or headlamp, for changes after dark
- A small flat board, to give the jack a stable base on dirt or gravel
- A portable tire inflator, useful for slow leaks that don’t require a full tire swap
Keeping this gear organized in one bag means you’re never digging through the trunk mid-emergency.
How to Change a Flat Tire, Step by Step
Once you’re parked safely, the process itself follows a consistent sequence regardless of vehicle type.
Secure the Vehicle and Set Out Warning Signals
Shift into Park or first gear if driving a manual, then set the parking brake. Turn on your hazards if you haven’t already, and place your warning triangles behind the car. Take out your owner’s manual and locate your jack points before touching any tools.
Loosen the Lug Nuts and Raise the Car
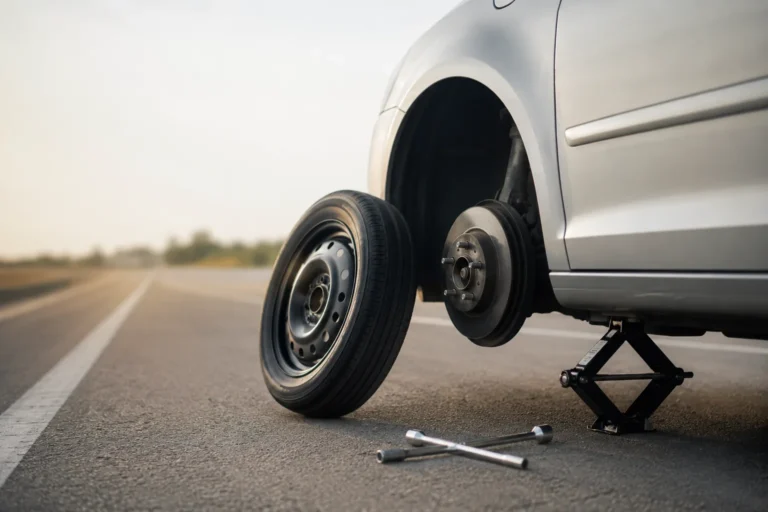
While the car is still on the ground, use the lug wrench to loosen each lug nut slightly, turning counterclockwise. Don’t remove them yet. Loosening them now, while the tire’s weight holds it in place, is far easier than trying to do it once the wheel is off the ground and spinning freely.
Position the jack at the correct point listed in your manual, then raise the vehicle until the flat tire sits a few inches off the ground. Never place any part of your body underneath the vehicle at this stage.
Remove the Flat and Mount the Spare
With the car raised, finish unscrewing the lug nuts by hand and set them aside somewhere they won’t roll away; an upturned hubcap works well for this. Pull the flat tire straight toward you to remove it, then line up the spare with the wheel bolts and push it into place.
Thread the lug nuts back on by hand, tightening them in a crisscross pattern rather than working around the circle in order. This pattern seats the wheel evenly and prevents it from sitting at a slight angle.
Lower the Car and Finish Tightening
Lower the vehicle slowly until the tire touches the ground, but don’t let the full weight rest on it just yet. Use the lug wrench to tighten the nuts firmly, again following the crisscross pattern. Once the car is fully down and the jack is removed, give the lug nuts one final, firm tightening pass.
Pack your tools, flat tire, and warning triangles back into the car, then drive a short distance and stop to recheck the lug nuts. They can loosen slightly after the first few miles.
How Far and How Fast Can You Drive on a Spare Tire?
This depends entirely on which type of spare came with your vehicle.
A compact spare, often called a donut, is a temporary solution only. Most manufacturers recommend staying under 50 miles per hour and covering no more than 50 miles before replacing it with a full tire. Driving faster or farther than that increases wear on the smaller tire and can affect handling, since it wasn’t built to match your car’s regular tires.
A full-size spare that matches your other tires doesn’t carry these same restrictions, and can generally be driven like a normal tire. Either way, check your owner’s manual for the specific limits that apply to your vehicle, since some models set slightly different guidelines.
What to Do If You Do Not Have a Spare Tire
A growing number of new vehicles skip the spare entirely and instead include a tire inflation kit, typically a can of sealant paired with a small air compressor.
These kits work only for small punctures in the tread, not sidewall tears or larger damage. If your flat resulted from hitting debris or a pothole hard enough to damage the sidewall, a sealant kit likely won’t fix it, and you’ll need a tow or roadside assistance instead.
If you’re unsure whether your car even has a spare, check before you ever need one. Some SUVs and trucks store the spare underneath the vehicle on a cable-operated lowering mechanism, which is worth practicing at least once in a driveway so it isn’t unfamiliar during an actual emergency.
Common Mistakes People Make When Changing a Tire
A few recurring errors turn a routine tire change into a dangerous or damaging one.
- Loosening lug nuts after the car is already jacked up, which lets the wheel spin instead of staying still
- Placing the jack on soft ground or an angled surface without a stable base underneath it
- Tightening lug nuts in a circular order instead of a crisscross pattern, which can seat the wheel unevenly
- Standing or crouching directly behind the vehicle while it’s raised, rather than working from the side
- Driving well past the 50 mile limit on a compact spare, which increases the risk of a second failure
- Skipping the final lug nut check after driving a few miles, when nuts commonly settle and loosen slightly
Most of these mistakes come from rushing. Taking an extra two or three minutes to do each step correctly is a small price compared to the cost of a wheel coming loose at speed.
Changing a Tire Safely at Night or in Bad Weather
Low visibility changes the entire risk profile of a roadside tire change, and it deserves its own approach rather than treating it the same as a daytime stop.
At night, position the vehicle so your headlights, along with your hazards, illuminate the work area without blinding oncoming traffic. A flashlight or headlamp frees up both hands, which matters far more once it’s dark than most drivers expect.
In rain or snow, footing becomes the main hazard. Wet pavement combined with a raised, unstable vehicle is a serious combination, so move slowly and keep a firm stance rather than rushing the job. If conditions are severe enough that visibility or footing feels genuinely unsafe, it’s reasonable to wait inside the vehicle, away from traffic, and call for roadside assistance instead of attempting the change yourself.
How Much Does It Cost If You Don’t Change It Yourself?
Not everyone wants to change a tire on the side of a road, and that’s a legitimate choice, not a failure.
A tow truck call for a simple flat tire swap typically runs somewhere in the range of a standard local service fee, often comparable to a modest repair bill, though exact pricing varies heavily by region, time of day, and how far the truck has to travel. Calling for help at 2 a.m. on a rural highway usually costs more than the same service in daylight near a city.
Many insurance policies and auto memberships include roadside assistance at little or no extra charge, which can make this option far cheaper than it initially sounds. AAA membership, for example, bundles flat tire service into its basic tier, and several auto insurers offer roadside coverage as a low-cost add-on to an existing policy. Some new car warranties also include a set number of years of roadside assistance automatically, so the coverage may already be sitting unused in your glovebox paperwork.
Checking whether your existing auto insurance or manufacturer warranty already includes this coverage is worth doing before you ever need it, rather than discovering the answer during an actual roadside stop. A quick call to your insurance provider or a look through your policy documents can save both money and stress the next time a tire fails.
Preventing Flat Tires: A Quick Word on Maintenance
While punctures from road debris can’t always be avoided, several habits reduce how often flats happen in the first place.
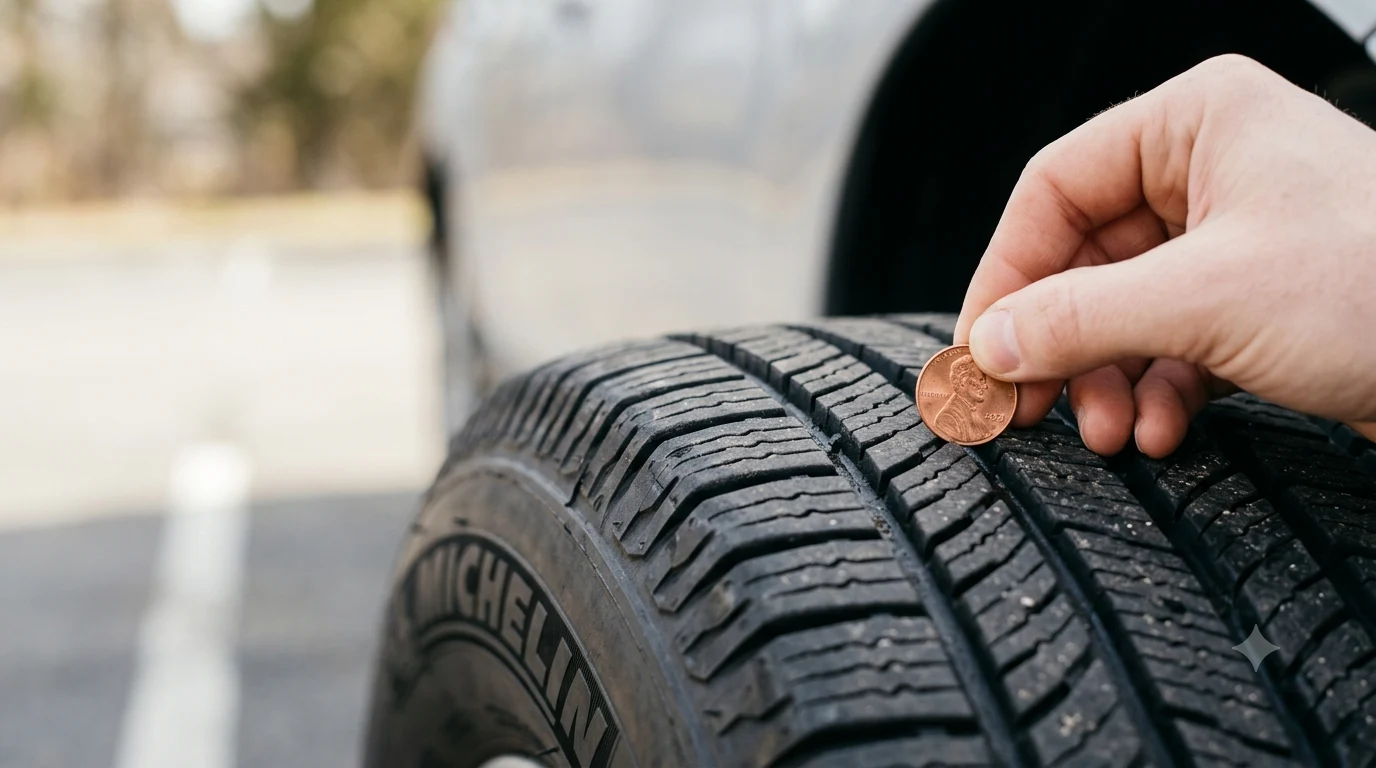
Checking tire pressure monthly matters more than most drivers assume, since underinflated tires flex more with each rotation and build up heat that weakens the rubber over time. Inspecting tread depth and looking for uneven wear patterns can also catch a developing problem before it turns into a roadside failure. Keeping your spare properly inflated belongs on this same monthly checklist, since a spare that sits unused for months can quietly lose pressure without any warning sign.
Rotating your tires on schedule and having your alignment checked periodically also reduce the kind of uneven wear that leads to unexpected blowouts. These habits deserve a deeper look on their own, which we cover in our full guide to reading tire pressure and tread wear correctly.
Does Your Vehicle Type Change the Process?
The core steps stay the same across nearly every car, but where the tools and spare are stored can differ enough to catch drivers off guard.
Sedans and smaller hatchbacks typically keep the spare, jack, and lug wrench together under the trunk floor, usually beneath a removable panel or cargo mat. Many SUVs, minivans, and trucks store the spare underneath the vehicle instead, lowered using a cable and crank mechanism accessed from inside the cargo area or through a small port near the rear bumper. This mechanism can seize up if it hasn’t been used in years, so it’s worth testing once in a driveway rather than discovering the problem during an actual flat.
Vehicles with locking lug nuts, common on cars with aftermarket or upgraded wheels, require a special keyed socket to remove them. This adapter is usually stored with the jack kit or in the glove box, so it’s worth confirming its location ahead of time rather than searching for it during a roadside stop.
What Gear Should You Keep in Your Car for Roadside Emergencies?
Beyond the basic tire-changing kit, a small emergency bag makes any roadside breakdown safer and less stressful.
- Reflective warning triangles or road flares, to alert approaching traffic
- A flashlight with fresh batteries, stored separately from your phone
- A basic first aid kit, in case a minor injury happens during the change
- A phone charger or portable power bank, so you can call for help even if your battery is low
- Work gloves, to protect your hands from dirt, brake dust, and sharp edges
None of this gear is expensive, and most of it fits easily in a single bag that stays in the trunk year round. The value shows up only when you need it, which is exactly why it’s worth packing before a flat happens rather than after.
Frequently Asked Questions
How often should you check your spare tire?
Check your spare’s air pressure at least once a month, at the same time you check your regular tires. A spare that sits unused for months can lose pressure slowly without any obvious sign, leaving it flat exactly when you need it.
Does roadside assistance cover flat tire changes?
Most roadside assistance plans, whether through AAA, an auto insurer, or a manufacturer’s warranty, include flat tire changes as a standard service. Coverage details vary by provider, so it’s worth confirming what your specific plan includes before you’re stranded.
What do you do if your spare tire is also flat?
If your spare is flat or missing, your safest option is calling roadside assistance or a tow service rather than attempting to drive on a fully flat tire, which can damage the wheel and make the tire unrepairable.
Can you drive on a flat tire for a short distance?
Yes, for a very short distance if you’re moving to a safer location, such as off a bridge or out of a traffic lane. Driving farther than that on a fully flat tire risks damaging the wheel rim and the tire beyond repair.
How long does it actually take to change a flat tire?
Most drivers can complete a tire change in 15 to 30 minutes once they’re familiar with the process. Practicing once in a driveway, in calm conditions, makes the actual roadside version noticeably faster and less stressful.