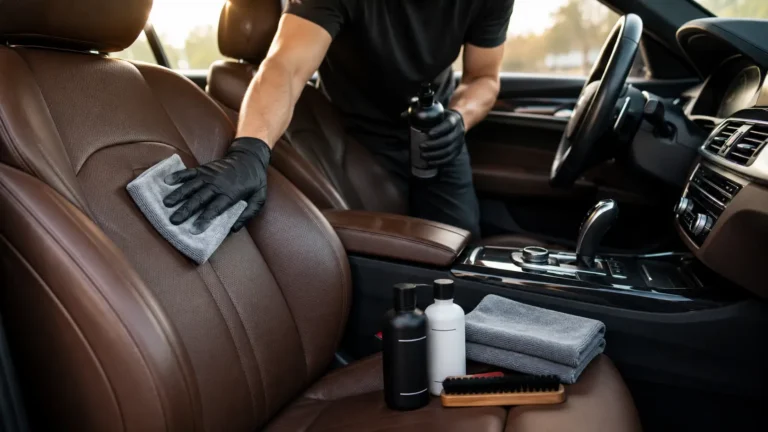
Leather car seats add comfort and a premium appearance to a vehicle, but they collect dust, body oils, sweat, food residue, dye transfer, and other contaminants. Without proper care, the surface can become shiny, discoloured, stiff, or cracked.
The safest way to clean leather car seats is to vacuum them first, apply a leather-safe cleaner with a microfiber cloth or soft brush, wipe away the lifted dirt, and let the seats dry completely. After cleaning, apply a compatible leather protectant to reduce staining, friction, and UV-related damage.
However, the correct method depends on the type of upholstery and its condition. Using excessive water, harsh chemicals, or aggressive scrubbing can cause more damage than the original dirt.
This guide explains how to clean, condition, and protect leather car seats safely while maintaining their original colour and finish.
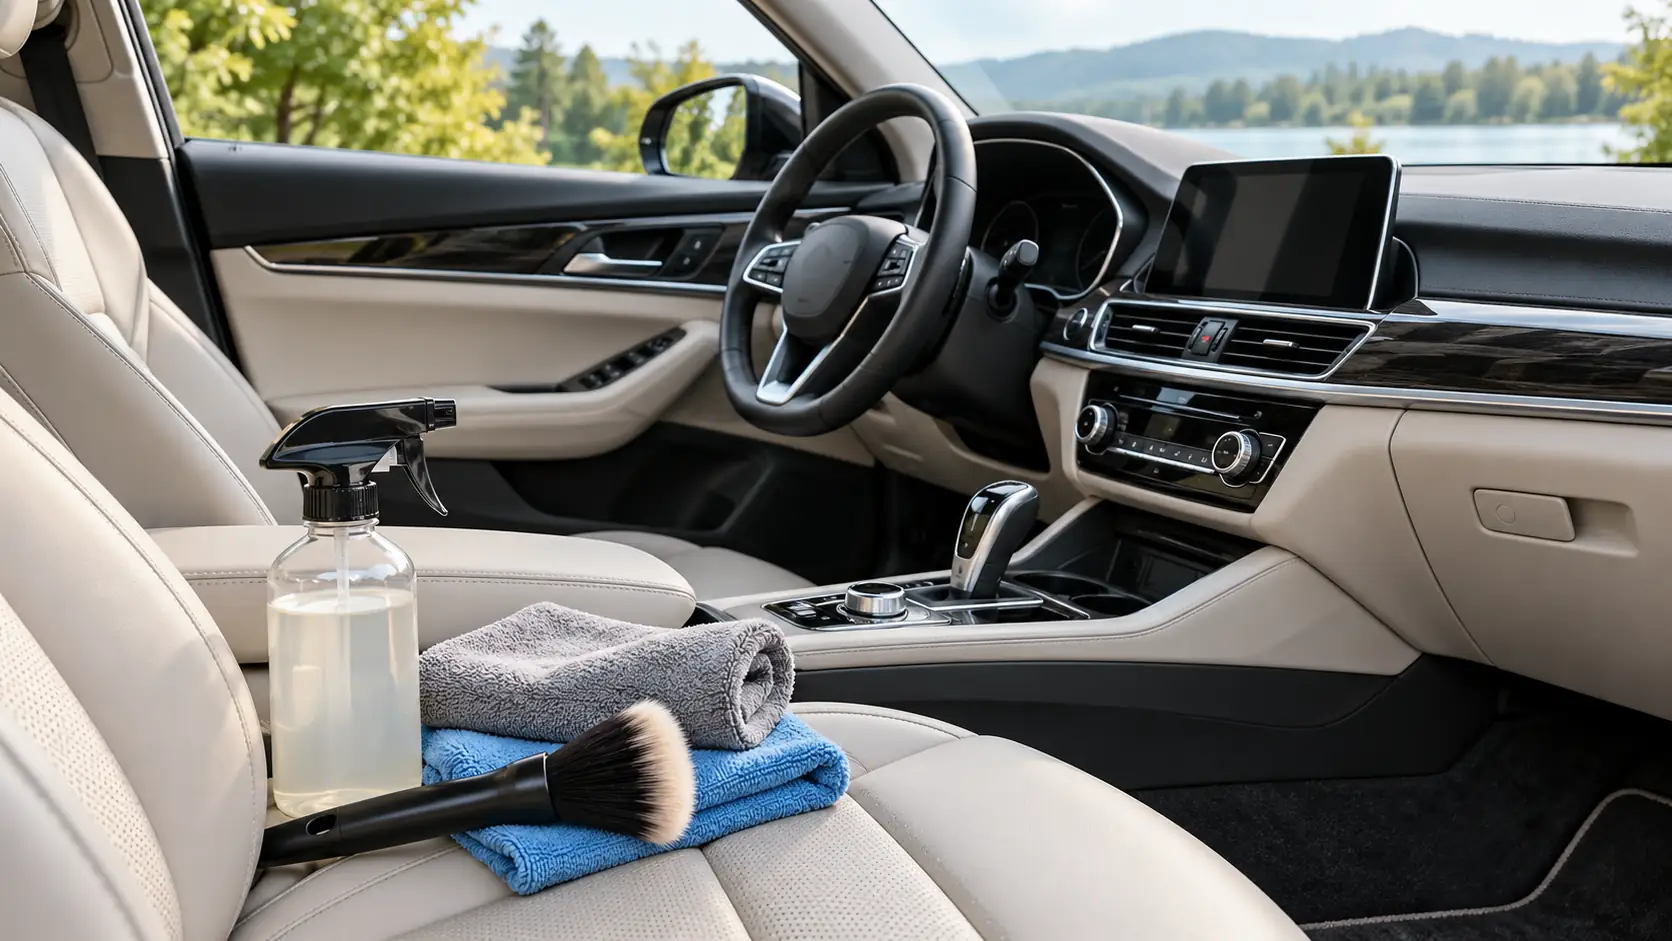
What You Need to Clean Leather Car Seats
Prepare everything before you begin so that cleaner does not dry on the surface while you search for another tool.
| Item | Purpose |
|---|---|
| Vacuum with a soft brush attachment | Removes dust, sand, and crumbs |
| Clean microfiber cloths | Applies products and wipes away residue |
| Soft detailing brush | Loosens dirt from textured leather |
| Leather-safe cleaner | Removes oils, dirt, and light stains |
| Small applicator pad | Applies conditioner or protectant evenly |
| Leather conditioner or protective cream | Supports flexibility where appropriate |
| Automotive leather protectant | Adds protection against stains, friction, and UV exposure |
| Cotton swabs or a small soft brush | Cleans seams and perforations |
| Clean water | Lightly dampens cloths when required |
Always read the vehicle manufacturer’s instructions and the product label before use. A product that is suitable for one leather finish may not be appropriate for another.
Avoid household detergents, bleach, furniture polish, abrasive pads, and strong solvents unless the vehicle manufacturer specifically approves them.
How to Clean Leather Car Seats Step by Step
Work on one section at a time. Cleaning the entire seat at once can allow the solution and suspended dirt to dry before you wipe them away.
Step 1: Remove Loose Items and Inspect the Seats
Park the vehicle in a shaded, well-ventilated area. The seats should feel cool before cleaning because heat can cause products to dry too quickly.
Remove child seats, cushions, covers, and personal items. Inspect the upholstery for scratches, loose seams, cracks, worn coatings, and exposed foam.
If the leather is peeling or severely cracked, do not scrub it. Damaged areas may require professional repair rather than routine cleaning.
Step 2: Vacuum Dirt, Crumbs, and Seat Creases
Use a vacuum with a soft brush or narrow crevice attachment. Vacuum the seat base, backrest, seams, stitching, edges, and the gap between the seat base and backrest.
Move the nozzle carefully to avoid scratching the leather with hard plastic. Pay particular attention to sand and grit because these particles can act like abrasives when rubbed across the surface.
Vacuuming before applying any liquid is essential. Current Volvo care guidance also recommends removing loose dust and dirt before cleaning leather or vinyl upholstery.
Step 3: Apply a Leather-Safe Cleaner
Follow the cleaner manufacturer’s dilution and application instructions. Unless the label directs otherwise, apply the cleaner to a microfiber cloth, applicator, or brush rather than spraying it heavily across the seat.
This gives you more control and prevents liquid from entering:
- Seat perforations
- Electrical controls
- Stitching and seams
- Heating or ventilation openings
- Areas containing seat-mounted airbags
Manufacturer guidance may specifically warn against spraying cleaner directly on the sides of seats equipped with side airbags. Volvo Support
Divide the seat into manageable areas, such as the upper backrest, lower backrest, seat base, and side bolsters.
Step 4: Gently Agitate the Dirt
Use a soft leather brush or microfiber cloth to work the cleaner into the surface with light, controlled movements.
Textured leather may require gentle brushing to release dirt trapped in its grain. Do not press hard or scrub one spot repeatedly. Aggressive movement can damage the protective coating, stitching, or colour layer.
A moderate amount of foam is usually enough. Saturating the leather will not necessarily improve the result.
For relatively clean or delicate upholstery, a microfiber cloth may be safer than a brush.
Step 5: Wipe Away Cleaner and Lifted Grime
Before the cleaner dries, wipe the section with a separate, clean microfiber cloth. Fold the cloth frequently so that you do not spread the removed grime over another area.
Inspect the cloth as you work. Dark residue may be accumulated dirt, but colour matching the upholstery can indicate dye or coating transfer. If you suspect colour removal, stop and reassess the product and technique.
Repeat the process only when necessary. Two gentle cleaning passes are usually safer than one aggressive attempt.
Step 6: Dry the Seats Completely
Wipe away any remaining moisture and leave the doors or windows open in a secure, shaded location to improve ventilation.
Do not sit on the seats or apply conditioner while they are still damp. Trapped moisture can create uneven results, particularly around perforations and seams.
Avoid using a hair dryer or direct heat to speed up the process. Let the leather dry naturally.
Identify Your Car Seat’s Leather Type Before Cleaning
Not every seat marketed as “leather” uses the same material across the entire surface. A seat may combine genuine leather on the main contact areas with vinyl or synthetic material on the sides and back.
Check the owner’s manual, vehicle specifications, or manufacturer care instructions before selecting a cleaner.
Coated or Pigmented Leather
Most modern vehicles use coated leather. A protective pigment and clear finish sit above the natural hide, helping it resist spills and everyday wear.
Because you are mainly cleaning the protective coating, a gentle automotive leather cleaner is usually suitable. Avoid heavy oils that may remain on top of the coating and leave the seat slippery or overly glossy.
Aniline and Semi-Aniline Leather
Aniline leather has a more natural appearance and less surface protection. Semi-aniline leather has a light protective coating but can still be more sensitive than standard pigmented leather.
These materials may absorb liquids quickly and develop dark patches if the wrong product is applied. Use only a cleaner approved for that leather type and test it carefully before treating the full seat.
Synthetic Leather and Leatherette
Leatherette, vegan leather, and vinyl may look similar to genuine leather, but their care requirements can differ. Some leather conditioners are unnecessary or unsuitable for synthetic upholstery.
Use a product approved for the exact material instead of assuming that all leather-labelled cleaners are safe.
How to Test a Leather Cleaner Safely
Before cleaning an entire seat, test the product on a small, hidden area, such as near the seat base or underneath a less visible edge.
Apply a small amount using a clean microfiber cloth. Allow the area to dry, and then check for:
- Colour transfer onto the cloth
- Darkening or fading
- Changes in texture
- Loss of the original matte finish
- Sticky or oily residue
Stop using the product if the leather changes colour, becomes tacky, or develops an uneven appearance.
How to Remove Stains From Leather Car Seats
Treat spills as soon as possible. The longer a contaminant remains on the surface, the more likely it is to stain the coating or penetrate damaged leather.
| Stain | Recommended approach |
|---|---|
| Food or drink | Blot immediately, then clean with an approved leather cleaner |
| Grease or oil | Blot without spreading; use a leather-specific degreasing product if required |
| Ink | Stop it from spreading and consult a professional before using solvents |
| Clothing dye | Clean early with a product designed for dye transfer |
| Makeup or sunscreen | Use a leather-safe cleaner and repeat gently if necessary |
| Mud | Allow heavy mud to dry, vacuum loose material, and then clean the residue |
| Mold or mildew | Isolate the cause of moisture and obtain professional treatment for extensive growth |
Never rub a fresh liquid spill. Blot it with an absorbent microfiber cloth, working from the outside toward the centre.
Do not experiment with alcohol, nail-polish remover, bleach, or strong household stain removers. These products may remove the protective coating along with the stain. Severe ink, dye transfer, mold, or oil contamination is usually safer to leave to an experienced detailer.
How to Deep-Clean Perforated Leather Seats
Perforated leather requires more careful cleaning than a solid leather surface. Excess liquid can pass through the small holes and reach the seat foam, heating elements, or ventilation system. The aim is to loosen dirt without saturating the upholstery.
Vacuum the Perforations
Begin with a vacuum and soft brush attachment. Use low suction to remove crumbs, dust, and other dry particles from the holes. Move the attachment gently to prevent scratches.
Apply Cleaner to the Cleaning Tool
Apply a small amount of leather-safe cleaner to a microfiber cloth or soft detailing brush rather than spraying it directly onto the seat. This controls the amount of moisture and prevents cleaner from soaking through the perforations.
Clean the Surface Gently
Work on one small section at a time using light circular movements. Avoid pressing the brush into the holes or repeatedly scrubbing one area. The leather should be lightly damp, not wet.
Clear Blocked Holes
If dirt remains inside the perforations, use a dry, soft brush or cotton swab to loosen it. A vacuum can then collect the released particles. Do not use pins, needles, or other sharp tools because they can enlarge or damage the holes.
Wipe and Dry the Seat
Wipe the cleaned area with a dry microfiber cloth to remove moisture and remaining residue. Allow the seat to dry completely before sitting on it or activating its heating and ventilation functions.
If a large spill has already penetrated the perforations, professional extraction and controlled drying may be necessary to prevent moisture, odour, or mold problems.
How to Condition Leather Car Seats
Conditioning can help certain types of genuine leather maintain their appearance and comfortable texture. However, many modern automotive leather seats have protective surface coatings that limit product absorption. Therefore, the conditioner must be compatible with the upholstery.
Confirm That the Leather Needs Conditioning
Check the vehicle owner’s manual before applying a conditioner. Synthetic leather may not require conditioning, while some coated leathers benefit more from a protective cream than a traditional oil-based conditioner.
Select a Compatible Conditioner
Choose a water-based product specifically designed for automotive leather. Avoid household oils, furniture polish, and heavy conditioners that can leave the seats sticky, shiny, or slippery.
Test the product on a hidden area and let it dry. Continue only if the colour, texture, and finish remain unchanged.
Apply a Thin, Even Layer
Place a small amount of conditioner on a microfiber applicator instead of pouring it onto the seat. Apply it evenly across one section at a time, paying attention to high-wear areas such as the driver’s bolster.
Do not allow the product to collect inside seams or perforations. Follow the manufacturer’s specified application amount and dwell time.
Remove Excess Product
After the recommended dwell time, buff the seat with a clean microfiber cloth. This removes unabsorbed conditioner and creates a consistent finish.
Properly conditioned leather should feel clean and comfortable—not greasy, wet, or slippery. It should retain its natural matte or satin appearance rather than developing an artificial shine.
Follow an Appropriate Conditioning Schedule
Conditioning frequency depends on the leather type, vehicle use, climate, and manufacturer’s instructions. Some manufacturers recommend cleaning and applying a protective treatment between one and four times per year. Vehicles regularly exposed to intense sunlight, heat, dust, or perspiration may require more frequent inspection and care.
How to Protect Leather Car Seats After Cleaning
Cleaning removes existing contamination. Protection reduces how quickly new dirt, oils, and stains bond to the surface.
Apply a Compatible Leather Protectant
Choose an automotive leather protectant that is suitable for your upholstery. Apply a thin layer with a clean applicator, following the label’s instructions.
A suitable protectant can make future cleaning easier and reduce the effects of friction, dye transfer, and everyday contamination. Buff away excess product so the seats do not become slick.
Reduce UV and Heat Exposure
Sunlight and high cabin temperatures can contribute to fading, dryness, and deterioration of interior materials.
When possible:
- Park in a shaded or covered area.
- Use a windscreen sunshade.
- Consider legal UV-reducing window film.
- Avoid leaving the vehicle closed in direct sunlight for unnecessary periods.
- Clean and protect frequently used areas such as the driver’s bolster.
Volvo notes that protective treatment can improve the upholstery’s resistance to stresses associated with UV exposure.
Prevent Friction and Dye Transfer
The driver’s outer bolster usually experiences the most wear because clothing rubs against it whenever someone enters or exits the vehicle.
Avoid sliding across the bolster when possible. Be careful with metal accessories, keys, exposed zippers, and sharp objects.
New dark denim can transfer colour onto light leather. Cleaning light-coloured seats regularly helps prevent transferred dye from becoming difficult to remove.
Clean Spills Quickly
Keep a clean microfiber cloth in the vehicle for emergencies. Blotting a spill immediately is more effective than trying to remove a dried stain later.
Do not leave wet clothing, food containers, cosmetics, or oily products on the seats.
Common Leather Car Seat Cleaning Mistakes to Avoid
Even durable coated leather can be damaged by the wrong process. Avoid these common mistakes:
- Using dish soap, bleach, or strong household cleaners
- Applying furniture polish or shoe-care products
- Scrubbing with stiff brushes or abrasive sponges
- Saturating perforations, seams, and stitching
- Spraying cleaner directly near controls or side airbags
- Cleaning hot seats under direct sunlight
- Using the same dirty cloth across every seat
- Applying excessive conditioner
- Leaving greasy product residue behind
- Using steam without checking the manufacturer’s instructions
- Ignoring an initial patch test
- Trying to clean peeling or exposed leather aggressively
Steam is particularly important to check. Some manufacturers explicitly state that a steam cleaner should not be used on leather upholstery.
How Often Should You Clean and Protect Leather Seats?
The ideal schedule depends on climate, vehicle use, leather colour, passenger habits, and parking conditions.
| Maintenance task | Suggested frequency |
|---|---|
| Remove visible dust and debris | Weekly or as needed |
| Vacuum seats and creases | Every two to four weeks |
| Wipe up spills | Immediately |
| Gentle leather cleaning | Every one to three months |
| Deeper cleaning | Two to four times per year |
| Apply a compatible protectant | According to the product and vehicle manufacturer |
| Professional inspection | When stains, cracking, peeling, or unpleasant odours appear |
Vehicles used daily in Bangladesh may require more frequent attention because of heat, humidity, dust, perspiration, and strong sunlight. Light-coloured leather and family vehicles may also need shorter cleaning intervals.
Avoid cleaning according to the calendar alone. Inspect the driver’s seat, headrests, bolsters, and other high-contact areas regularly.
Frequently Asked Questions
Can You Use Dish Soap to Clean Leather Car Seats?
Dish soap is not the safest general choice. It is formulated to remove grease from dishes and may strip protective products or leave residue on automotive leather. Use a pH-appropriate automotive leather cleaner approved by the vehicle or upholstery manufacturer.
Can You Use Baby Wipes on Leather Seats?
Regular baby wipes may contain moisturisers, fragrances, alcohol, or other ingredients not designed for automotive upholstery. Occasional use may not produce immediate damage, but a leather-safe interior product is the more reliable option.
Is Vinegar Safe for Leather Car Seats?
Vinegar is acidic and is not universally safe for automotive leather finishes. Homemade mixtures also make concentration difficult to control. Use an approved leather cleaner instead, especially on light-coloured, aniline, or damaged upholstery.
Can You Steam-Clean Leather Car Seats?
Only if the vehicle manufacturer and upholstery-care instructions explicitly allow it. Heat and moisture can affect coatings, adhesives, seams, and underlying components. Some manufacturers specifically advise against using steam on leather.
How Do You Clean Leather Seats Without Making Them Shiny?
Use a suitable cleaner in small sections, remove all residue with a fresh microfiber cloth, and avoid oily dressings. Clean leather should generally have an even matte or satin appearance. Persistent shine often comes from accumulated body oils, product residue, or surface wear.
How Long Should Leather Conditioner Remain on the Seats?
Follow the conditioner manufacturer’s directions because dwell time differs between products. Apply only a thin layer and remove any excess after the stated period. Do not leave the surface greasy or allow product to collect in seams and perforations.
Can Cracked or Faded Leather Seats Be Restored?
Minor fading and coating wear may be improved through professional cleaning, preparation, and recolouring. Deep cracks, tears, peeling layers, and damaged foam may require repair or replacement. Conditioner cannot permanently repair leather that has already split.