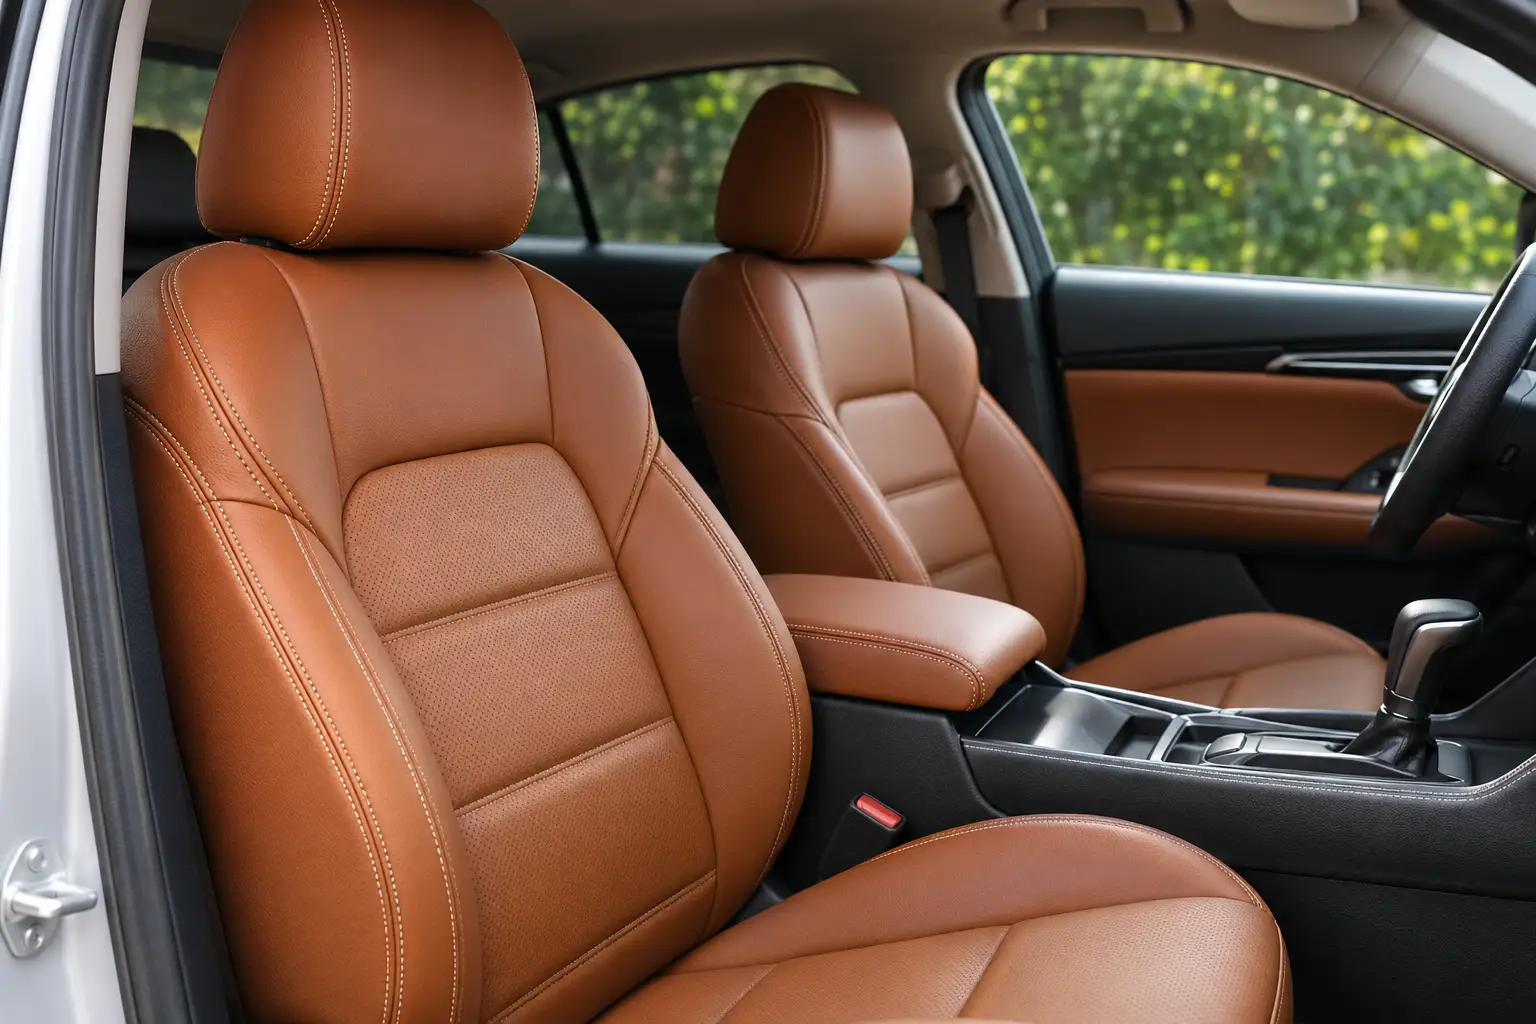

Leather car seats can often be restored with a careful cleaning, a suitable colorant and a protective finish. The right method depends on the damage: dirt and light scuffs are usually manageable at home, while deep cracks, torn seams and damaged seat foam may need professional repair.
Before buying a restoration kit, inspect the seats and check your vehicle’s care instructions. Working slowly and testing products in a hidden area can help you improve the finish without making the damage worse.
Assess the Seats Before You Start
Look at the seats in good light, paying particular attention to the driver’s side bolster, seat cushion and headrest. These areas often show wear first because they experience frequent contact.
A dull or shiny surface may be caused by accumulated dirt and body oils rather than permanent damage. Faded color and minor scratches may respond to a leather recoloring product. Cracks that extend into the material, holes, loose stitching and exposed foam are more complex repairs.
Also check for perforations, ventilation, heating controls and airbags integrated into the seats. These features affect how you should clean and repair the upholstery. Avoid soaking perforated leather, and do not remove or alter airbag-related seams or components.
Many modern car seats use leather with a protective surface coating, while some seat panels may be synthetic. Consult the owner’s manual or vehicle manufacturer if you are unsure. Choose products labeled for the material and finish you have rather than assuming every part of the seat is the same.
Gather the Right Supplies
A basic restoration does not require many tools, but the products should be compatible with automotive upholstery. Read each label before starting, especially if you plan to combine a cleaner, colorant and protective finish from different manufacturers.
You may need:
- A vacuum with a soft brush attachment and a narrow crevice tool
- Microfiber cloths and a soft detailing brush
- An automotive leather cleaner suitable for your seats
- A color-matched leather repair or recoloring product
- A leather filler, if appropriate for minor cracks
- Applicator pads or sponges recommended by the product maker
- A compatible protective finish, if the colorant requires one
- Gloves and adequate ventilation
Avoid household detergents, abrasive scrubbers, oils and improvised solvents unless the vehicle or product manufacturer specifically recommends them. These can damage a finish or leave a residue that interferes with a repair.
Clean the Leather Thoroughly
Cleaning is the first restoration step and sometimes delivers enough improvement on its own. It also removes contamination that could prevent repair products from adhering evenly.
Start by vacuuming loose dirt from the seat surface, seams and crevices. Use a soft attachment and gentle pressure so grit does not scratch the leather. Take extra care around loose stitching or damaged areas.
Test the cleaner on a hidden section and check it for discoloration or other changes after it dries. If the test is successful, apply the cleaner according to its instructions. Work on one small area at a time with a microfiber cloth or soft brush, using light pressure rather than vigorous scrubbing.
Wipe away loosened dirt and product residue as directed. Avoid saturating the leather, particularly around perforations and stitching. Once the seats are clean, allow them to dry completely before deciding whether they need recoloring or repair.
Treat Light Scuffs and Faded Color
If the leather is structurally sound but has lost color, a product designed for automotive leather may improve its appearance. A close color match matters: a shade that looks right in the bottle can appear different once dry, so test it on an inconspicuous area first.
Follow the kit’s preparation instructions carefully. Some products require a specific surface preparation step; do not substitute a stronger solvent or sand the seat unless the manufacturer directs you to do so. Poor preparation or aggressive abrasion can strip more of the original finish than intended.
Apply color in thin, even layers using the recommended applicator. Let each layer dry for the time specified before adding another. Building color gradually generally gives you more control than applying one heavy coat, especially around seams and contours.
Once the color has dried, apply a compatible topcoat if the product instructions call for one. The finish can affect both sheen and durability, so choose one intended for the repair system rather than mixing products at random. Keep the seats out of use until the stated curing period has passed.

Repair Small Cracks and Surface Damage
Minor cracks may be suitable for a leather repair filler, but first consider how much of the seat is affected. A small worn patch is easier to blend than a large, heavily creased cushion. If the leather is splitting, the stitching is failing or the material feels weak, a professional assessment is the safer choice.
For a small repair, clean and dry the area first. Use a filler specifically intended for leather upholstery and follow its instructions for preparation, application and drying. Apply only the amount needed, working in thin layers if directed. Once the surface is ready, use a compatible colorant to blend the repair with the surrounding leather.
A home repair may remain visible when viewed closely, particularly on textured or perforated seats. Test products and techniques in an inconspicuous area, and stop if the finish becomes sticky, discolored or uneven. Do not fill perforations or cover safety-related seams.
Know When to Call a Professional
An automotive upholstery specialist is a better option for tears, open seams, large areas of cracked leather or damage that reaches the seat padding. They can assess whether a panel can be repaired or should be replaced, and whether a color match or texture repair is practical.
Professional help is especially important around side-airbag seams, seat electronics and integrated heating or ventilation systems. A repair that interferes with those features can create safety or functional problems. Ask the specialist how they handle the affected area before authorizing the work.
A professional recoloring may also be worth considering when several panels have faded unevenly or when a prominent repair needs to blend as closely as possible. Get an assessment before purchasing a large DIY kit if you are uncertain about the condition of the seats.
Protect the Restored Seats
Once the repair has fully cured, regular care can help keep the seats looking better. Follow the vehicle manufacturer’s cleaning guidance and use products compatible with the seat finish and any repair coatings.
Vacuum periodically, wipe up spills promptly and clean before heavy dirt builds up. Avoid leaving damp items on the seats, and be careful with sharp objects, abrasive clothing details and pet claws. A windshield sunshade or parking out of direct sun when practical can also reduce exposure to heat and sunlight.
Conditioner is not automatically the answer for every seat. Some coated automotive leather may benefit more from gentle cleaning and a compatible surface protectant. Check the vehicle and product instructions, and avoid applying conditioner over a fresh repair unless the repair manufacturer says it is safe.
A Careful Restoration Goes a Long Way
Restoring leather car seats starts with identifying the material and damage, then cleaning thoroughly before attempting a repair. For light wear, a suitable colorant and finish can improve the appearance; for structural damage or safety-sensitive areas, use an upholstery professional. Test every product first and allow the recommended drying and curing time for the best chance of a lasting result.
Frequently Asked Questions About Restoring Leather Car Seats
Can peeling leather car seats be restored?
Peeling leather may indicate that the protective coating or surface finish is deteriorating. A leather colorant may improve minor surface wear, but it will not properly fix extensive peeling or damaged material. For large peeling areas, consider professional upholstery repair or panel replacement.
Can you change leather seat color?
Yes, leather car seats can be recolored using automotive leather dyes or colorants designed for upholstery. Changing from a dark color to a lighter shade requires careful preparation and even application. Professional recoloring may produce a more consistent finish.
Can you use shoe polish on leather seats?
Shoe polish is not recommended for automotive leather seats. It may leave residue, transfer color onto clothing or create an unsuitable surface finish. Use a color-matched automotive leather restoration product instead.
How long does leather seat restoration take?
Restoration time depends on the seat’s condition, the damaged areas and the products used. Basic cleaning and recoloring may take several hours, while repairs involving filler or multiple coating layers can take longer. Always follow the manufacturer’s drying and curing instructions.
Can perforated leather seats be restored?
Yes, perforated leather seats can sometimes be restored, but they require extra care. Use products suitable for perforated automotive upholstery and avoid blocking the small holes with excessive liquid, filler or colorant.
Should you repair or replace leather seats?
Repair is generally suitable for minor scratches, faded color and small surface cracks. Replacement may be more practical when the leather is extensively torn, peeling or structurally damaged. A professional assessment can help you choose the right option.
Does leather seat restoration last?
Proper restoration and regular maintenance can help preserve the appearance and condition of leather car seats. However, the results depend on the material’s condition, repair quality and ongoing care.